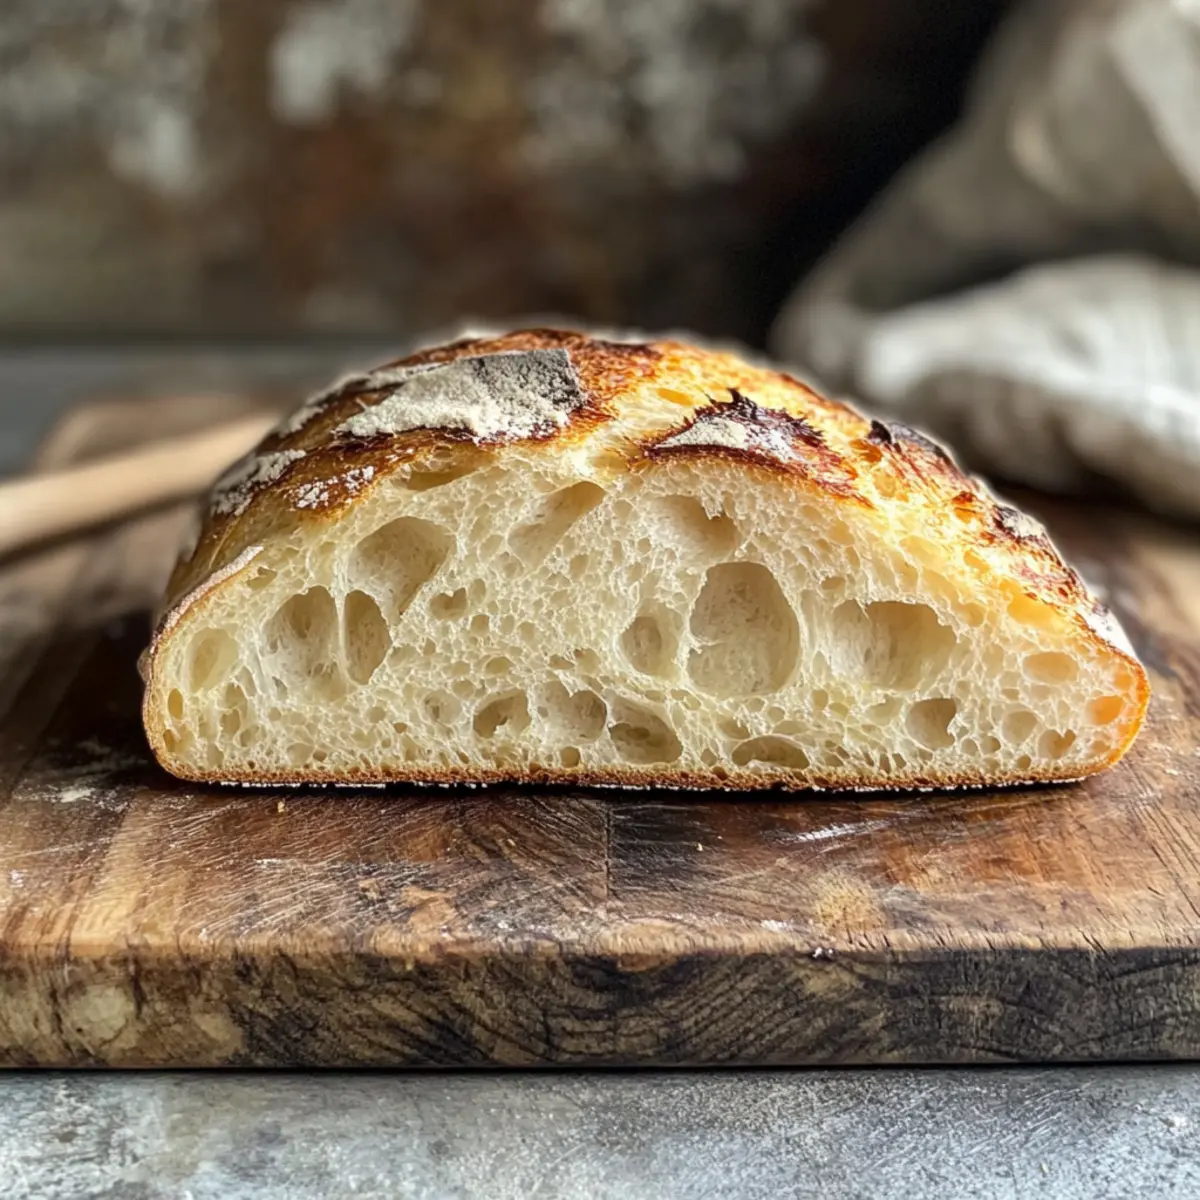
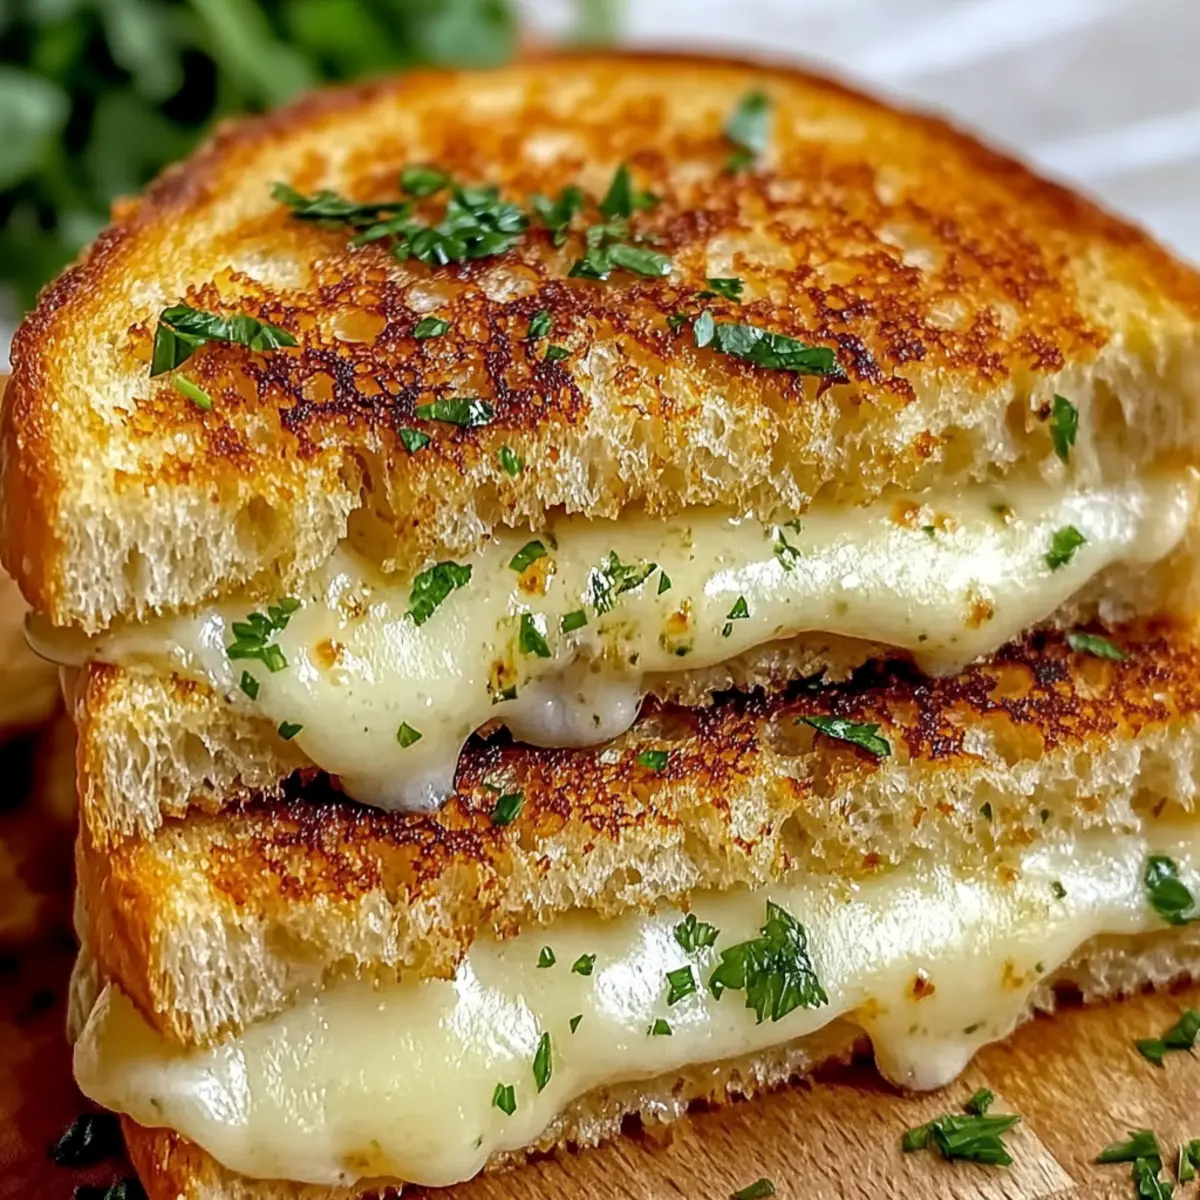
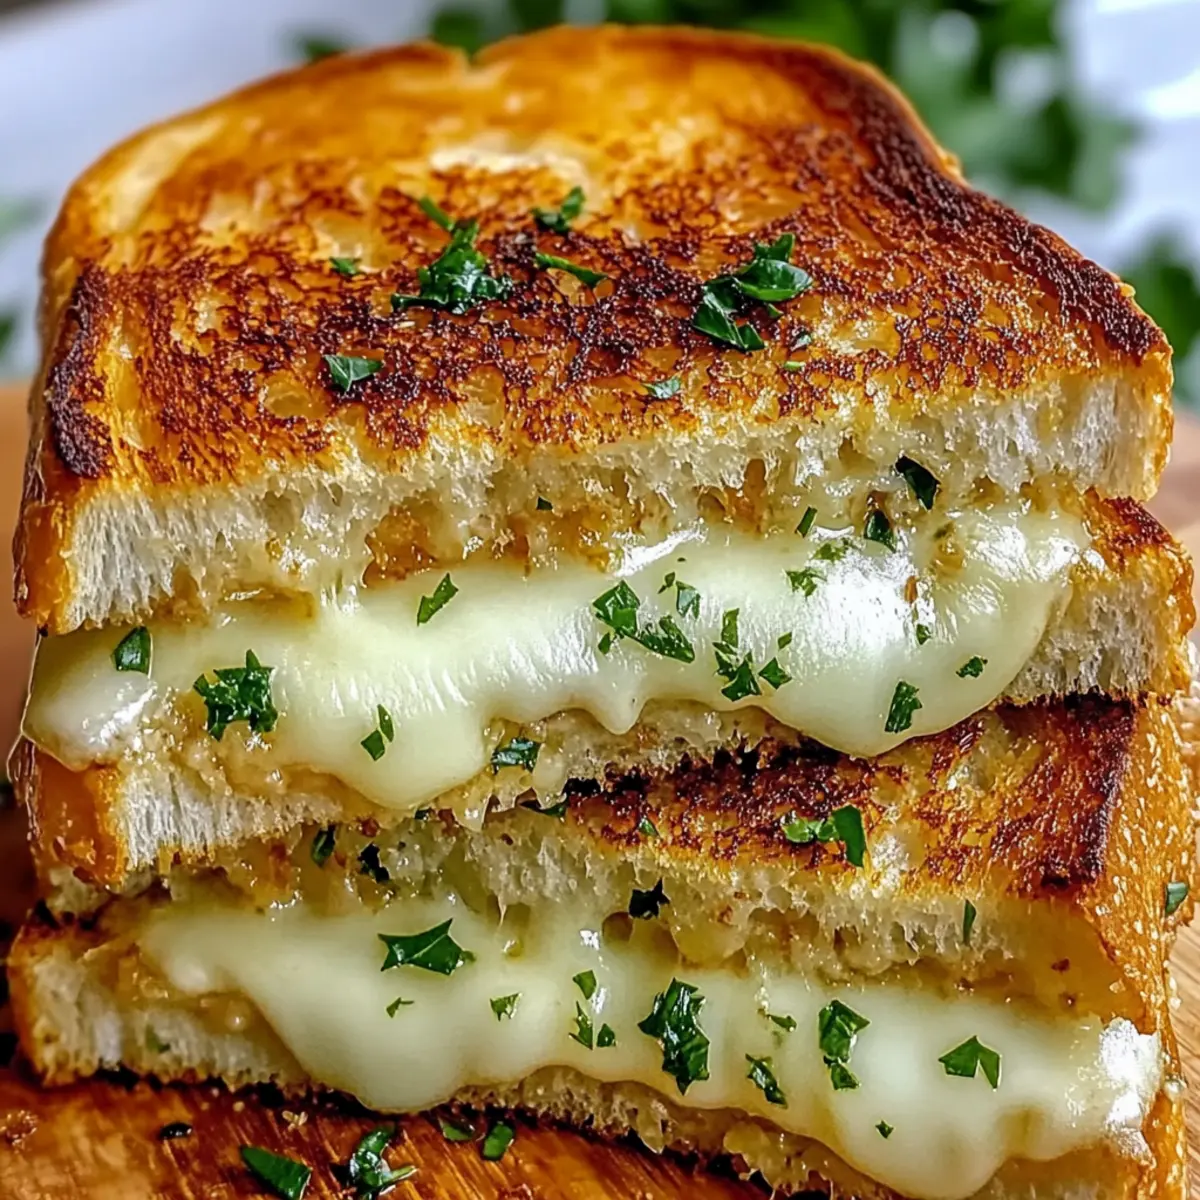
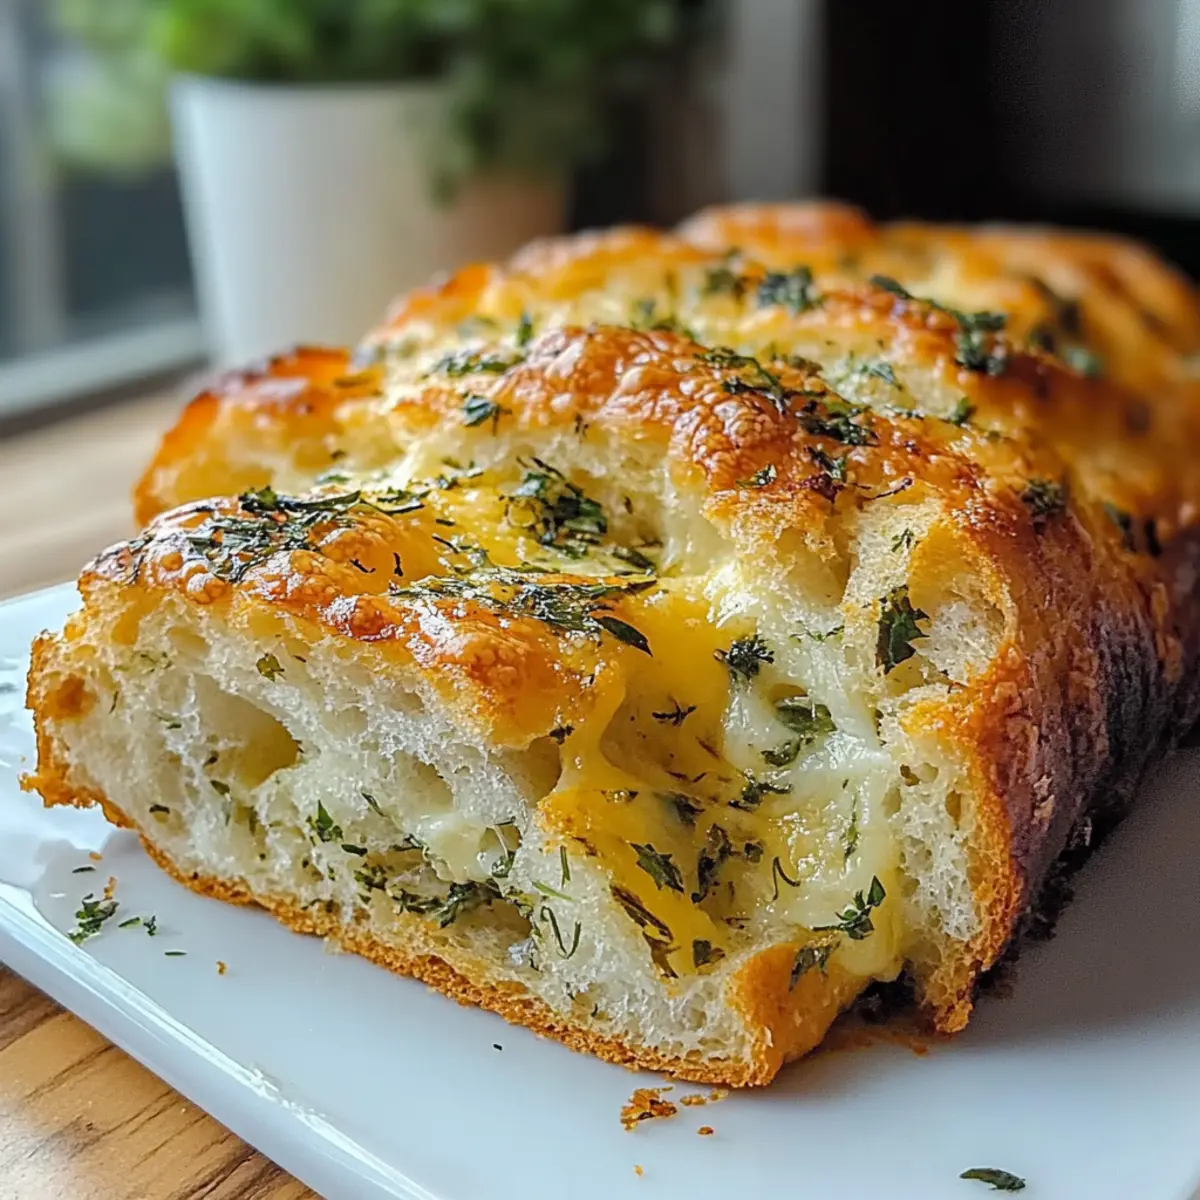
The intoxicating aroma of garlic wafts through my kitchen as I slide a tray of Garlic Butter Focaccia into the oven, and I can’t help but smile. This easy, homemade bread is a delightful addition to any meal, transforming even the simplest dishes into something extraordinary. With its soft, chewy texture and golden crust, this focaccia is perfect for those busy weeknights or a centerpiece for weekend gatherings. Not only is it quick to prepare, but it also invites endless creativity with toppings and variations, making it a culinary canvas for all. Are you ready to dive into this irresistible bread-making adventure and impress your loved ones? Let’s get started!

Why is Garlic Butter Focaccia a Must-Try?
Aromatic Delight: The rich scent of garlic butter fills your kitchen, making it hard to resist.
Endless Creativity: Top it with your favorite ingredients—sun-dried tomatoes or olives for a twist!
Family Favorite: This recipe is a surefire hit, perfect for complimenting meals or enjoyed solo.
Quick & Easy: Minimal prep time means you can whip this up even on a hectic day. Just like my Sticky Garlic Chicken, it’s simple yet satisfying!
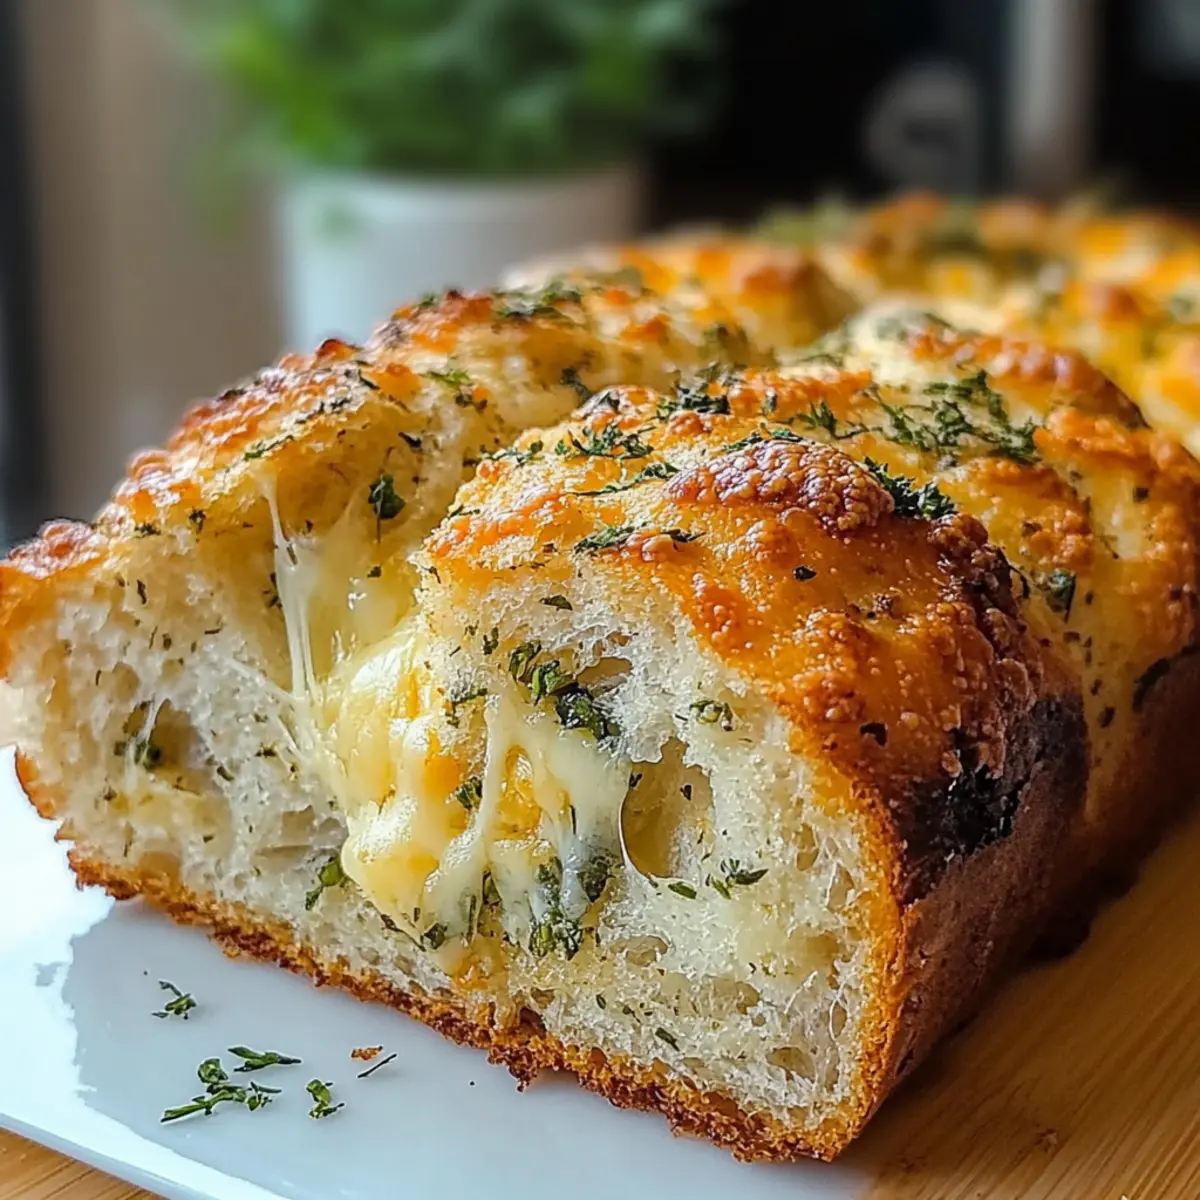
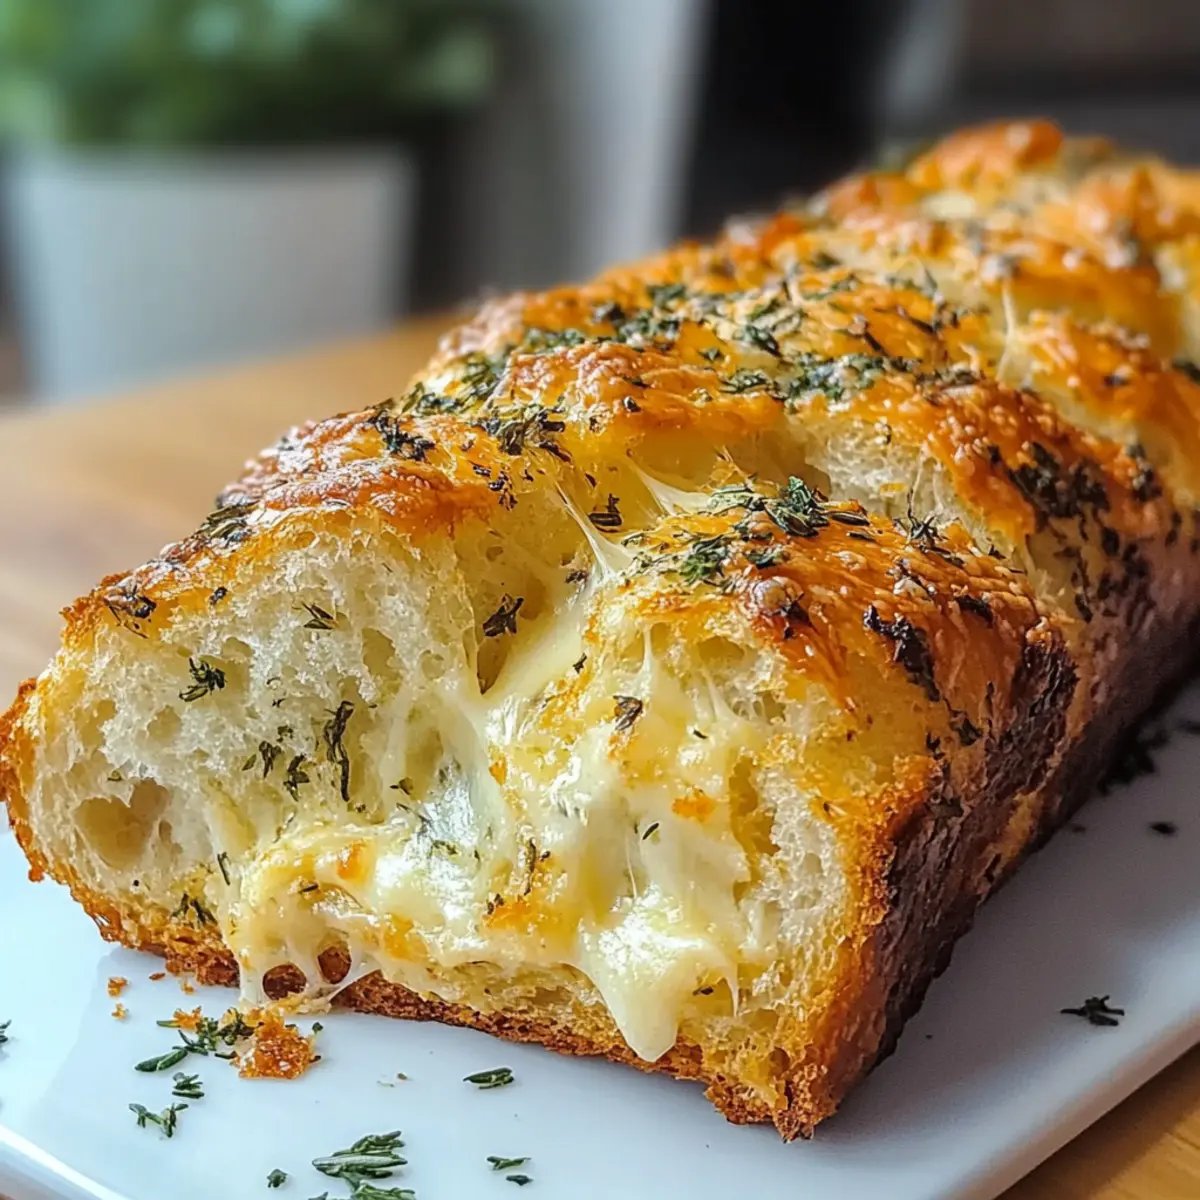
Satisfying Texture: Crispy crust, soft crumb—it’s the perfect balance that keeps everyone coming back for more.
Garlic Butter Focaccia Ingredients
• Unleash your baking potential with this essential list!
For the Dough
- All-Purpose Flour – Essential for that classic chewy texture; bread flour can be substituted for a chewier bite.
- Warm Water – Activates the yeast; keep the temperature between 100-110°F to ensure it works effectively.
- Active Dry Yeast – The secret behind the rise; always check if it’s active by letting it foam in warm water first.
- Honey or Granulated Sugar – Adds a hint of sweetness and helps activate the yeast; if you’re out of sugar, honey is a great alternative.
- Salt – Elevates the flavor; it’s crucial for the dough structure, so no substitutes here.
- Extra Virgin Olive Oil – Provides richness; use it in the dough and for greasing the pan to maximize flavor.
For the Topping
- Salted Butter – Creates the delectable garlic-herb topping; unsalted butter can be used, just adjust the salt in the dough accordingly.
- Garlic Cloves – Infuses a robust garlicky flavor; fresh is preferred, but powdered can work in a pinch though it changes the flavor profile.
- Chopped Parsley – Adds a fresh, vibrant touch to the butter; feel free to swap with other herbs like rosemary.
- Parmesan Cheese – Enhances the flavor; can be omitted or replaced with another cheese option.
- Additional Olive Oil – Drizzle on top right before baking for extra richness.
This Garlic Butter Focaccia is not only easy to make but also opens up a world of delicious possibilities!
Step‑by‑Step Instructions for Garlic Butter Focaccia
Step 1: Prepare Yeast
In a small bowl, combine 1 cup of warm water (100-110°F) with 1 tablespoon of honey or sugar. Gently sprinkle 2 teaspoons of active dry yeast over the surface and allow it to foam for about 10 minutes. This step ensures the yeast is active and ready to help your Garlic Butter Focaccia rise.
Step 2: Mix Dry Ingredients
In a large mixing bowl, whisk together 4 cups of all-purpose flour and 2 teaspoons of salt. This blends the ingredients effectively and helps to distribute the salt, which is essential for flavor. Set aside your dry mixture while your yeast blooms, creating a solid foundation for your focaccia.
Step 3: Combine Wet and Dry
Once the yeast is foamy, pour the yeast mixture and 3 tablespoons of extra virgin olive oil into the bowl with your dry ingredients. Mix everything together until a sticky dough forms. To create a cohesive dough, you can use a wooden spoon or your hands, enjoying the aroma of the yeast as you work.
Step 4: First Rise
Transfer the dough to a lightly greased bowl, cover it with a damp cloth or plastic wrap, and place it in a warm area. Allow it to rise for about 1 to 3 hours, or until it has doubled in size. You’ll know it’s ready when the dough looks puffed and has a nice airy texture.
Step 5: Garlic Butter Preparation
While the dough is rising, melt ½ cup of salted butter in a saucepan over low heat. Once melted, add 4 minced garlic cloves and 2 tablespoons of chopped parsley, cooking gently for about 2-3 minutes, just until fragrant. This delicious garlic butter will be the flavorful topping for your Garlic Butter Focaccia!
Step 6: Integrate Butter
When the dough has risen, pour the garlic butter mixture into the bowl, incorporating it into the dough by stretching and folding it. Let the dough rest for an additional 15 minutes to relax the gluten and enhance the structure, ensuring your focaccia has that lovely chewy texture.
Step 7: Final Shaping and Proof
Grease a large baking sheet with olive oil before transferring the dough onto it. Gently stretch the dough to fit the pan, creating a dimpled surface. Cover it loosely with plastic wrap and let it rise for another 45 minutes. You’ll know it’s ready when it has puffed up again and feels airy to the touch.
Step 8: Prep for Baking
Preheat your oven to 450°F, ensuring it’s fully heated before baking. Just before you place the focaccia in the oven, drizzle it with a bit more olive oil and sprinkle with grated Parmesan cheese or seasonings of your choice. Create dimples using your fingertips for that signature focaccia look and texture.
Step 9: Bake
Slide the focaccia into the preheated oven and bake for 18-22 minutes. Keep an eye on it, and when the crust turns a beautiful golden brown and the edges look crispy, your Garlic Butter Focaccia is ready to come out. The delightful aroma wafting through your kitchen will surely excite everyone!
Step 10: Cool and Serve
Once baked, remove the focaccia from the oven and let it cool on the pan for 10-15 minutes. This cooling period ensures the bread holds its structure while you slice it. Serve warm or at room temperature, ready to delight your family and friends at any meal.
Variations & Substitutions for Garlic Butter Focaccia
Feel free to get creative with your focaccia by trying out these delightful twists and substitutions!
-
Herb-Infused Oil: Swap the garlic butter for a blend of olive oil and your favorite herbs to customize the flavor profile. Imagine the aromatic blend of rosemary or thyme wrapping around each bite!
-
Cheesy Focaccia: Add shredded mozzarella or crumbled feta on top before the final rise for a delightful cheesy twist. This combination creates a beautifully rich layer of flavor that will have your family raving.
-
Spicy Kick: Incorporate red pepper flakes into the garlic butter for a zesty kick. Just a pinch can elevate your focaccia, making it a perfect pairing with Italian dishes or a hearty soup.
-
Veggie Toppings: Top your focaccia with sun-dried tomatoes, olives, or roasted peppers before baking for bursts of flavor. It transforms your bread into a vibrant centerpiece for your meals.
-
Sweet Twist: For a unique approach, add a thin layer of caramelized onions or roasted garlic along with the parsley. This sweet and savory combo will create a more complex flavor profile!
-
Nutty Flavor: Sprinkle some toasted pine nuts or walnuts on top of your focaccia before baking for an unexpected crunch. The nutty goodness pairs perfectly with the soft, chewy bread.
-
Flour Alternatives: If you want to try something different, substitute a portion of the all-purpose flour with whole wheat or spelt flour for a heartier texture. It adds a lovely nutty flavor while maintaining that cherished focaccia softness.
-
Garlic Lovers: Increase the amount of garlic for an even stronger flavor. Whether you decide to roast it for a milder taste or keep it raw for the bold kick, it will promise to delight garlic enthusiasts.
How to Store and Freeze Garlic Butter Focaccia
Room Temperature: Store the focaccia wrapped in a clean towel for up to 2 days to keep it soft while preventing moisture loss.
Fridge: If you need to keep it longer, you can refrigerate your focaccia for up to a week, wrapped tightly in plastic wrap or in an airtight container to maintain freshness.
Freezer: For optimal long-term storage, freeze the focaccia in slices for up to 3 months. Wrap each slice in plastic wrap and then place them in a freezer-safe bag.
Reheating: To enjoy your focaccia, simply reheat in the oven at 350°F for about 10-15 minutes until warm and slightly crispy. This garlic butter focaccia will taste as delightful as when it was freshly baked!
Make Ahead Options
These Garlic Butter Focaccia are perfect for meal prep enthusiasts! You can mix the dough and let it rise up to 24 hours in advance. After the first rise, simply punch down the dough, shape it, and refrigerate it, covered tightly to prevent drying out. On the day you want to serve, take it out to rise again for about 45 minutes, then proceed with the garlic butter topping and baking instructions. For optimal quality, it’s best to bake the focaccia fresh, so plan to finish it just before serving, ensuring that this delightful bread is still warm and fluffy—perfect for family meals or gatherings!
Expert Tips for Garlic Butter Focaccia
-
Perfect Rise: Make sure your dough has ample time to rise. Rushing the process results in a dense Garlic Butter Focaccia instead of a fluffy masterpiece.
-
Monitor Water Temp: Avoid using water that’s too hot, which can kill the yeast. Aim for 100-110°F to ensure your yeast activates properly.
-
Use Plenty of Oil: Don’t skimp on olive oil when greasing the pan and drizzling on top. It creates that lovely crust that makes your focaccia irresistible.
-
Check Yeast Activity: Always let your yeast foam on the surface of warm water before mixing. This step confirms that the yeast is active and ready to work its magic in your dough.
-
Enhance Flavors: Don’t hesitate to get creative with toppings! Explore options like sun-dried tomatoes or different cheeses to elevate your Garlic Butter Focaccia game.
What to Serve with Garlic Butter Focaccia?
Experience the warmth of homemade dining by pairing your golden, fragrant focaccia with these delightful companions that will elevate any meal.
- Savory Soup: A hearty minestrone, brimming with fresh vegetables, harmonizes beautifully with the focaccia’s buttery crunch, creating a comforting duo.
- Simple Salad: A vibrant arugula salad, tossed with lemon vinaigrette, offers a fresh contrast to the rich focaccia—isn’t balance delightful?
- Roasted Vegetables: Sweet, caramelized vegetables add depth and flavor, enhancing the meal while complementing the focaccia’s garlic essence.
- Crispy Bruschetta: Top slices of focaccia with classic bruschetta; the fresh tomatoes and basil enhance the garlic butter flavors seamlessly.
- Olive Tapenade: A vibrant, briny tapenade on the side elevates each bite of focaccia, inviting a medley of flavors to your table.
- Creamy Dip: Serve with a luscious spinach-artichoke dip for a delightful twist—each dip offers that irresistible garlic bread experience!
- Red Wine: A glass of bold red wine beautifully complements the focaccia, deepening the flavors while creating a warm, inviting atmosphere.
- Chocolate Mousse: For dessert, indulge in a rich chocolate mousse that contrasts the savory focaccia while satisfying your sweet tooth.
Garlic Butter Focaccia Recipe FAQs
What type of flour is best for Garlic Butter Focaccia?
I recommend using all-purpose flour for a classic texture, but if you want an even chewier bread, you can substitute it with bread flour. Both options yield delicious results, so choose based on your preference!
How should I store leftover Garlic Butter Focaccia?
Store your focaccia at room temperature wrapped in a clean towel for up to 2 days. For longer storage, refrigerate it wrapped tightly in plastic wrap for up to a week. This method helps maintain its softness and prevents it from drying out.
Can I freeze Garlic Butter Focaccia, and how do I do it?
Absolutely! To freeze, slice the cooled focaccia and wrap each slice tightly in plastic wrap. Place the wrapped slices in a freezer-safe bag, and they can be stored for up to 3 months. When you’re ready to enjoy, simply reheat in the oven at 350°F for about 10-15 minutes—it’ll taste freshly baked!
What should I do if my focaccia doesn’t rise properly?
If your focaccia doesn’t rise, it might be due to inactive yeast. Always check if your yeast bubbles in warm water before mixing. If your dough seems dense, give it more time in a warm area—sometimes it can take up to 3 hours for a good rise!
Are there any dietary considerations for Garlic Butter Focaccia?
While this recipe doesn’t have specific dietary restrictions, keep in mind that it contains gluten because of the flour and dairy from the butter and cheese. If you need a gluten-free option, consider using a gluten-free flour blend specifically designed for yeast breads. Enjoy experimenting, and don’t hesitate to make your focaccia your own!
Garlic Butter Focaccia: Irresistibly Easy Homemade Delight
Ingredients
Equipment
Method
- In a small bowl, combine 1 cup of warm water with 1 tablespoon of honey or sugar and sprinkle the yeast over it. Allow to foam for about 10 minutes.
- In a large mixing bowl, whisk together 4 cups of all-purpose flour and 2 teaspoons of salt. Set aside.
- Once the yeast is foamy, pour it along with 3 tablespoons of olive oil into the dry ingredients. Mix until a sticky dough forms.
- Transfer the dough to a lightly greased bowl, cover, and let it rise in a warm area for 1 to 3 hours until doubled in size.
- Melt ½ cup of salted butter and add 4 minced garlic cloves and 2 tablespoons of chopped parsley. Cook gently for 2-3 minutes until fragrant.
- Pour the garlic butter into the risen dough, mix by stretching and folding, then let it rest for 15 minutes.
- Grease a baking sheet with olive oil and transfer the dough, stretching to fit the pan. Let it rise for 45 minutes.
- Preheat the oven to 450°F. Drizzle with olive oil and sprinkle with Parmesan before creating dimples with fingertips.
- Bake for 18-22 minutes until golden brown. The aroma will fill your kitchen.
- Cool on the pan for 10-15 minutes before slicing and serving.