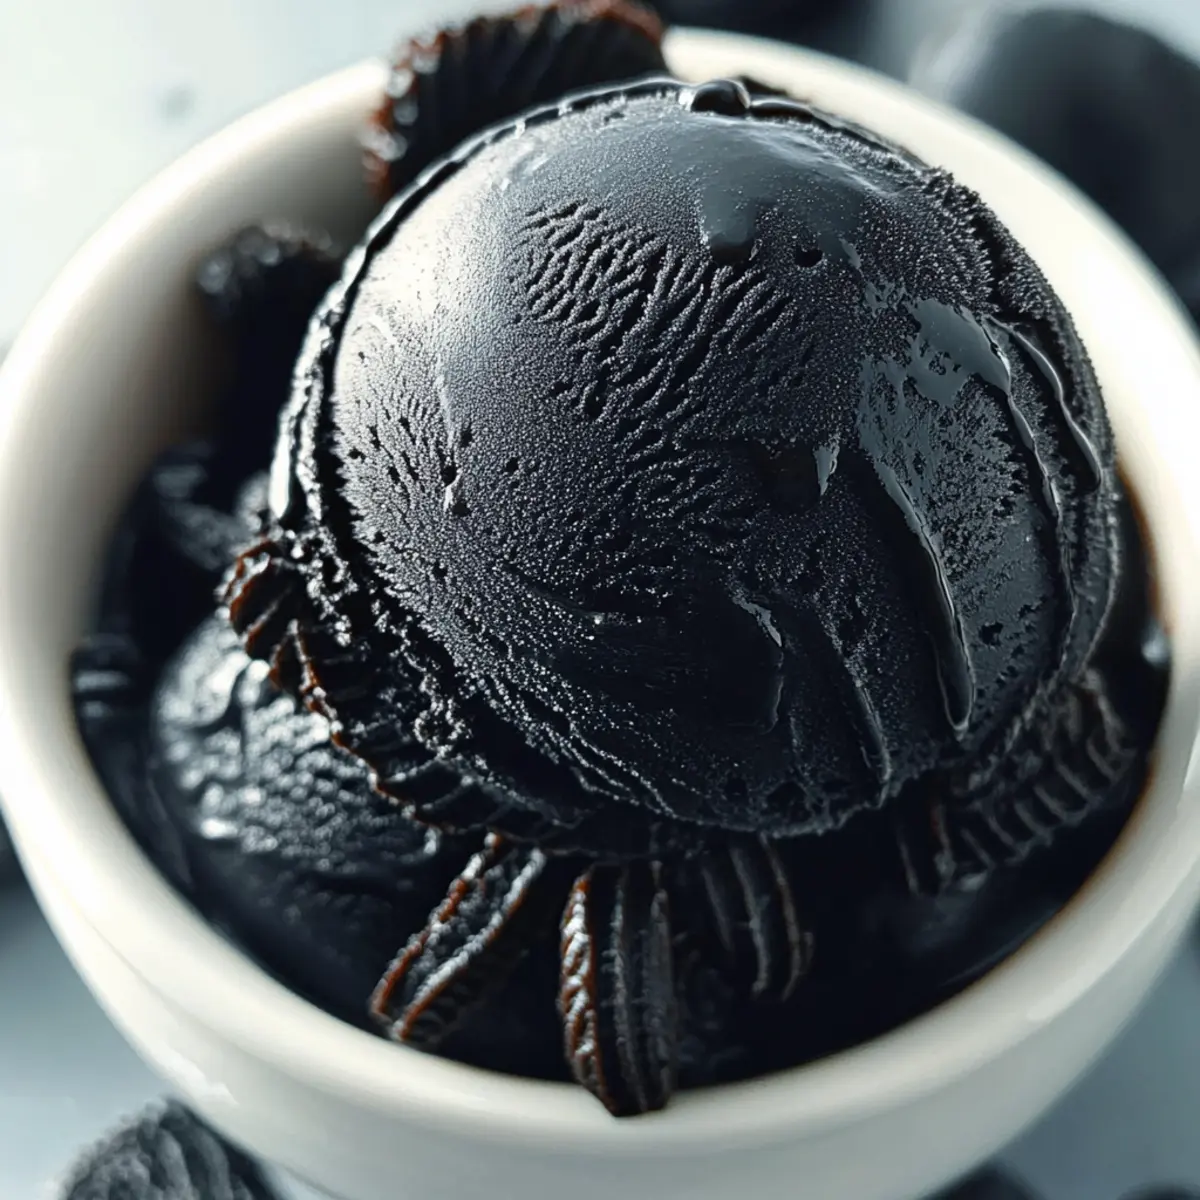
With a hint of adventure and nostalgia, my journey into the world of ice cream led me to an unexpected gem: Black Licorice Ice Cream. If you’re looking to indulge your taste buds in something truly unique, this creamy, velvety treat is just the ticket. As a delightful departure from mundane flavors, it combines the sweet and slightly bitter notes of black licorice that are sure to spark conversations at your next summer gathering or cozy night in. Not only is this recipe a crowd-pleaser, but it’s also customizable, allowing you to play with flavors or make it vegan-friendly. Are you curious about how to create this whimsical dessert that astonishes and delights with every scoop? Let’s dive right into the recipe!

Why is Black Licorice Ice Cream special?
Nostalgic Flavor: This ice cream brings back memories of childhood treats, making it a delightful blast from the past.
Customizable Delight: Enjoy the adaptability of the recipe by switching up flavors like anise or even mixing in crunchy elements like black licorice candy.
Easy to Make: With just a few ingredients and simple steps, you can whip up this unique dessert at home without any fuss.
Vegan-Friendly Options: Got dietary preferences? Swap out ingredients for a vegan alternative and still savor every scoop!
Conversation Starter: Unleash your adventurous side and surprise your friends with a bold flavor they might not expect! Perfect for gatherings or cozy nights, it’s a memorable way to treat your guests. Dive into other unique recipes like Sweet Coconut Cream Pancakes or Cookies Cream Dessert Cups for more exciting creations!
Black Licorice Ice Cream Ingredients
For the Base
• Heavy Cream – A rich foundation that creates a creamy texture; opt for organic for a healthier choice.
• Sweetened Condensed Milk – Essential for sweetness and smooth consistency; it elevates the flavor of the ice cream.
For Flavoring
• Licorice Extract – The star of our Black Licorice Ice Cream; pick a high-quality extract to enhance the bold taste.
• Food Coloring (optional) – Just a few drops can amplify the visual impact, giving your ice cream an intense black hue.
For Balance
• Pinch of Salt – This little ingredient balances the sweetness and elevates the overall flavor profile.
Feel free to experiment with variations by mixing in other flavors or ingredients to create your ideal version of this unique treat!
Step‑by‑Step Instructions for Black Licorice Ice Cream
Step 1: Prepare Mixing Bowl
In a large mixing bowl, combine 2 cups of heavy cream with 1 cup of sweetened condensed milk. Using a hand mixer or whisk, blend the mixture for about 3-4 minutes until it becomes fluffy and thickened, resembling soft peaks. This light and airy base is crucial for achieving that delightful texture in your Black Licorice Ice Cream.
Step 2: Add Flavor
Next, gently stir in 2-3 teaspoons of licorice extract, ensuring the flavor is evenly distributed throughout the mixture. If you desire a more visually striking ice cream, add a few drops of black food coloring at this stage. Mix until both the extract and coloring are fully combined, transforming your fluffy base into a rich, dark hue.
Step 3: Mix Together
With a spatula, carefully fold the mixture until well combined, making sure not to deflate the air bubbles you created earlier. This gentle folding technique preserves the lightness of the ice cream. You want a beautifully blended color without over-mixing, creating the perfect foundation for your Black Licorice Ice Cream.
Step 4: Transfer to Freezer Container
Pour the blended mixture into an airtight container, smoothing out the top with the back of a spatula for an even surface. This step not only ensures a presentable ice cream but also helps with freezing. Make sure the container is sealed tightly to avoid any unwanted ice crystals in your creamy treat.
Step 5: Freeze
Place the container in the freezer and allow it to chill for at least 4 hours or, preferably, overnight. This extended freezing time ensures that your Black Licorice Ice Cream reaches optimal firmness. When ready to scoop, you’ll find it has achieved a creamy, scoopable consistency that’s perfect for serving.
Step 6: Serve and Enjoy
When you’re ready to indulge, take the container out of the freezer. Let it sit at room temperature for 5-10 minutes if it’s too hard to scoop. Using an ice cream scoop, serve generous portions into bowls or cones, and feel free to add fun toppings like sprinkles or extra licorice candy for that whimsical touch!
How to Store and Freeze Black Licorice Ice Cream
Fridge: Store leftovers in an airtight container for up to 3 days, but be aware that the texture may change slightly.
Freezer: For best results, keep your Black Licorice Ice Cream in the freezer in an airtight container for up to 2 weeks. This will help maintain texture and flavor.
Reheating: If your ice cream is too hard to scoop, let it sit at room temperature for 5-10 minutes before serving. This warming will make scooping easier without compromising taste.
Expert Tips for Black Licorice Ice Cream
- Chill Before Freezing: Ensure your mixture is well chilled before freezing. A cold base helps achieve a smoother consistency in your Black Licorice Ice Cream.
- Quality Ingredients: Opt for high-quality licorice extract to enhance the overall flavor. Cheaper extracts may lack the rich taste your ice cream deserves.
- Taste as You Go: Don’t hesitate to adjust sweetness or flavor intensity. Adding a little more licorice extract can deepen the nostalgic taste.
- Avoid Ice Crystals: Store your ice cream in an airtight container to prevent ice crystals. An improper seal lets air in, affecting texture.
- Let It Sit: If your ice cream is too hard to scoop, allow it to warm slightly at room temperature for 5-10 minutes for easier serving.
What to Serve with Black Licorice Ice Cream
Indulging in a scoop of this unique dessert opens up a world of delightful pairing possibilities that enhance its bold flavor.
- Classic Waffle Cone: Perfect for holding the creamy goodness, it adds a delightful crunch that contrasts with the velvety texture.
- Fresh Berries: Juicy raspberries or blackberries offer a burst of tartness that beautifully complements the sweetness of the ice cream.
- Salty Pretzel Crisps: The saltiness of pretzel crisps balances the sweet and bold licorice flavor, providing an unexpected twist.
- Chocolate Sauce: Drizzle over the top for a rich contrast, creating a deliciously decadent combination that visitors will love.
- Caramel Swirl: A touch of caramel not only adds sweetness but introduces a delightful chewiness that complements the ice cream’s creamy essence.
- Mint Leaves: Fresh mint adds a pop of color and a refreshing finish that lightens the dessert and enhances the licorice flavor profile.
- Espresso or Coffee: Pair a scoop with a shot of espresso for a delightful contrast; the bitterness of the coffee elevates the dessert experience.
- Chocolate Biscotti: Crunchy biscotti provides a lovely dunking experience, adding a classic Italian twist that harmonizes with the bold ice cream flavor.
- Nuts: Chopped hazelnuts or almonds introduce a nutty crunch that adds texture and a lovely additional layer of flavor to each bite.
- Dark Chocolate Truffles: Rich truffles melt in your mouth and add an indulgent touch, making for a luxurious dessert experience full of surprises.
Black Licorice Ice Cream Variations
Feel free to let your creativity shine and customize this delightful ice cream to match your tastes!
-
Anise Flavor: Swap the licorice extract for anise extract to create a similar but distinct flavor profile. Perfect for those who enjoy a slightly altered taste of nostalgia!
-
Coconut Milk: For a vegan-friendly twist, substitute heavy cream and sweetened condensed milk with full-fat coconut milk for a tropical flair. You’ll still enjoy that creamy texture while keeping it dairy-free.
-
Crunchy Mix-Ins: Sprinkle in crushed black licorice candy or chocolate chips for added texture and fun little surprises in every scoop. The contrast of creamy and crunchy will elevate your eating experience.
-
Fennel Twist: Try using fennel extract in place of licorice for an aromatic spin on the classic flavor. This subtle change can bring a unique flair, enticing even those unsure about licorice!
-
Salted Caramel Swirl: Drizzle in a homemade or store-bought salted caramel during the mixing phase for a sweet and salty flavor combo that pairs wonderfully with the bold licorice notes. It’s a match made in culinary heaven!
-
Herbal Infusion: Add fresh mint leaves to the base mixture for an herbal twist. Blend until smooth, and let the flavors infuse before freezing for a refreshing touch.
-
Chocolate Swirl: Incorporate chocolate fudge swirls for an extra decadent treat. The richness of chocolate contrast wonderfully with the bold flavor, making each bite an adventure.
-
Vegan Chocolate Chunk Version: If you want a robust alternative, use non-dairy chocolate chunks for a sweet, chocolaty variation that appeals to everyone, especially chocolate lovers!
Dive into these delicious twists, and don’t forget to pair your ice cream with other favorites like the Creamy Cajun Chicken Pasta for a full meal experience!
Make Ahead Options
Black Licorice Ice Cream is a fantastic choice for those looking to save time during busy weeks! You can prepare the ice cream mixture up to 24 hours in advance; simply follow the instructions up to the freezing step and store it in an airtight container in the refrigerator. This allows the flavors to meld beautifully, enhancing the overall taste. If you want to enjoy this creamy delight a few days later, feel free to freeze it for up to 3 days. When you’re ready to serve, let it sit at room temperature for 5-10 minutes to soften for easy scooping. With this make-ahead plan, you’ll have a unique dessert ready to impress, allowing you to focus on enjoying your time with loved ones!
Black Licorice Ice Cream Recipe FAQs
What type of licorice extract should I use?
Absolutely! For the best flavor, choose a high-quality licorice extract. This can significantly enhance the bold and nostalgic notes of your Black Licorice Ice Cream. Avoid cheaper extracts as they may lack depth and richness.
How long can I store Black Licorice Ice Cream in the freezer?
You can keep your delicious Black Licorice Ice Cream in the freezer for up to 2 weeks in an airtight container. This helps to maintain its creamy texture and flavor. If stored properly, it’ll be ready for you whenever those cravings hit!
Can I freeze Black Licorice Ice Cream for longer periods?
While it’s best consumed within 2 weeks, you could technically freeze it for up to 3 months. Just ensure it’s tightly sealed to prevent freezer burn and loss of flavor. When you’re ready to enjoy it again, let it sit out for about 10 minutes to soften before scooping.
What should I do if my ice cream has ice crystals?
To avoid ice crystals, always store your ice cream in an airtight container. If you do encounter ice crystals, you can simply remove them by gently scraping the surface with a spoon. To maintain texture and flavor, always ensure that the container is sealed tightly after each use.
Can I make Black Licorice Ice Cream vegan?
Very much! You can easily adapt this recipe to be vegan-friendly by substituting heavy cream with coconut milk or any other dairy-free alternative. For sweeteners, choose a vegan-friendly sweetened condensed milk, or make your own from non-dairy milk and sugar.
How can I enhance the flavor of my ice cream?
I recommend tasting your mixture before freezing! If you desire a stronger flavor, add another teaspoon of licorice extract gradually. You can also incorporate mix-ins like crushed black licorice candy or chocolate fudge swirls to add exciting textures and tastes. Enjoy the adventure!
Irresistible Black Licorice Ice Cream: A Bold Nostalgic Treat
Ingredients
Equipment
Method
- In a large mixing bowl, combine 2 cups of heavy cream with 1 cup of sweetened condensed milk. Blend for about 3-4 minutes until fluffy and thickened.
- Gently stir in 2-3 teaspoons of licorice extract. Add food coloring if desired, mixing until combined.
- Carefully fold the mixture until well combined, preserving air bubbles.
- Pour the mixture into an airtight container, smoothing the top with a spatula.
- Place the container in the freezer and chill for at least 4 hours or overnight.
- When ready to serve, let it sit for 5-10 minutes at room temperature if too hard to scoop. Serve in bowls or cones.