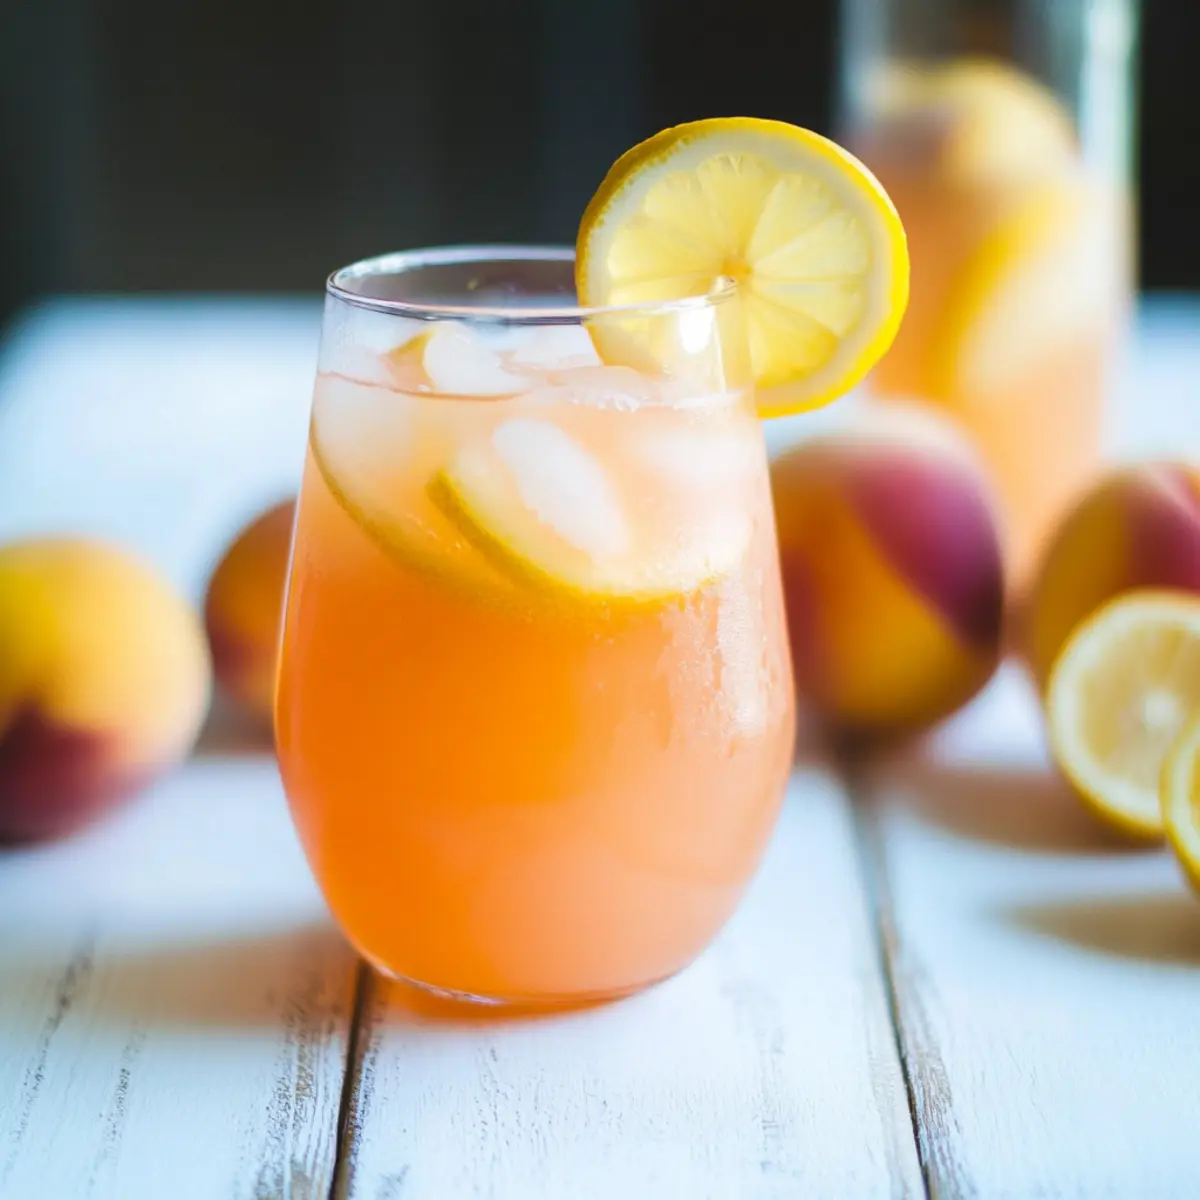
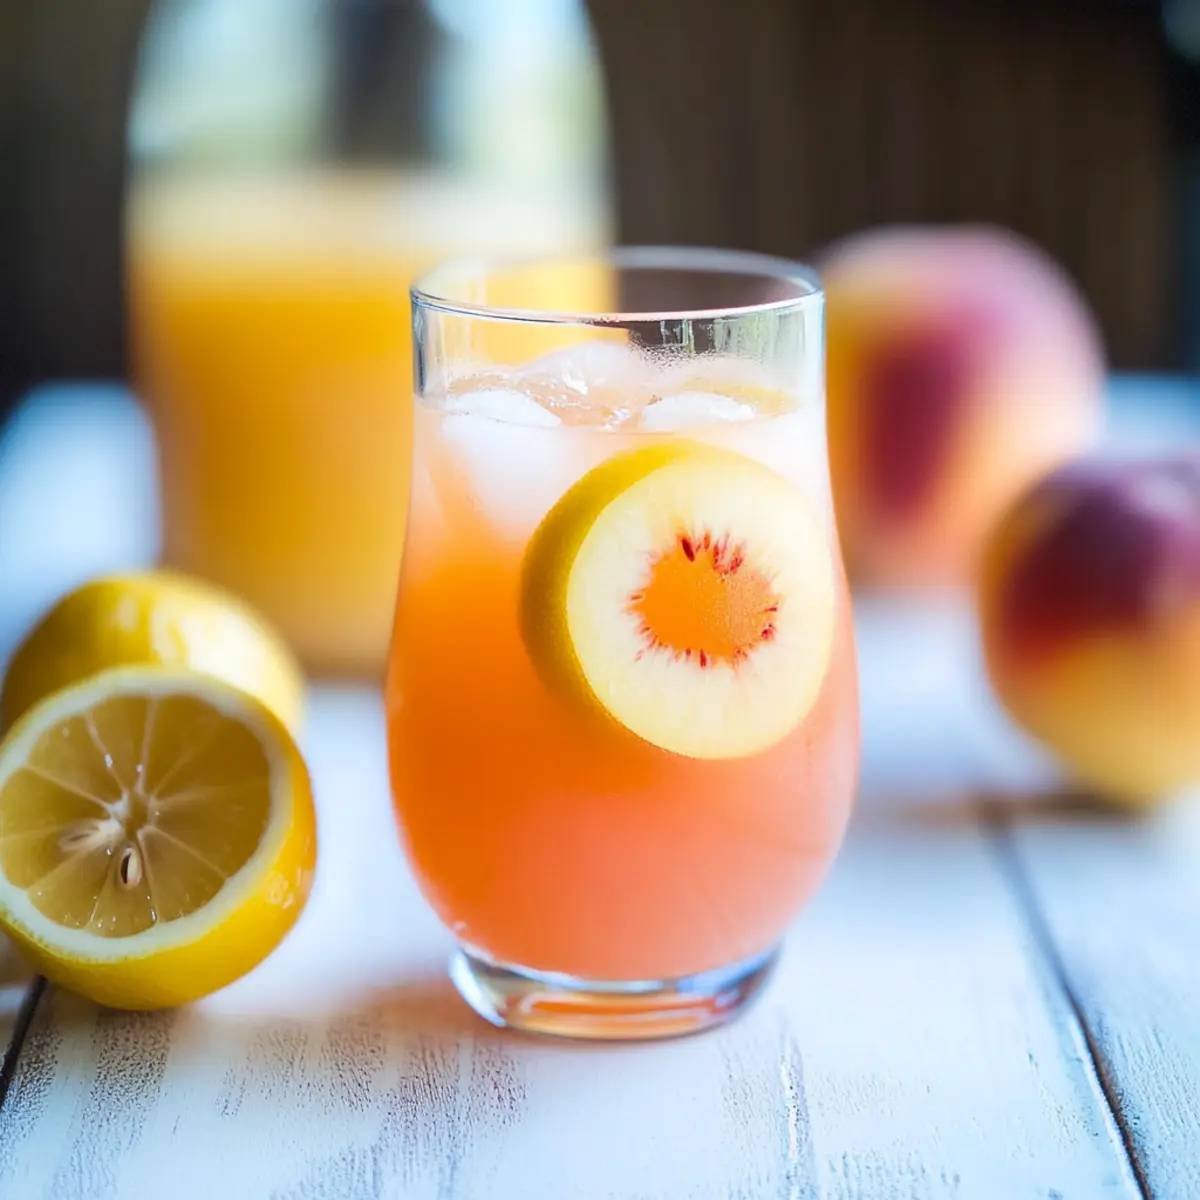
As the sun blazes and summer descends, there’s nothing quite like a splash of homemade refreshment to cool off the day. Enter my Ginger Peach Lemonade—a harmonious blend of ripe, juicy peaches and the warm kick of ginger, transforming your ordinary lemonade into a delightful sip of summer bliss. This easy recipe not only helps you beat the heat but is perfect for impressing friends and family at your next gathering. Whether you’re lounging by the pool or enjoying a backyard BBQ, this invigorating drink is bound to be a hit. Plus, it’s a fantastic way to utilize those seasonal fruits and can even be adapted with sparkling water or frozen peaches for added convenience. Ready to create a glass of pure happiness? Let’s dive in!
Why is Ginger Peach Lemonade a Must-Try?
Refreshing and revitalizing, this Ginger Peach Lemonade is your ticket to summer bliss! Sweet peaches pair beautifully with the spicy zing of ginger, creating a unique flavor combination that will leave your taste buds dancing. Easy to make, this delightful drink requires just a few simple ingredients, making it perfect for both novice and seasoned chefs. Looking for a twist? You can swap in frozen peaches or add sparkling water for a fizzy version. Perfect for parties, this recipe is sure to impress—serve it alongside your favorites like Whipped Pink Lemonade for a refreshing beverage spread!
Ginger Peach Lemonade Ingredients
Unlock the perfect balance of sweetness and spice with these essential ingredients!
For the Peach Syrup
• Ripe Peaches – Use fresh, seasonal peaches for optimal sweetness; frozen peaches are a great alternative if fresh aren’t available.
• Fresh Ginger – Provides a warm and spicy kick; make sure to use freshly peeled and sliced ginger for the best flavor.
• Cane Sugar – Sweetens the drink; you can also use honey or a sugar substitute for a healthier choice.
• Water (1 cup) – Acts as the base for the syrup; essential for dissolving the sugar and blending the fruit.
For the Lemonade
• Fresh Squeezed Lemon Juice – The star ingredient for that essential tang; freshly squeezed is vital for the best flavor—avoid bottled juice!
• Cold Water (5 cups) – Used to dilute and chill the drink for a refreshing finish; some may opt to use sparkling water for a bubbly twist.
• Ice Cubes – Adds a chill factor; fill your glasses as needed for a cool serving.
• Fresh Cut Lemon Slices – Perfect for garnish; adds a beautiful visual appeal and extra zest to each glass.
Now you’re equipped with everything you need for a delightful Ginger Peach Lemonade!
Step‑by‑Step Instructions for Ginger Peach Lemonade
Step 1: Prepare the Peach Syrup
In a medium saucepan, combine sliced ripe peaches, freshly sliced ginger, cane sugar, and 1 cup of water. Heat over medium-high until it reaches a gentle simmer, then lower the heat and simmer for about 5 minutes. Stir occasionally until the peaches soften and the sugar fully dissolves into a fragrant syrup. The mixture should be a vibrant orange hue, reflecting the fresh fruit.
Step 2: Blend the Mixture
Once the peach syrup has cooled slightly, carefully transfer it to a blender. Blend on high speed until the mixture becomes smooth, allowing all the peach and ginger flavors to meld beautifully. You want a silky consistency to enhance the texture of your Ginger Peach Lemonade. This step should take about 30 seconds.
Step 3: Strain the Puree
Using a fine mesh strainer, strain the blended mixture into a large pitcher. Press gently with a spatula to extract as much liquid as possible while discarding any pulp and fibrous ginger pieces. The resulting syrup should be smooth and free of chunks, giving your lemonade a refreshing and elegant finish.
Step 4: Mix the Lemonade
Add freshly squeezed lemon juice to the pitcher of strained peach syrup. Follow with 5 cups of cold water to dilute the mixture to your desired taste. Stir thoroughly to blend all the ingredients well, ensuring the tartness from the lemon perfectly balances with the sweetness of the peach syrup. The lemonade should have a vibrant pinkish-orange color, enticing you to take a sip.
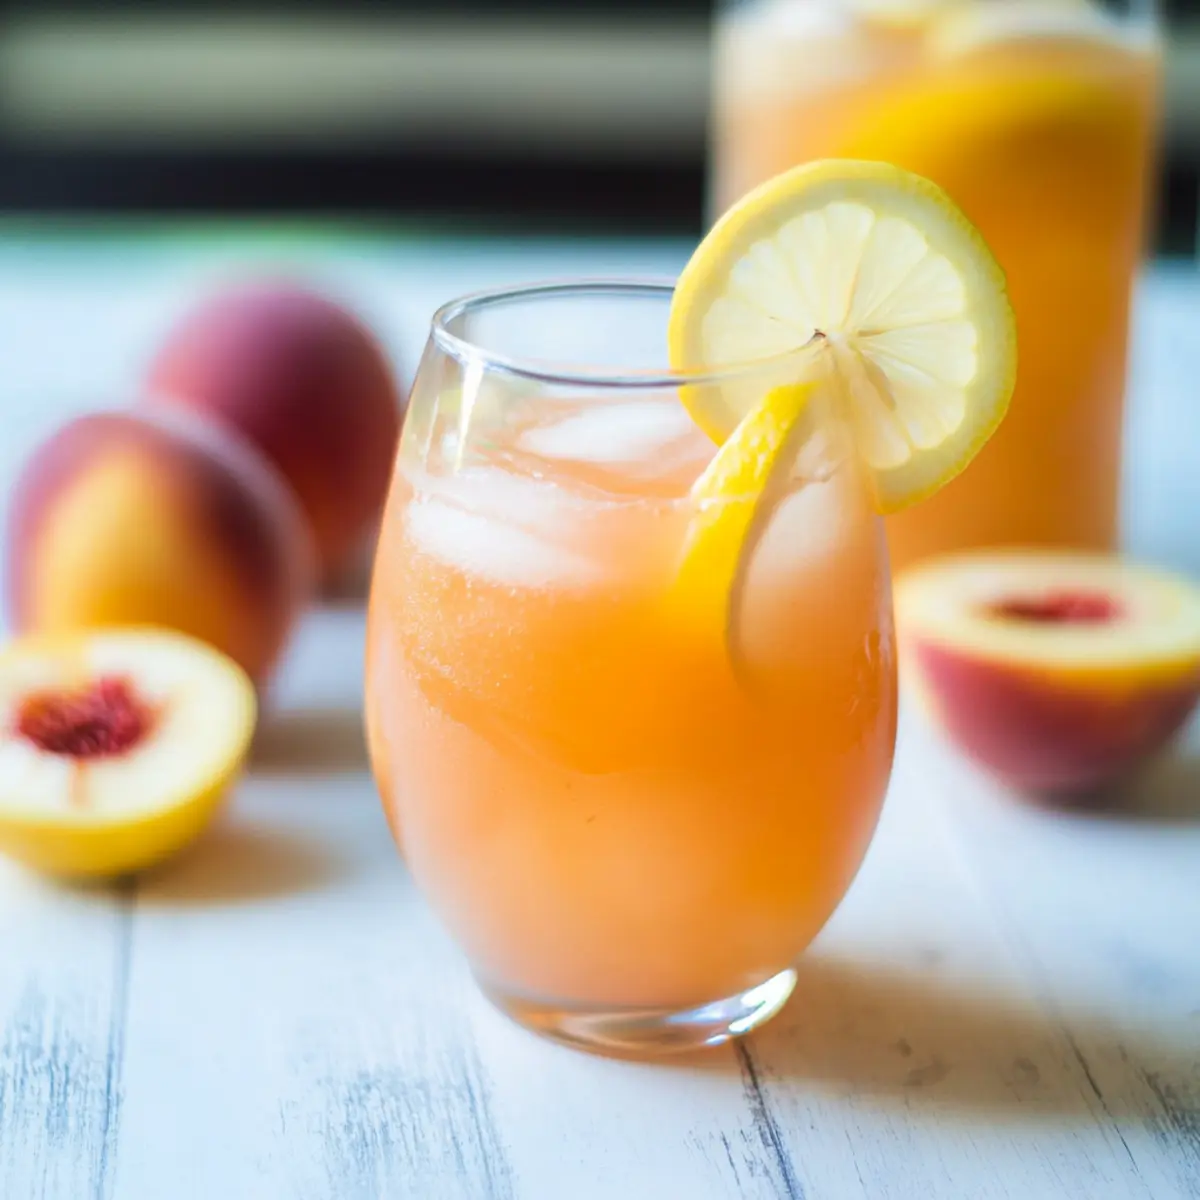
Step 5: Serve and Garnish
Fill glasses with ice cubes and pour the Ginger Peach Lemonade over the ice, allowing it to chill even further. For an appealing presentation, garnish each glass with fresh cut lemon slices. Enjoy this delightful drink immediately, savoring the harmonious blend of flavors that refreshes the spirit of summer.
Expert Tips for Ginger Peach Lemonade
-
Choose Ripe Peaches: Use only ripe, sweet peaches for maximum flavor; under ripe ones can make your drink less sweet and enjoyable.
-
Fresh Ginger Only: Stick to fresh ginger for the best taste. Dried ginger won’t provide that spicy kick that compliments the peaches beautifully.
-
Blending Smoothly: Blend the syrup thoroughly until completely smooth. A gritty texture can detract from the drink’s refreshing quality.
-
Adjust Sweetness: Taste as you go! Adjust the sugar level according to your preferences; some like it sweeter, others prefer a more tangy profile.
-
Fizzy Option: For a delightful twist, replace cold water with sparkling water right before serving to create a refreshing Ginger Peach Lemonade spritzer.
-
Garnish for Extra Flavor: Don’t skip the fresh lemon slices! They add beauty and a pop of extra flavor, enhancing the overall experience of this refreshing drink.
Ginger Peach Lemonade Variations
Customize your Ginger Peach Lemonade with these delightful twists to match your taste preferences!
-
Sparkling Twist: Replace cold water with sparkling water for a bubbly refreshment that tickles your taste buds.
-
Herbal Infusion: Add fresh mint or basil to the blender for a fragrant, herbaceous note that beautifully complements the peach and ginger.
-
Spicy Kick: Toss in a pinch of cayenne pepper for a surprising spicy finish that elevates the flavor profile.
-
Fruit Mixer: Blend in other seasonal fruits like strawberries or raspberries for an exciting flavor medley. Each sip will bring a burst of fruity vibrancy.
-
Sweetener Swap: Instead of cane sugar, try using agave syrup or honey for a natural sweetener that adds a unique depth to the lemonade.
-
Frozen Delight: Use frozen peaches instead of fresh for an ultra-cool drink that requires no chopping and is perfect for last-minute gatherings.
-
Chai Infusion: For a unique twist, steep a chai tea bag in the peach syrup while it simmers, adding a fragrant spice that takes your lemonade to the next level.
-
Serving Suggestion: Pair the Ginger Peach Lemonade with a refreshing dish like shrimp tacos or a light summer salad. It’s a match made in culinary heaven!
Experiment with these variations to find your favorite! Consider serving this alongside a refreshing glass of Whipped Pink Lemonade for an impressive beverage spread, or be inspired by my Jalapeno Peach Chicken for a delicious meal that echoes the drink’s delightful flavors.
How to Store and Freeze Ginger Peach Lemonade
Fridge: Store any leftover Ginger Peach Lemonade in an airtight container in the refrigerator for up to 2–3 days. This will maintain its fresh flavor and chill.
Freezer: If you want to freeze it, pour the lemonade into an ice cube tray or freezer-safe container. It can last up to 2 months—great for making quick, refreshing drinks later!
Thawing: To enjoy your frozen lemonade, simply thaw it in the refrigerator overnight or let it sit at room temperature for about 1 hour.
Reheating: While Ginger Peach Lemonade is best served chilled, if you prefer warmth, gently warm the thawed lemonade in a saucepan over low heat, being careful not to boil it.
What to Serve with Ginger Peach Lemonade
Immerse yourself in summer perfection by pairing this refreshing beverage with delightful dishes that enhance its vibrant flavor.
-
Grilled Salmon: The rich, smoky flavor of grilled salmon complements the sweet and spicy notes of the Ginger Peach Lemonade beautifully. A drizzle of lemon enhances both dishes, creating a harmonious dining experience.
-
Caprese Salad: Fresh mozzarella, juicy tomatoes, and fragrant basil create a light and refreshing side that pairs perfectly with the lemonade’s fruity notes. The slight acidity of the tomatoes balances the sweetness of the drink.
-
Spicy Shrimp Tacos: The heat from spicy shrimp tacos contrasts with the lemonade’s cooling qualities, resulting in a dynamic flavor pairing. Top with fresh mango salsa for extra sweetness that resonates with your drink.
-
Berry Dessert Parfait: Layer tangy Greek yogurt with fresh berries and granola for a light dessert that mirrors the bright flavors of your beverage. The berries echo the peaches and will leave your guests feeling refreshed.
-
Cucumber Mint Salad: This crisp salad with cucumber, mint, and a hint of lime is a cooling side that works in tandem with the lemonade’s sweetness. It’s a perfect palate cleanser for a summer meal.
-
Honey-Glazed Chicken Skewers: The sweet and savory notes of honey-glazed chicken enhance the complex flavors of the Ginger Peach Lemonade. Pair with a light dipping sauce for added flavor dimension.
-
Sparkling Water: For those who love bubbles, serve sparkling water with fresh fruit slices. It complements the drink’s flavor and offers a refreshing contrast when sipped between gulps of lemonade.
-
Peach Cobbler: Continue the peach theme with a warm peach cobbler, its sweet, buttery goodness perfectly matched with the refreshing drink. A scoop of vanilla ice cream adds creaminess for a dessert that brings pure joy.
Indulge in these pairings to create a delightful summer gathering filled with vibrant flavors that will leave everyone longing for more!
Make Ahead Options
These Ginger Peach Lemonade is perfect for meal prep enthusiasts looking to save time on busy days! You can prepare the peach syrup (steps 1-3) up to 24 hours in advance; simply allow it to cool before transferring to an airtight container and refrigerate. This not only enhances the flavors but also maintains the freshness. When you’re ready to serve, mix the chilled peach syrup with freshly squeezed lemon juice and cold water (step 4). For the best quality, enjoy your refreshing Ginger Peach Lemonade within 3 days for a delightful experience that’s just as delicious as when you first made it!

Ginger Peach Lemonade Recipe FAQs
What kind of peaches should I use for Ginger Peach Lemonade?
I recommend using ripe, seasonal peaches for the best flavor in your Ginger Peach Lemonade. Ripe peaches are sweet and juicy, enhancing the overall taste. If fresh peaches aren’t available, frozen peaches are a great alternative that can be used without compromising much on flavor.
How should I store leftover Ginger Peach Lemonade?
Store any leftover Ginger Peach Lemonade in an airtight container in the refrigerator. It will stay fresh for up to 2–3 days. Just give it a good stir before serving as the ingredients may settle. It’s perfect for those hot summer days ahead!
Can I freeze Ginger Peach Lemonade?
Absolutely! To freeze your Ginger Peach Lemonade, pour it into ice cube trays or a freezer-safe container. It will keep well for up to 2 months. When you’re ready to enjoy it, just thaw overnight in the fridge or let it sit at room temperature for about an hour for a refreshing drink later.
What should I do if my Ginger Peach Lemonade turns out too sweet?
If your lemonade is too sweet, simply add more fresh squeezed lemon juice to balance the flavors. Start with a tablespoon at a time, stirring well and tasting until you achieve your desired tartness. Remember, the warmth of ginger can also complement the acidity, enhancing the overall flavor!
Is there any dietary consideration for Ginger Peach Lemonade?
For those with allergies, it’s important to note that this recipe features ginger, which may cause reactions in some individuals. If you’re using cane sugar but looking for a healthier alternative, opt for honey or a sugar substitute, ensuring it suits any dietary restrictions you or your guests may have.
Can I make Ginger Peach Lemonade ahead of time?
Yes, you can! Prepare the peaches syrup the day before and store it in the refrigerator. Just mix in the fresh lemon juice and cold water right before serving to enjoy a refreshing drink without the last-minute hassle. This is a fantastic way to impress guests without spending all your time in the kitchen!
Zest Up Your Summer with Ginger Peach Lemonade Delight
Ingredients
Equipment
Method
- In a medium saucepan, combine sliced ripe peaches, freshly sliced ginger, cane sugar, and 1 cup of water. Heat over medium-high until it reaches a gentle simmer, then lower the heat and simmer for about 5 minutes until the peaches soften.
- Once the peach syrup has cooled slightly, carefully transfer it to a blender and blend on high speed until smooth.
- Using a fine mesh strainer, strain the blended mixture into a large pitcher, discarding any pulp and fibrous ginger pieces.
- Add freshly squeezed lemon juice to the pitcher of strained peach syrup, followed by 5 cups of cold water. Stir thoroughly to blend all ingredients well.
- Fill glasses with ice cubes and pour the Ginger Peach Lemonade over the ice. Garnish with fresh cut lemon slices.