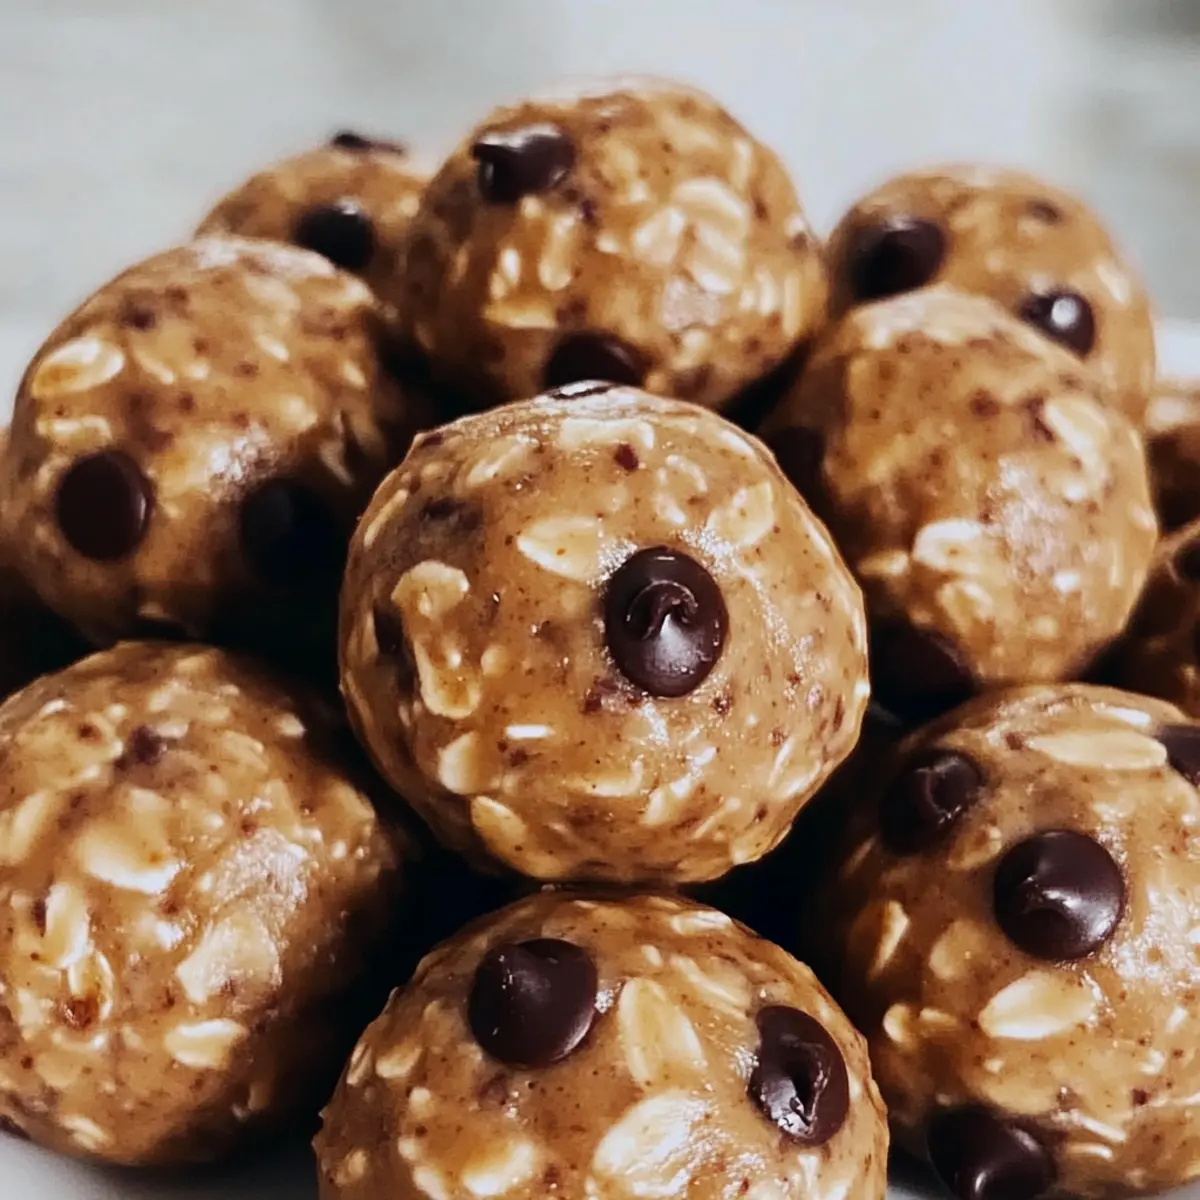
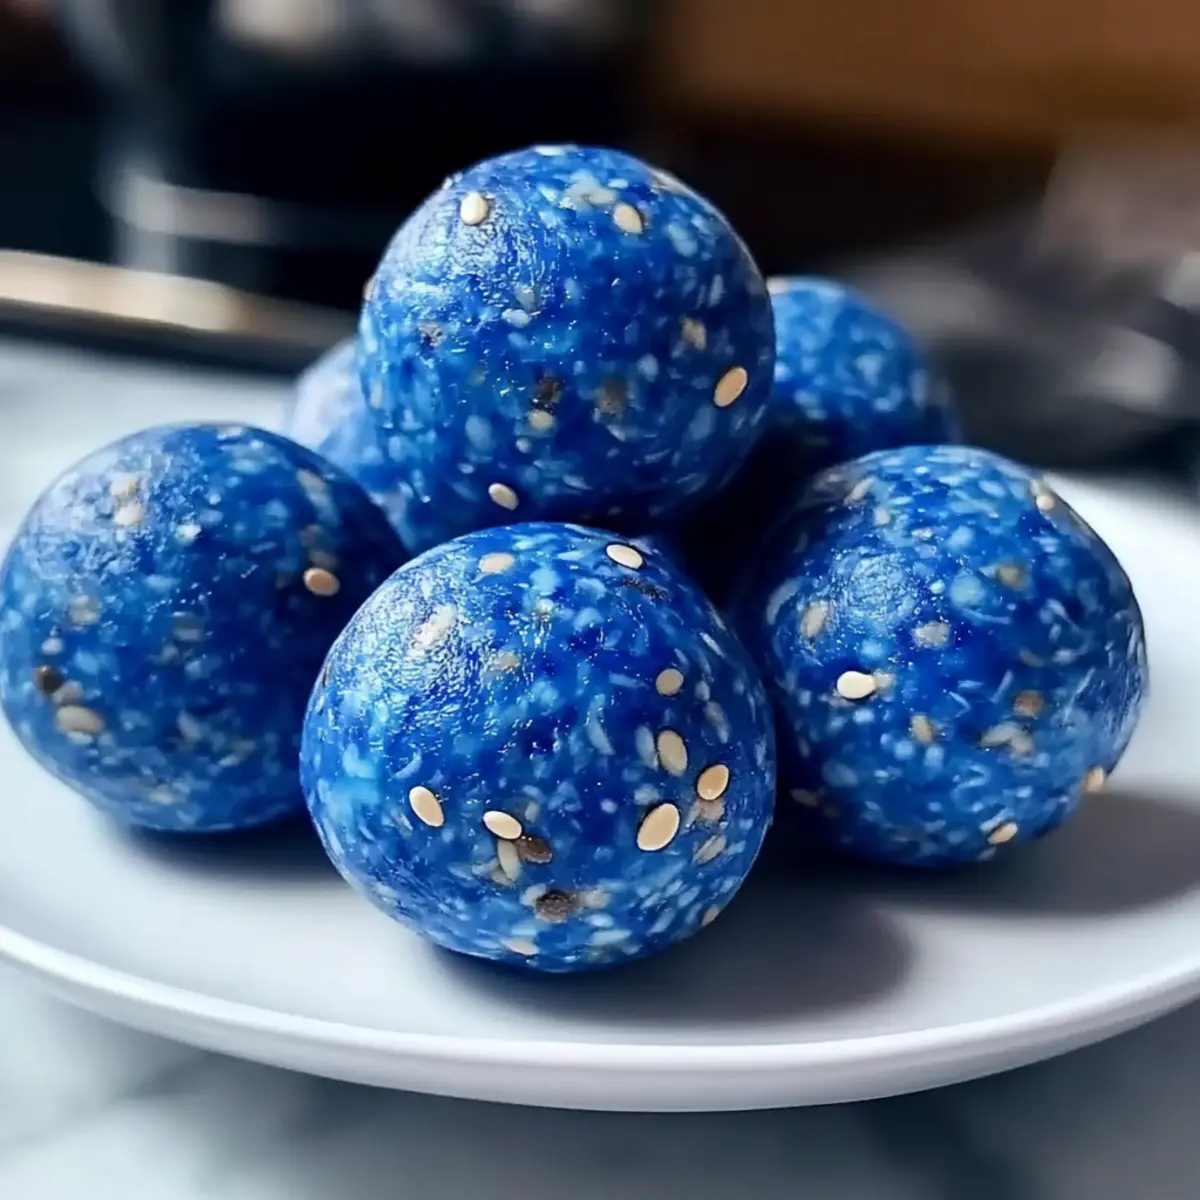
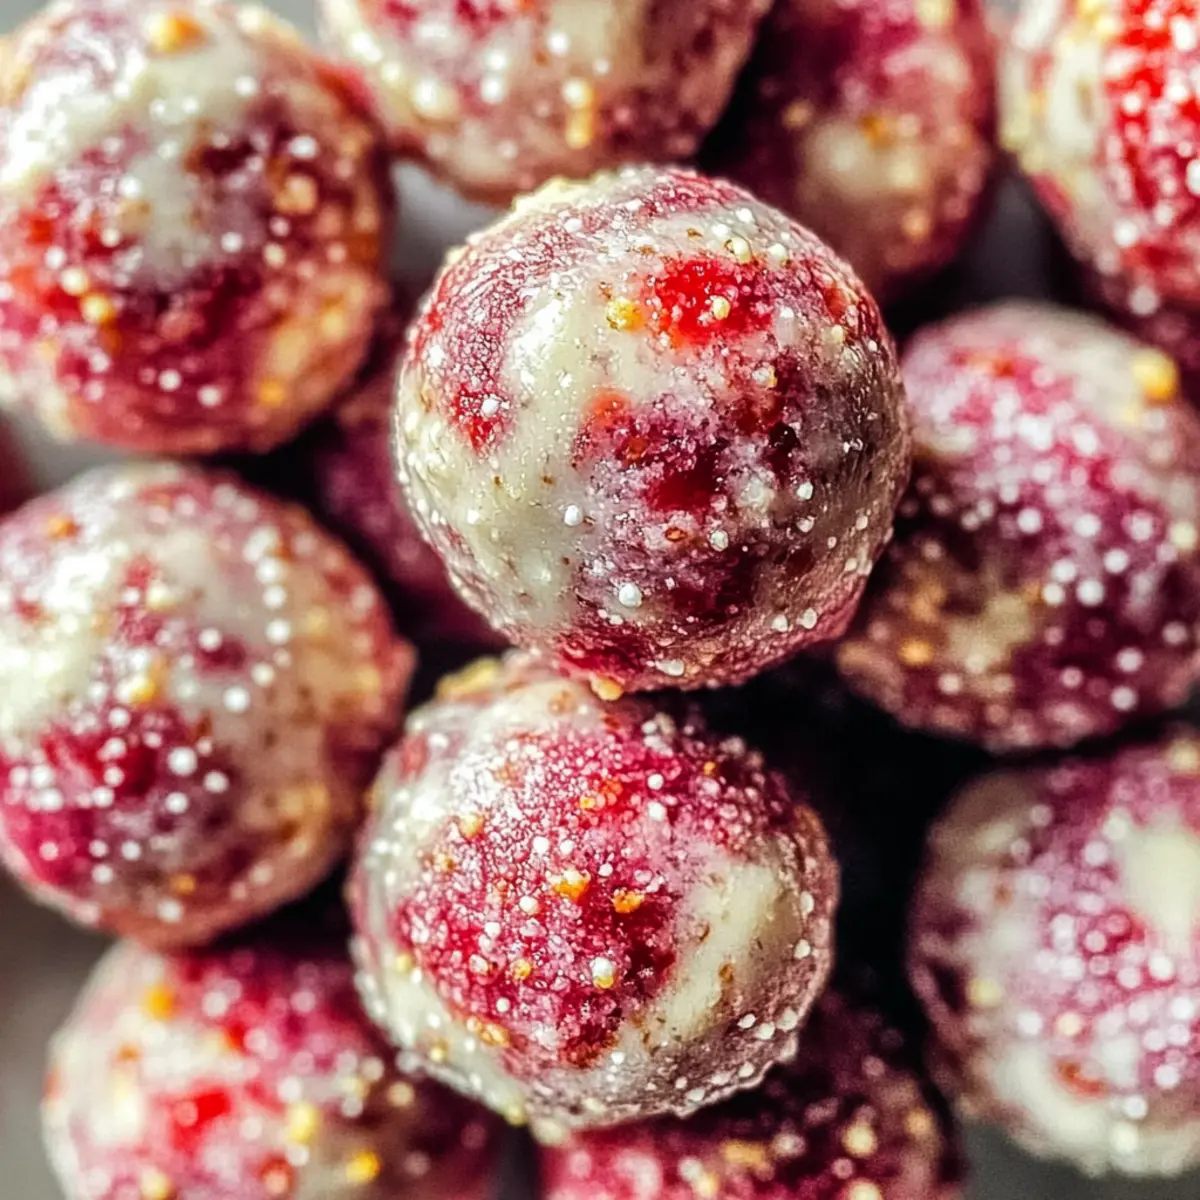
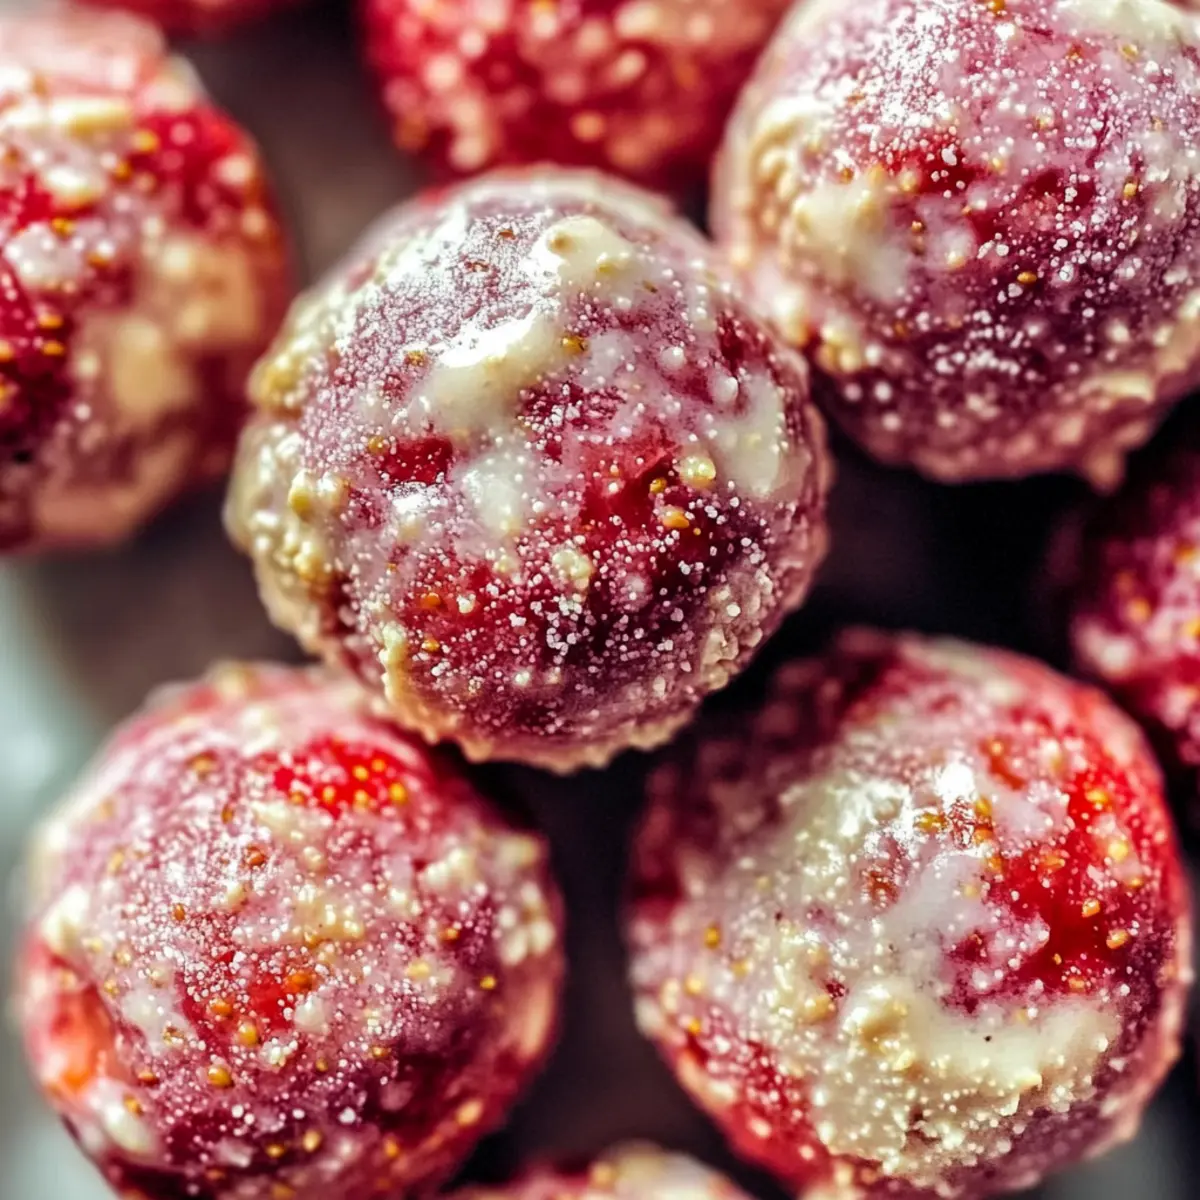
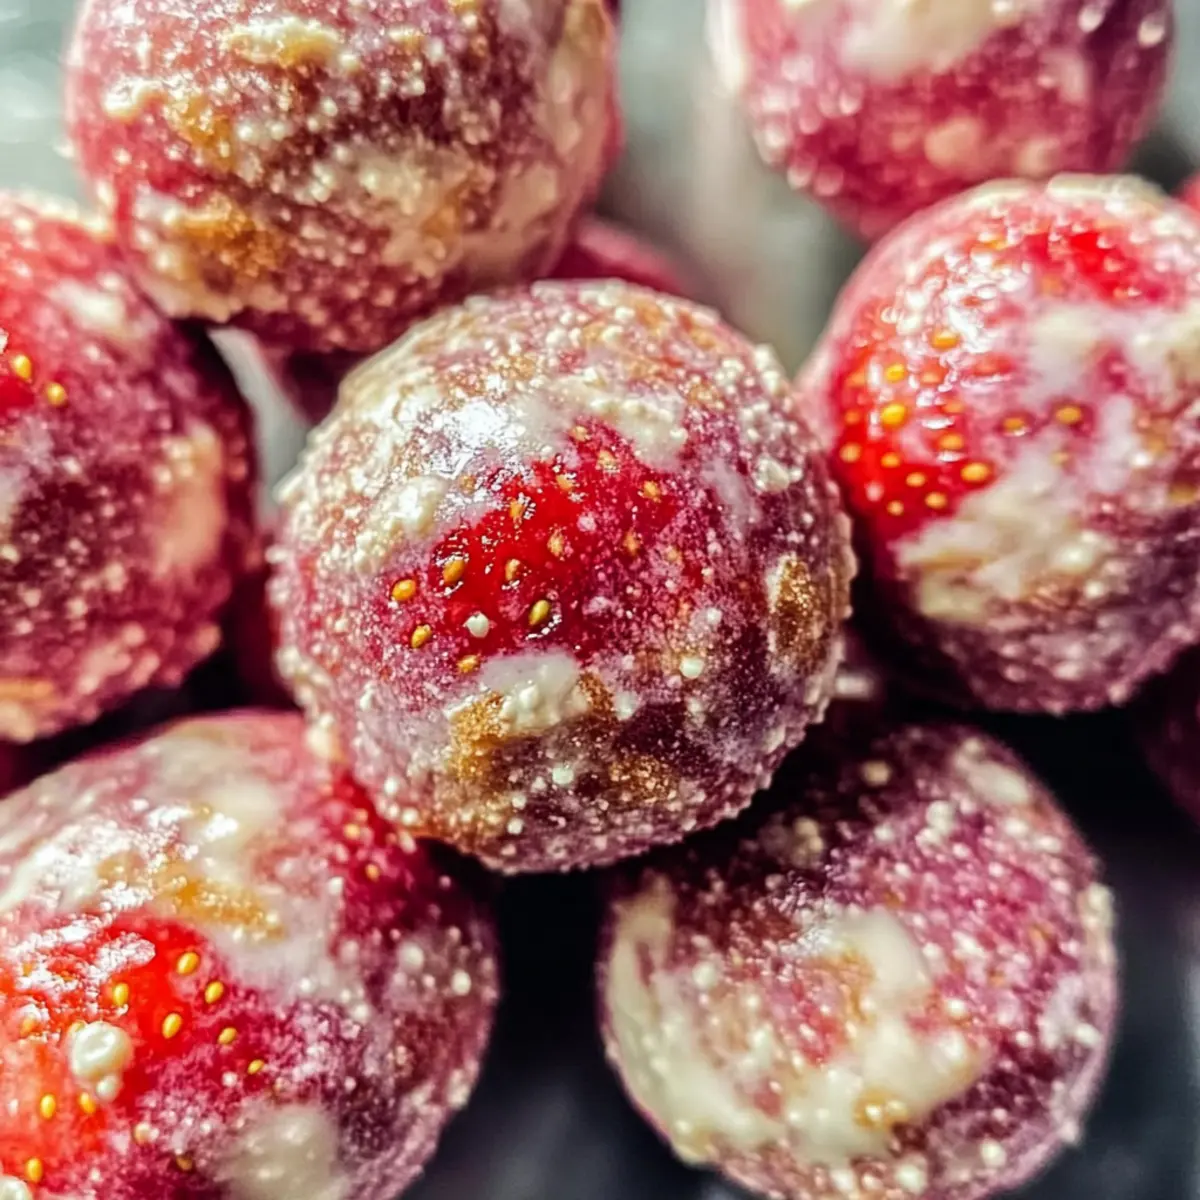
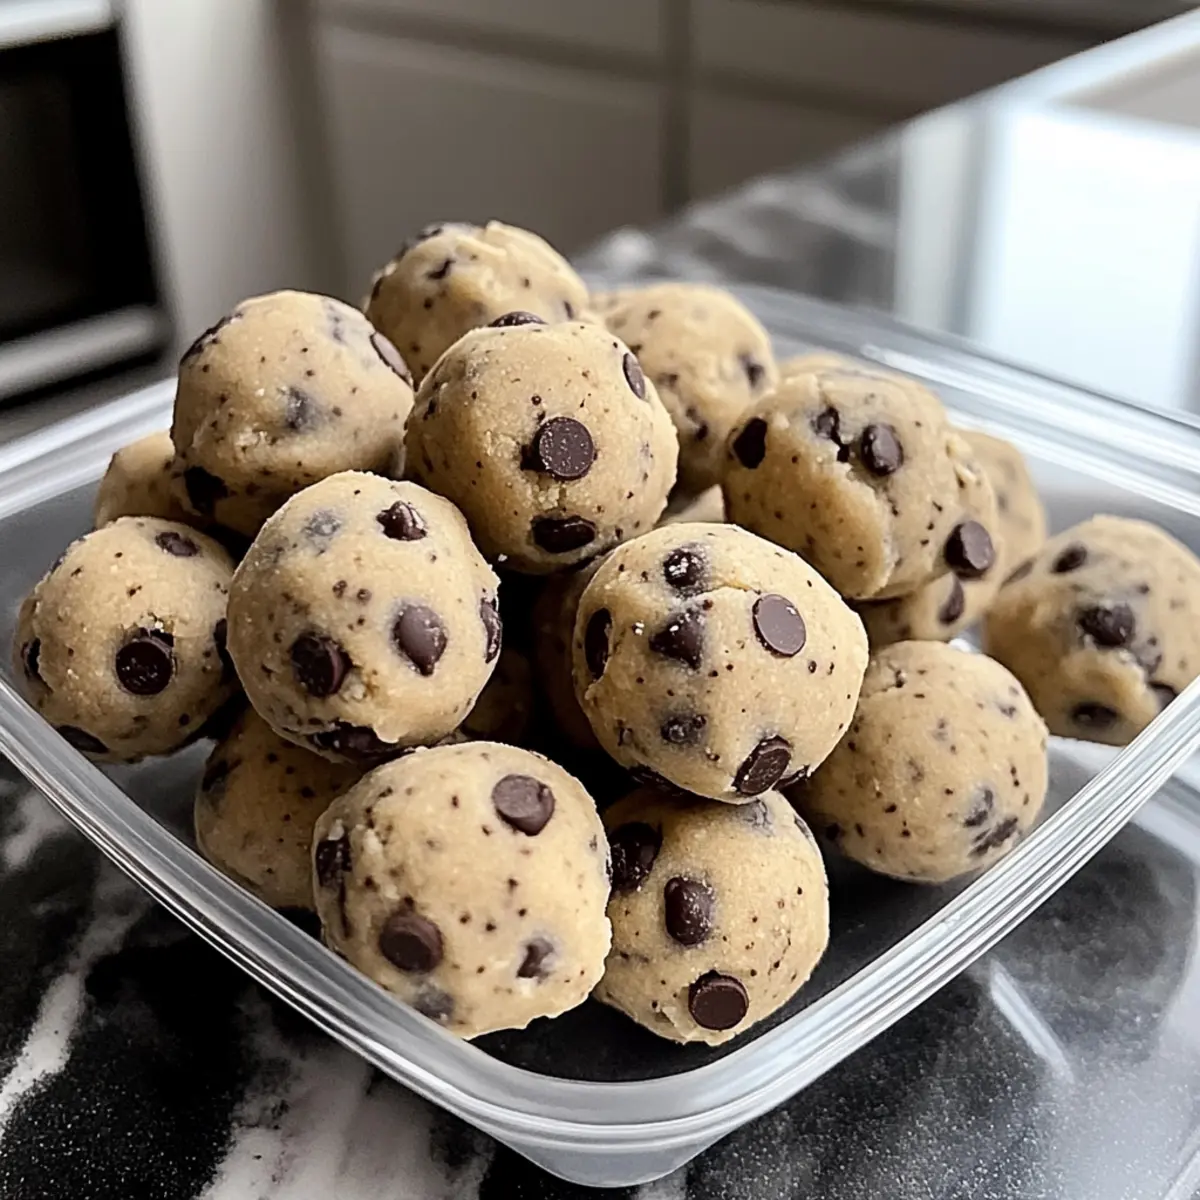
The sound of a spoon clinking against a mixing bowl fills my kitchen as I whip up something truly delightful: Cookie Dough Protein Balls. These little gems remind me of late-night cookie baking, but with a healthier twist. Imagine indulging in that classic cookie dough taste—smooth, creamy, and oh-so-satisfying—without any guilt! These no-bake bites are not only packed with protein but also customizable, making them perfect for anyone craving an energizing snack. Whether you’re recovering from a workout or simply need a quick pick-me-up, these Cookie Dough Protein Balls are your new best friend in the kitchen. Plus, they’re nut-free for those of us with allergies! Curious about how to make them uniquely yours? Let’s dive in!
Why Are Cookie Dough Protein Balls Perfect?
Unmatched Convenience: These no-bake Cookie Dough Protein Balls come together in just minutes, making them a lifesaver for busy schedules!
Guilt-Free Indulgence: Enjoy the rich, familiar taste of cookie dough without the added sugars or unhealthy fats—perfect for satisfying your sweet tooth!
Customizable Flavor: With endless options for mix-ins and substitutions, you can easily modify the recipe to match your cravings or dietary needs. From adding dried fruits to tweaking protein flavors, the possibilities are limitless!
Protein Powerhouse: Packed with protein, these bites are a great post-workout recovery snack or a quick meal booster that keeps you energized throughout the day.
Kid-Friendly Treat: Delight the little ones with a tasty snack that’s also healthy—perfect for after-school munchies or lunchbox surprises!
Whether you’re in the mood for something fruity or a chocolate lover’s dream, these Cookie Dough Protein Balls will impress! If you want more delicious options, check out these Yogurt Cookie Dough bites or High Protein Triple Berry snacks!
Cookie Dough Protein Balls Ingredients
For the Base
- Vanilla Protein Powder – Essential for muscle recovery; you can substitute with any brand of vanilla or flavored protein powder.
- Maple Syrup – A natural sweetener that binds the ingredients together; honey or agave syrup works well as alternatives.
- Peanut Butter or Almond Butter – Provides healthy fats and creaminess; use sun butter for a nut-free option.
For Sweetness and Crunch
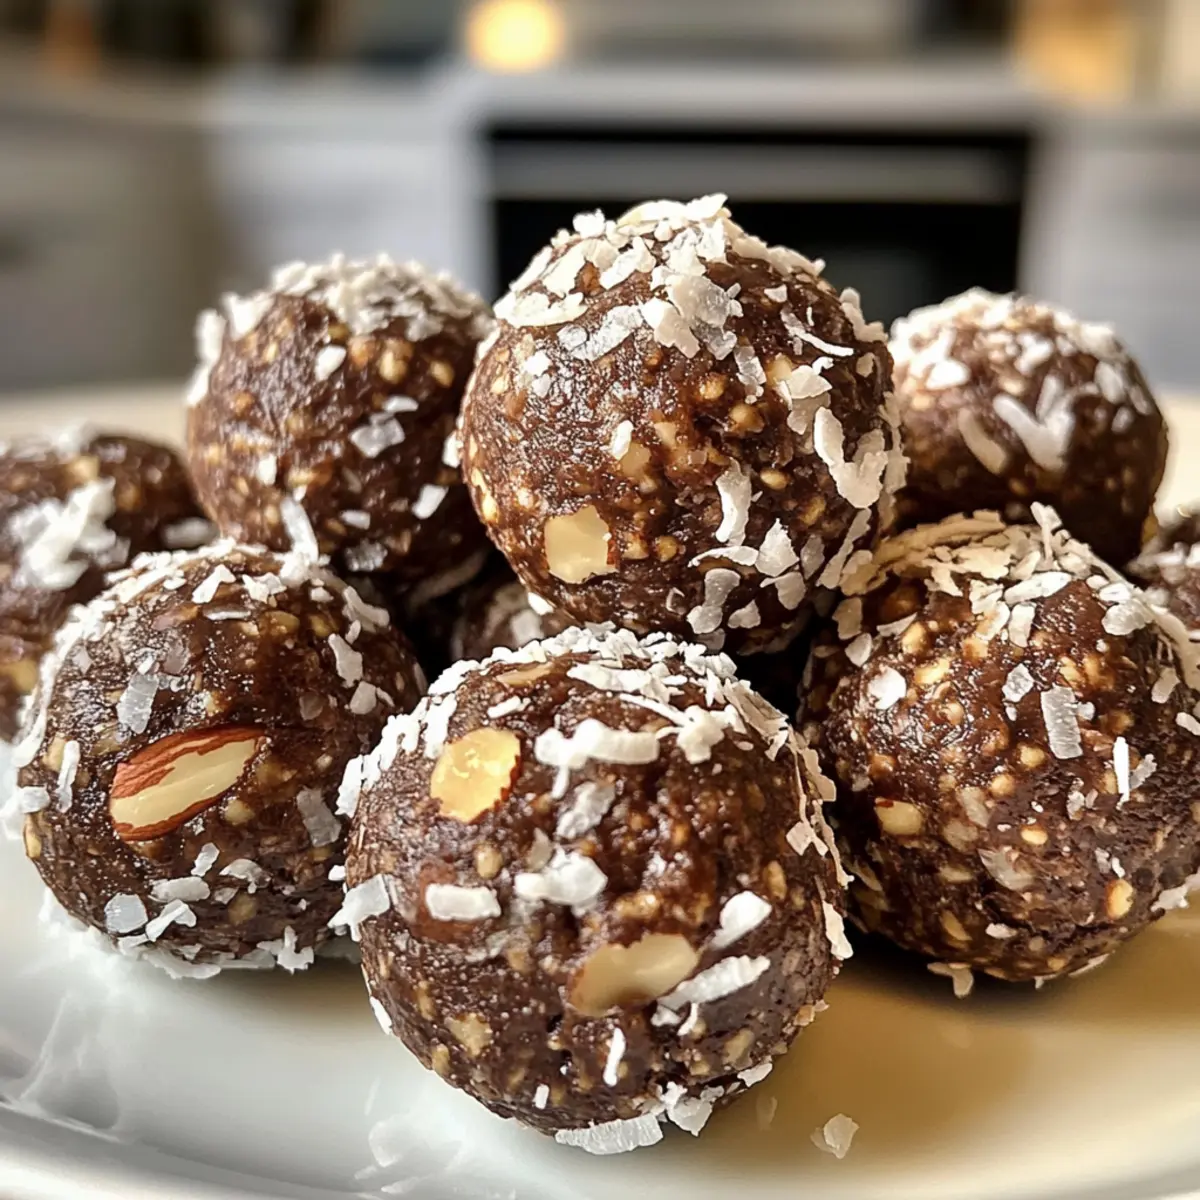
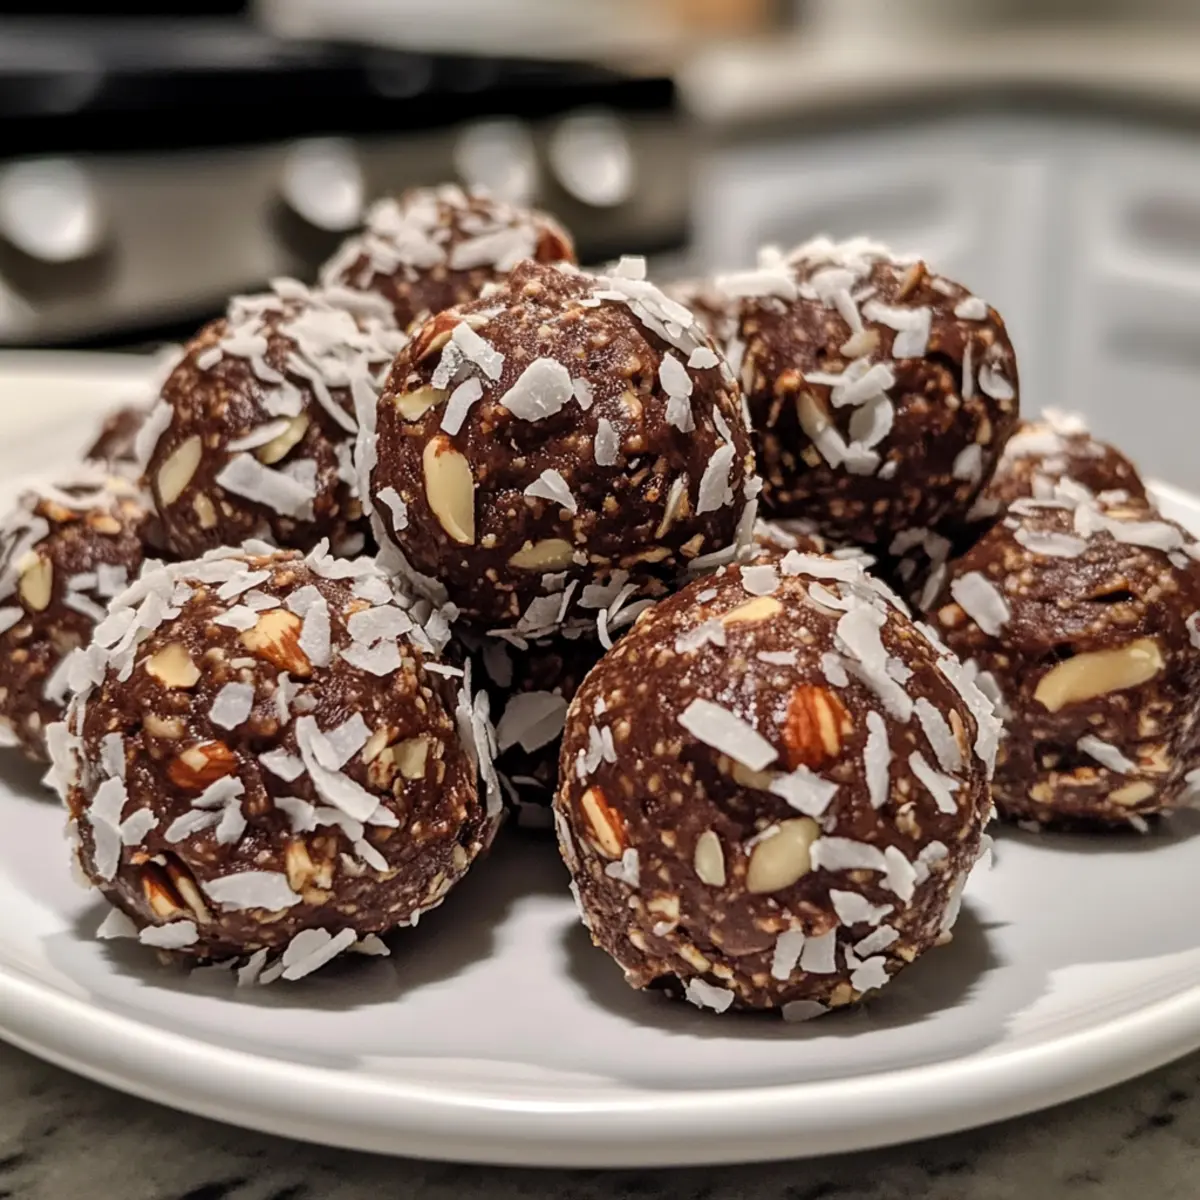
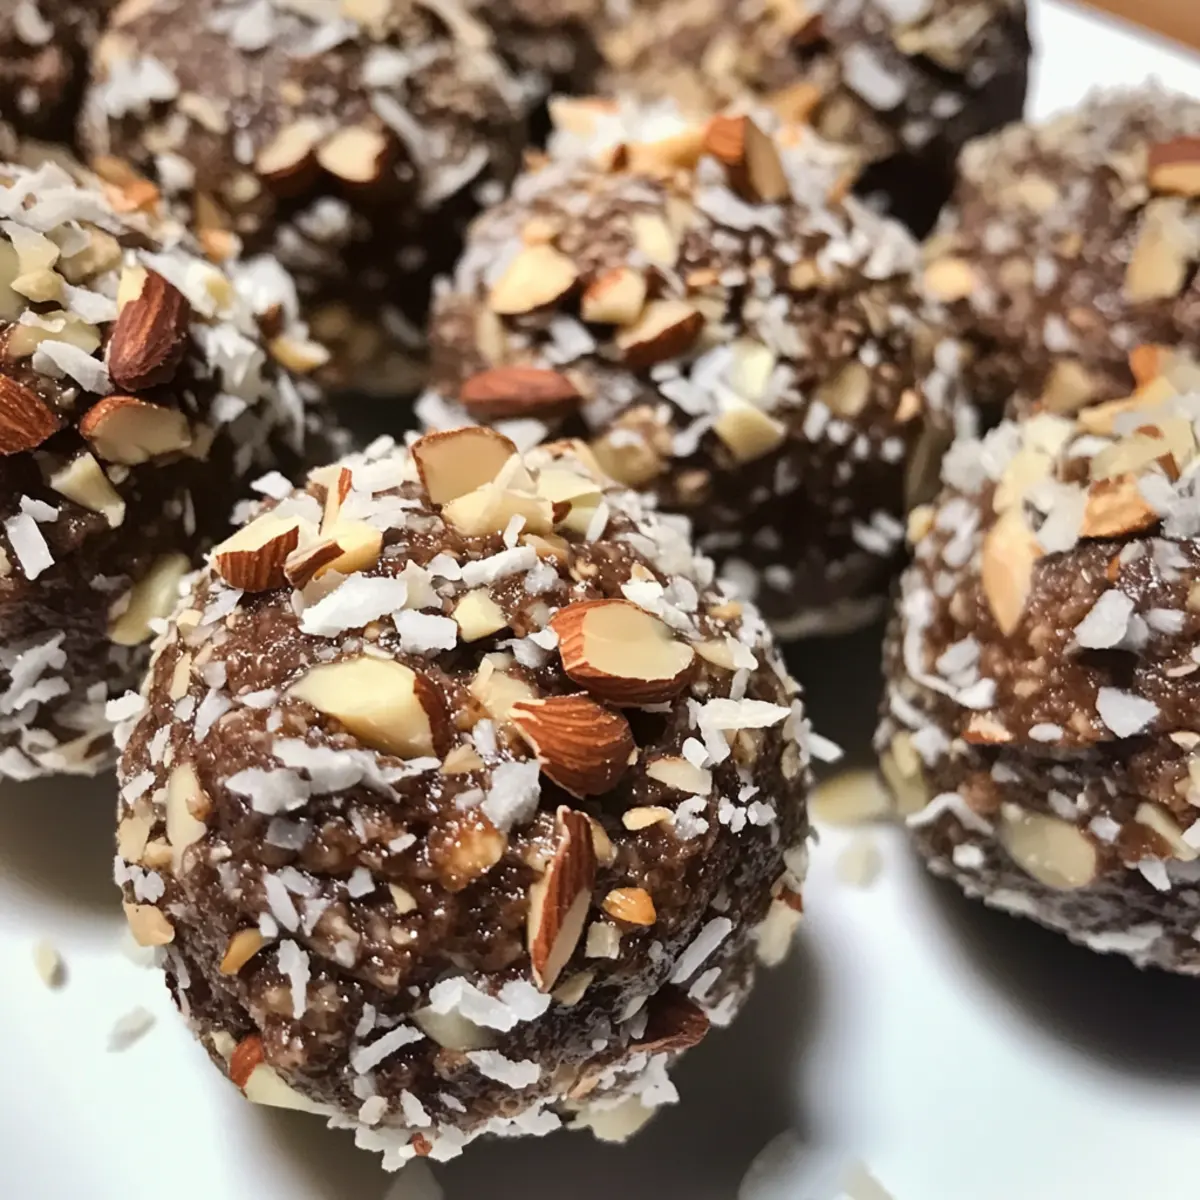
- Chocolate Chips – Adds delightful sweetness; dark chocolate can be used for a richer taste.
- Chopped Nuts (optional) – Offers crunch as well as extra healthy fats; try different nuts based on your preference.
For Additional Flavor
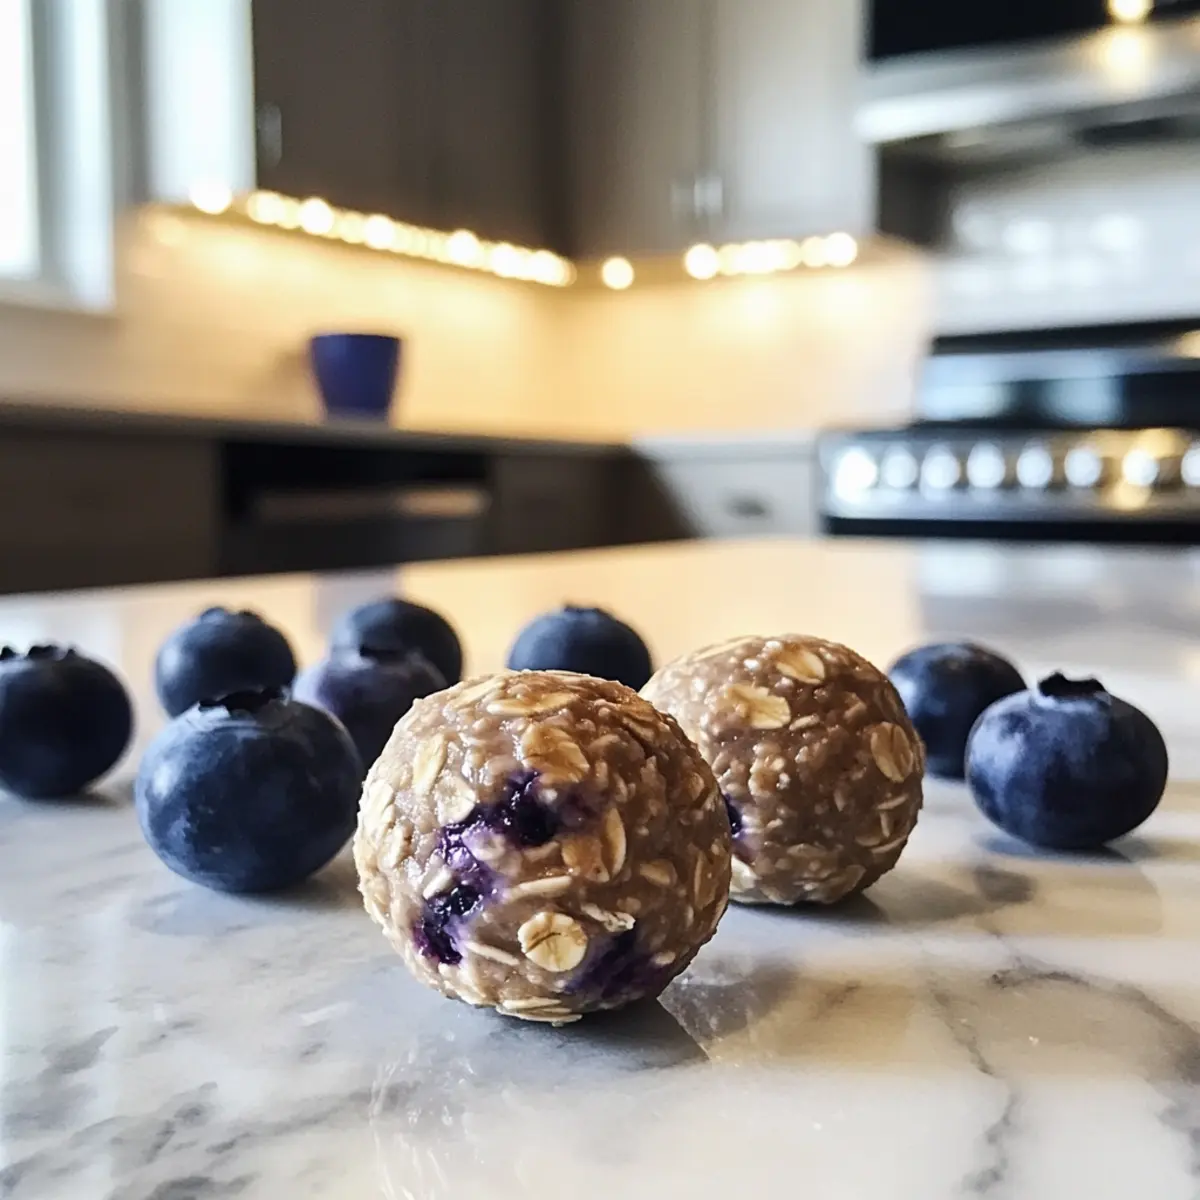
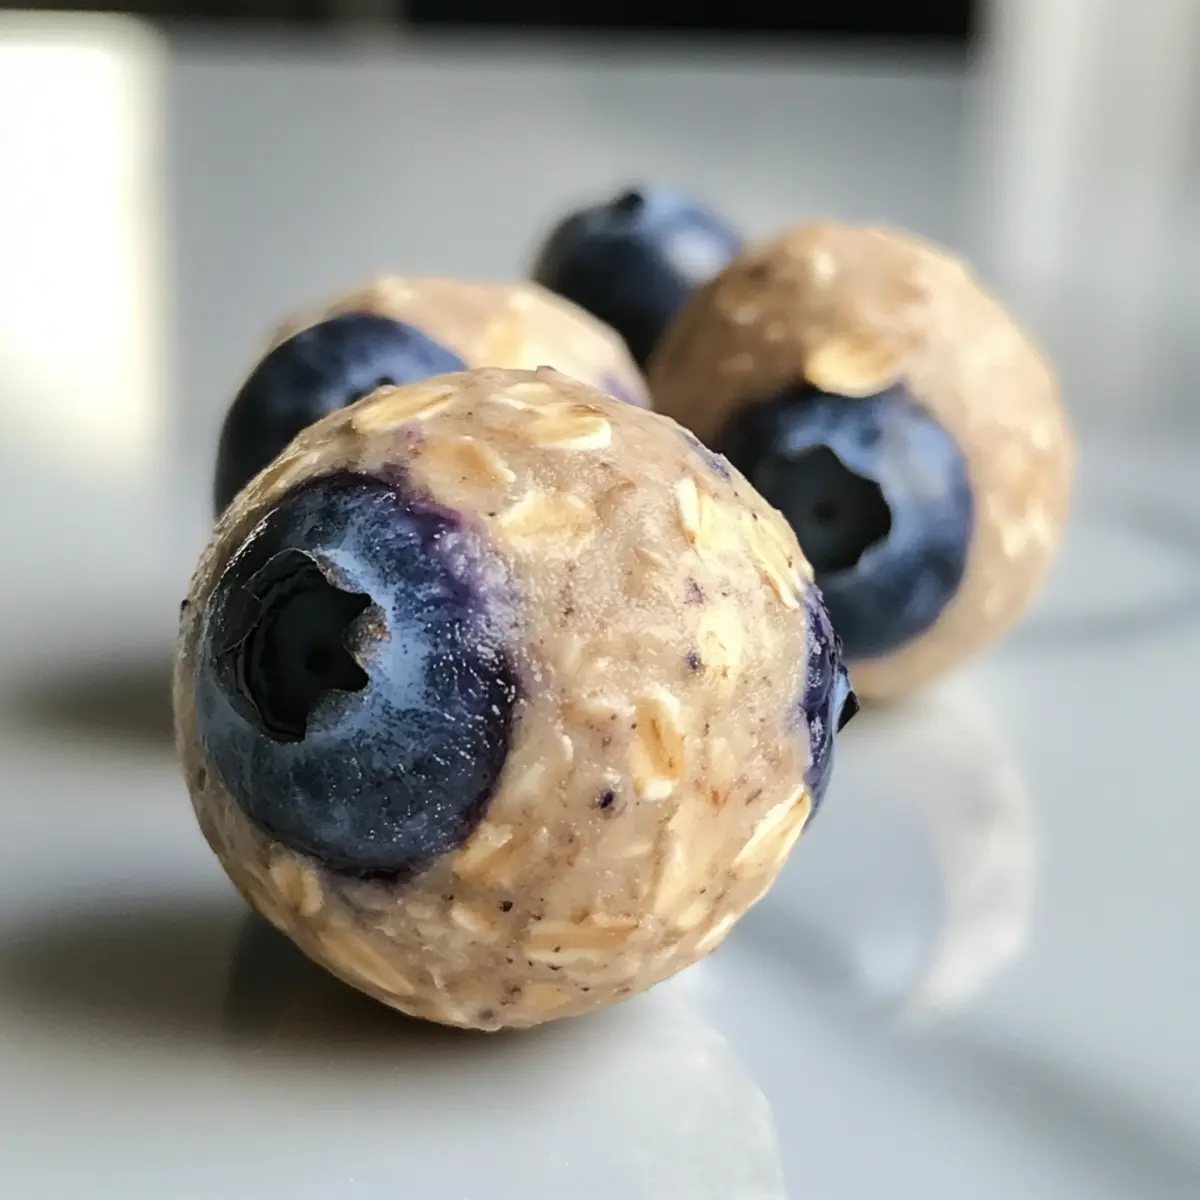
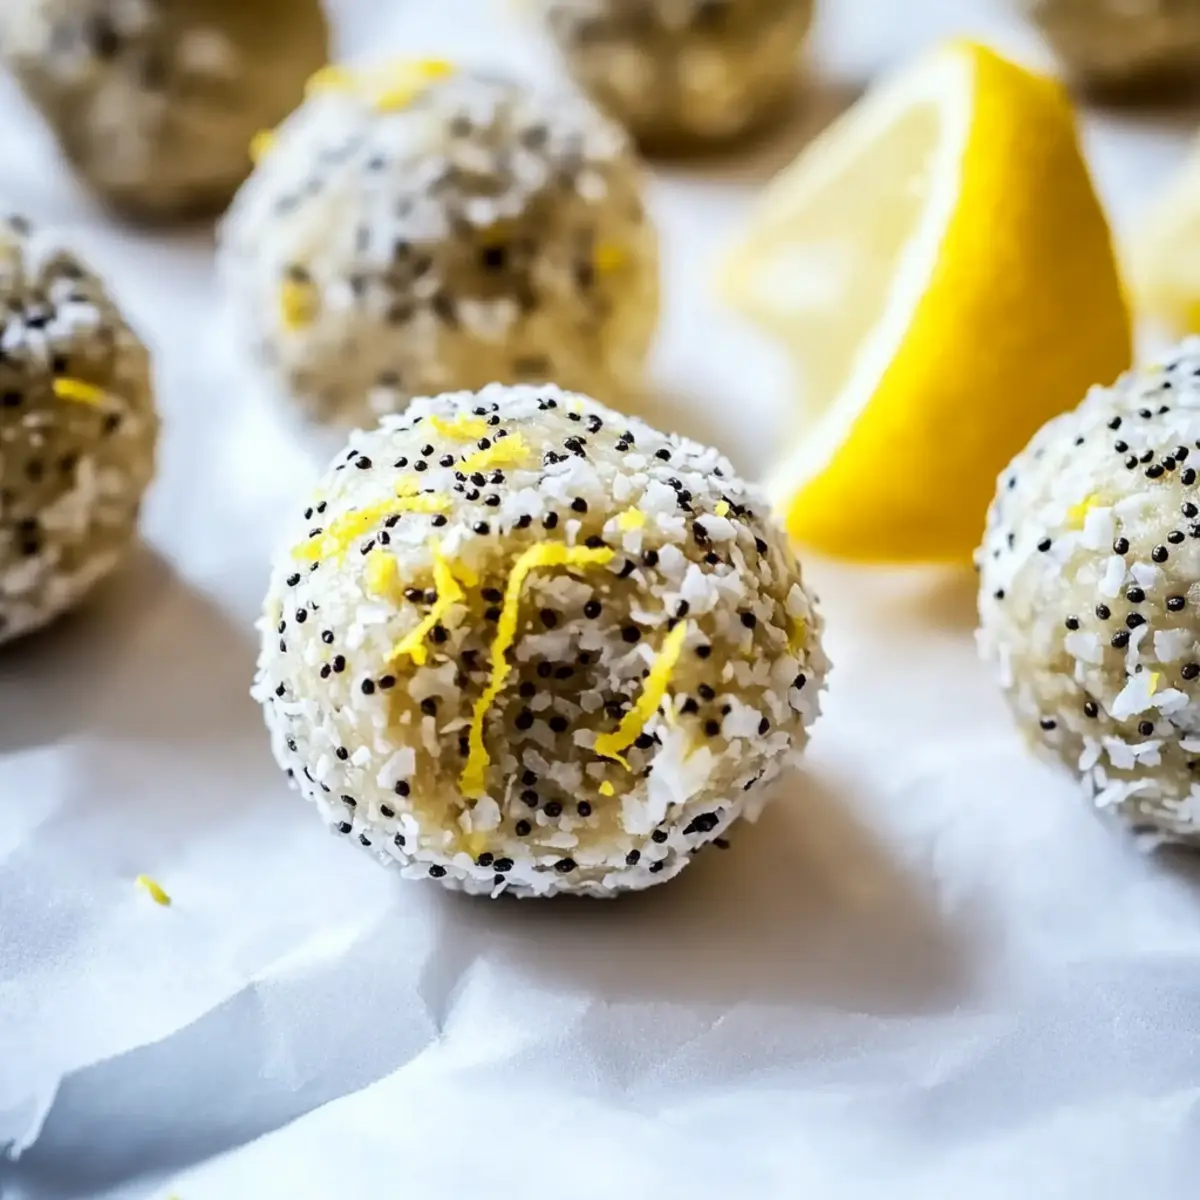
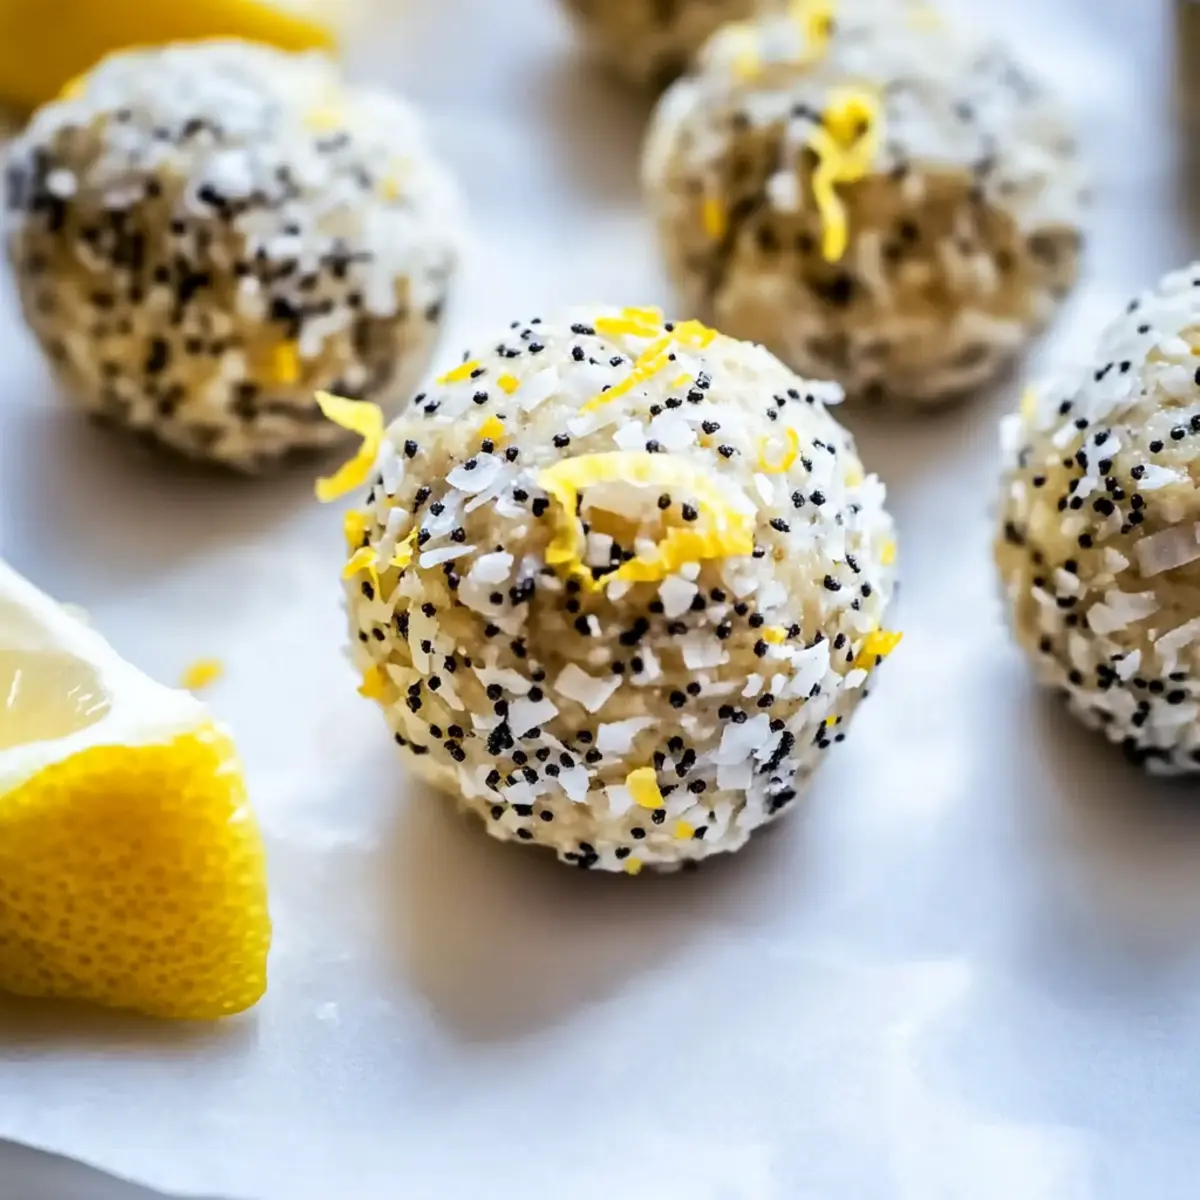
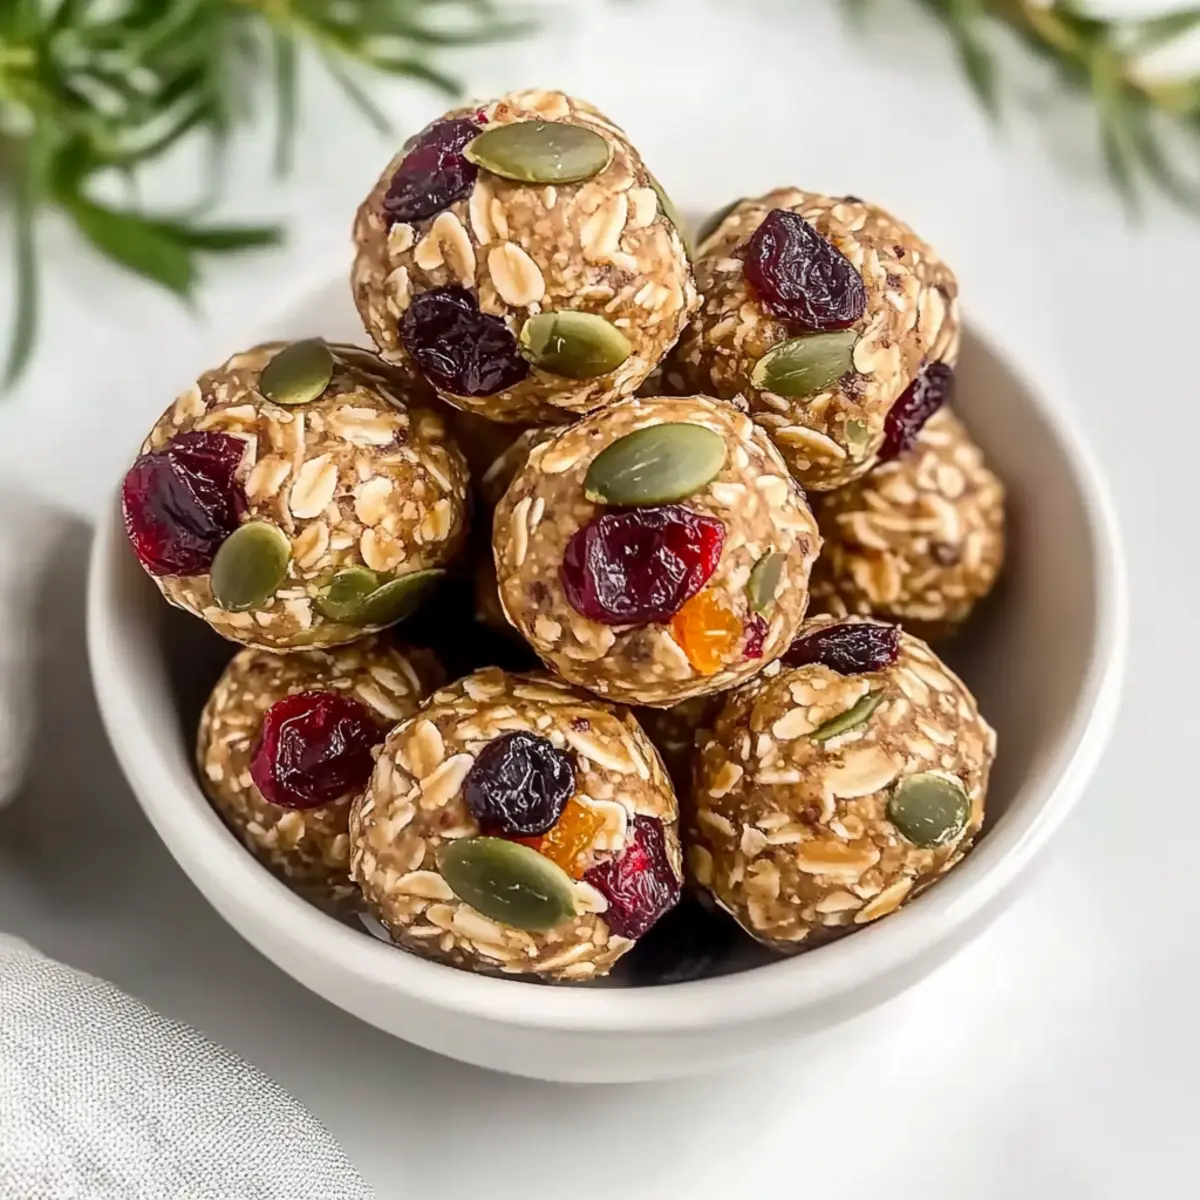
- Dried Fruit (optional) – Adds natural sweetness and chewiness; choose your favorite dried fruits to enhance flavor.
- Seeds (optional) – Boosts nutritional content; chia or flaxseeds are great additions to increase health benefits.
Enjoy crafting your personalized Cookie Dough Protein Balls!
Step‑by‑Step Instructions for Cookie Dough Protein Balls
Step 1: Combine Ingredients
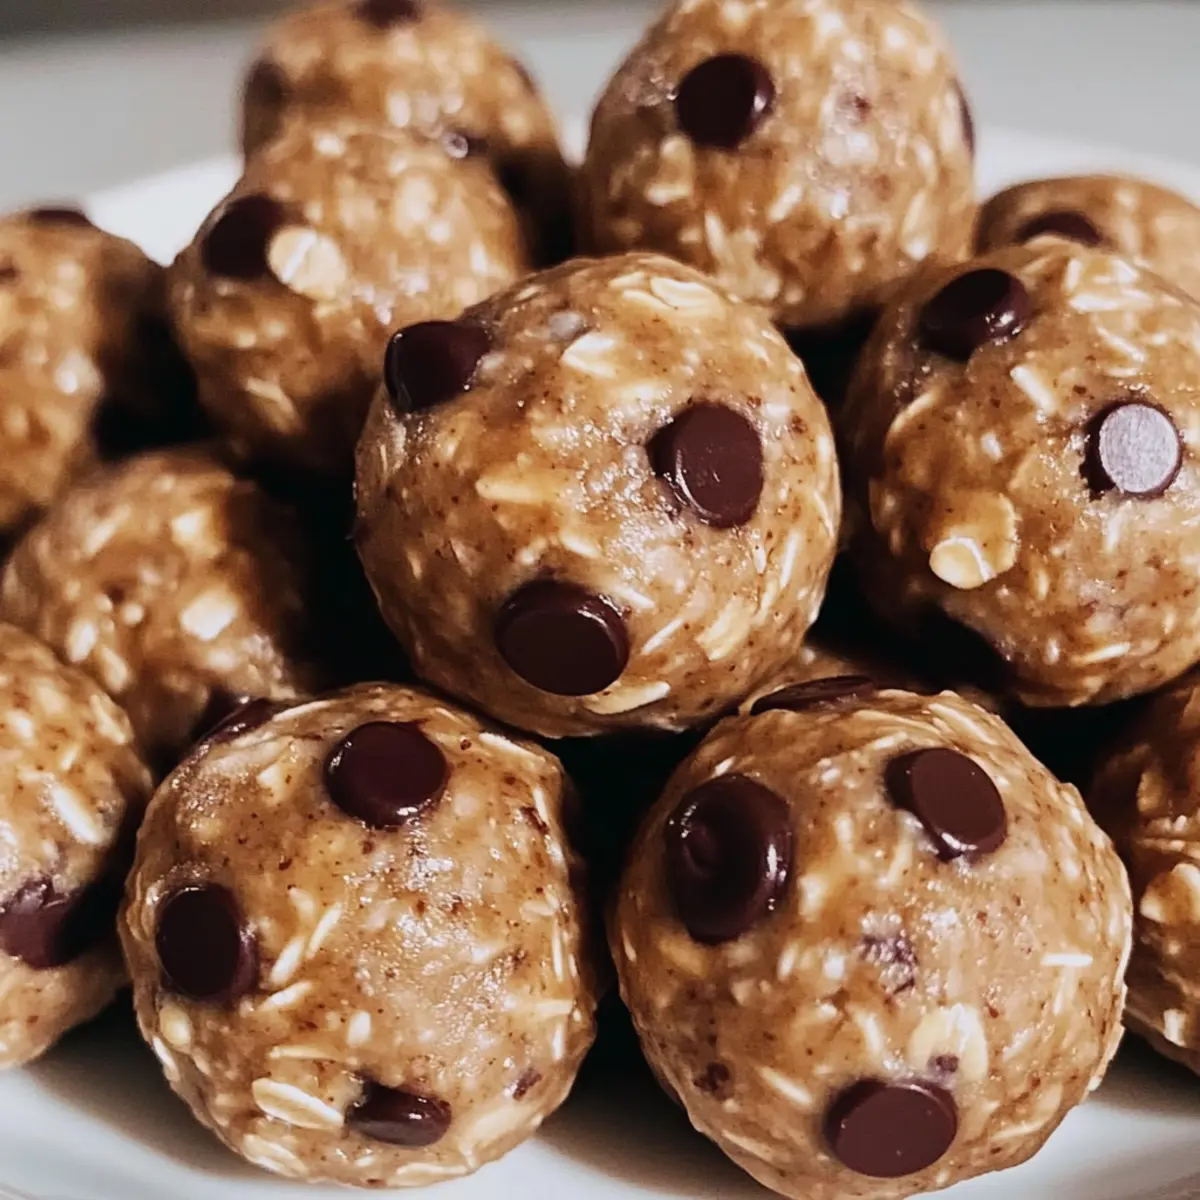
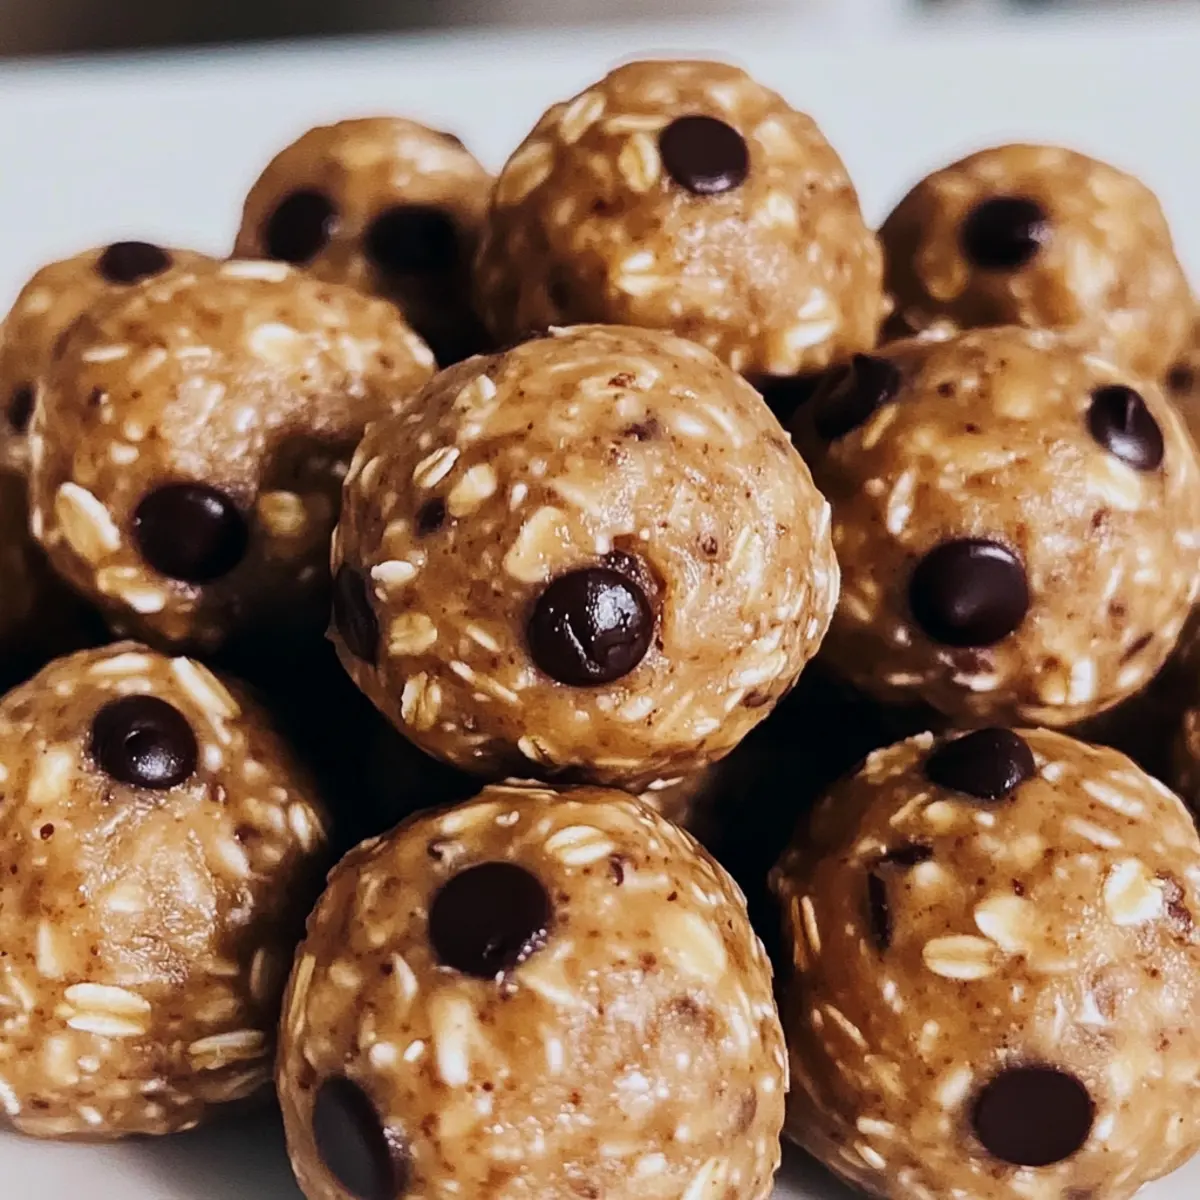
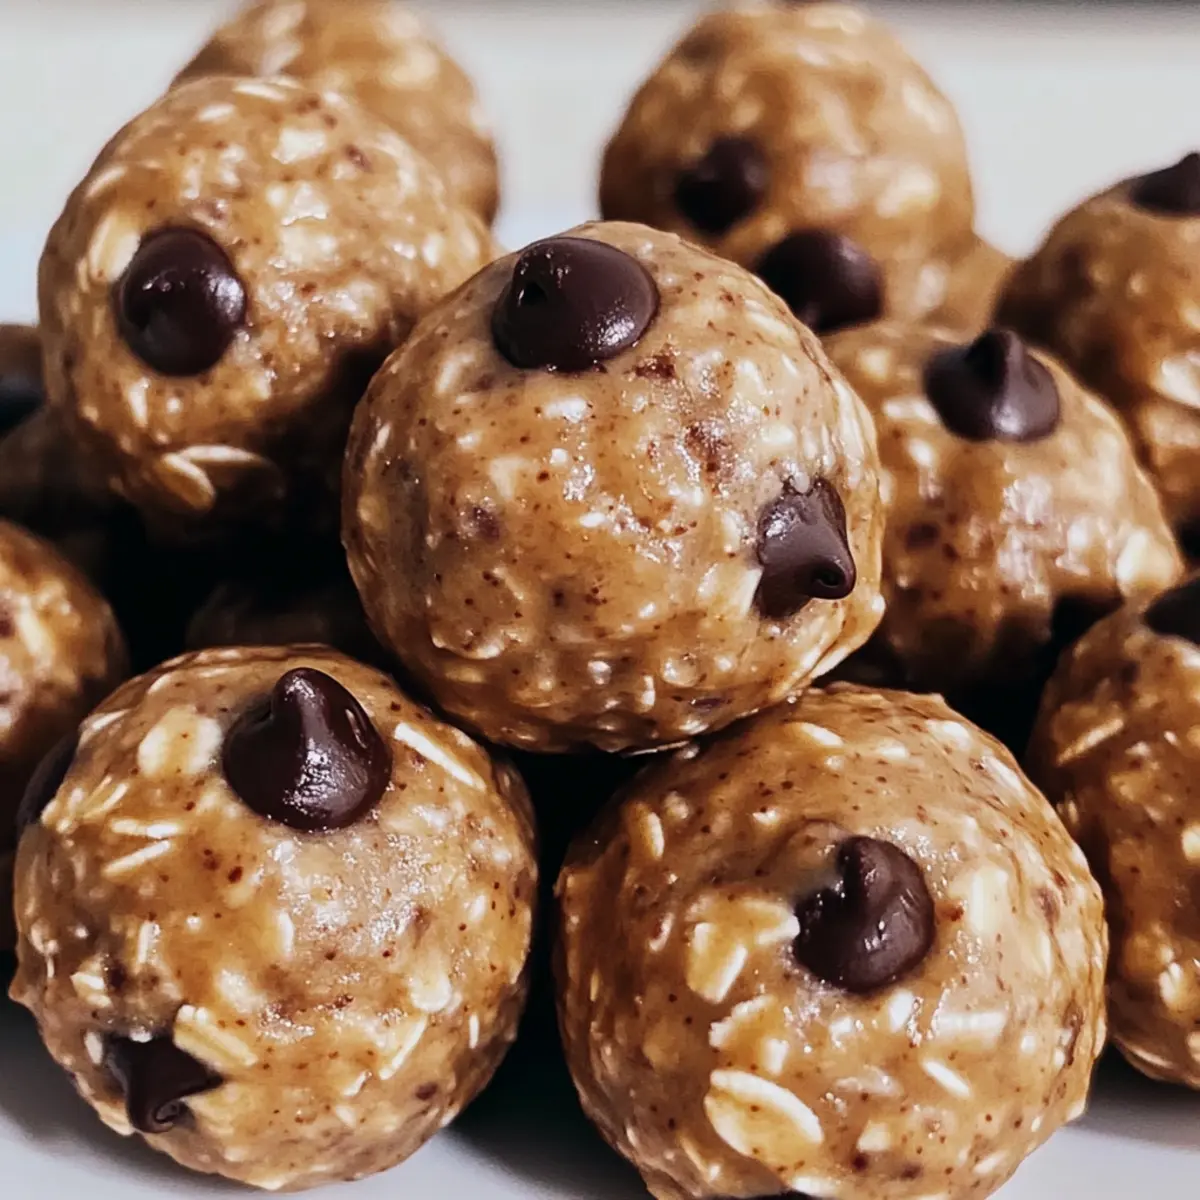
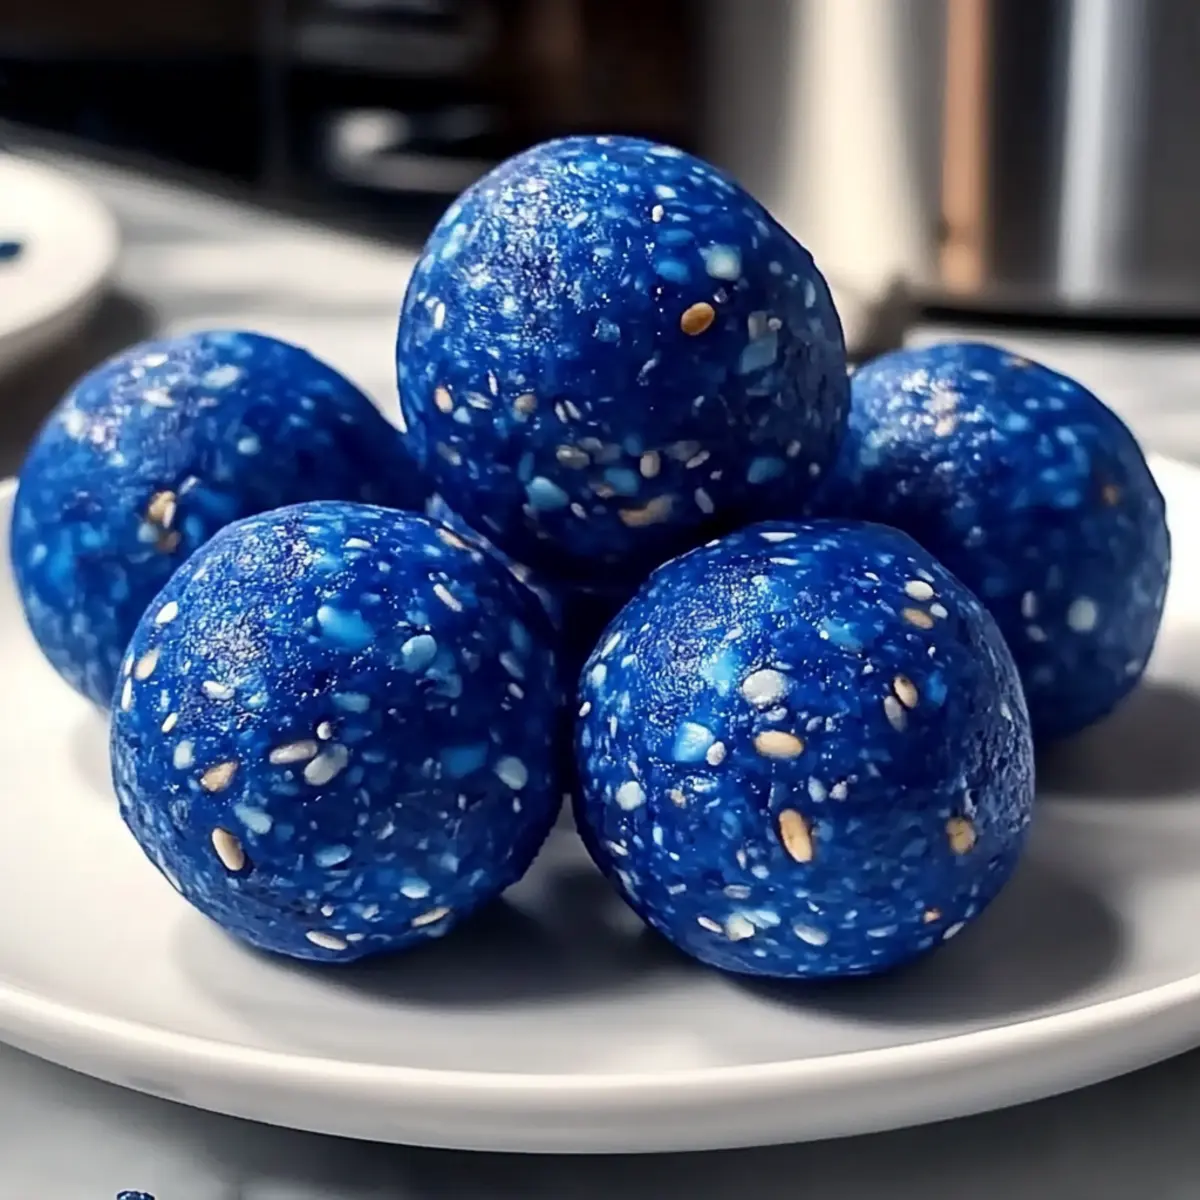
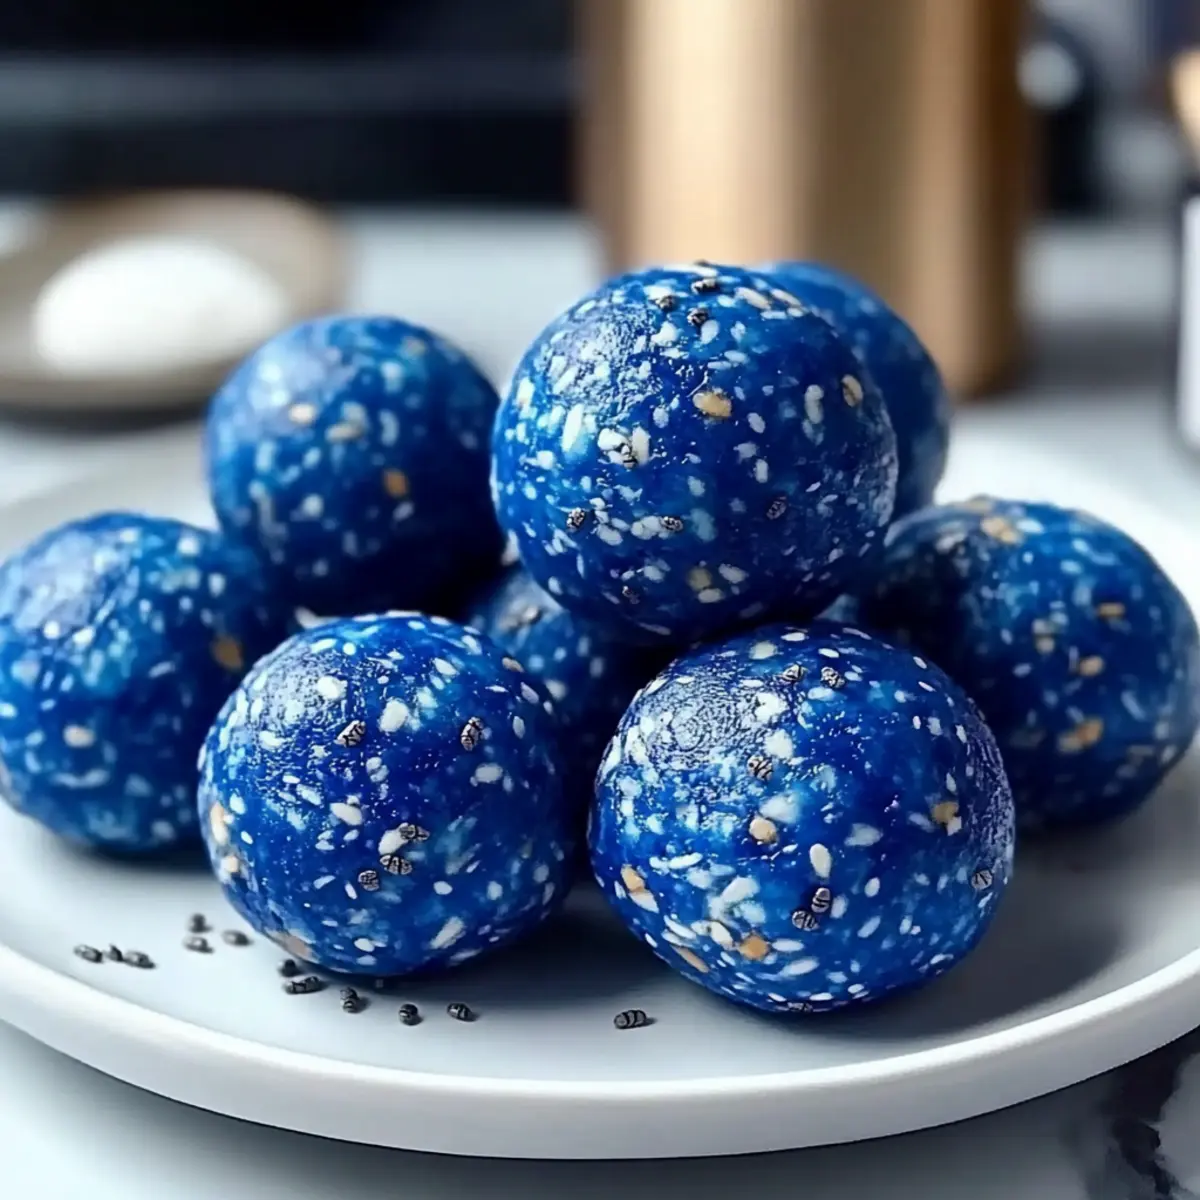
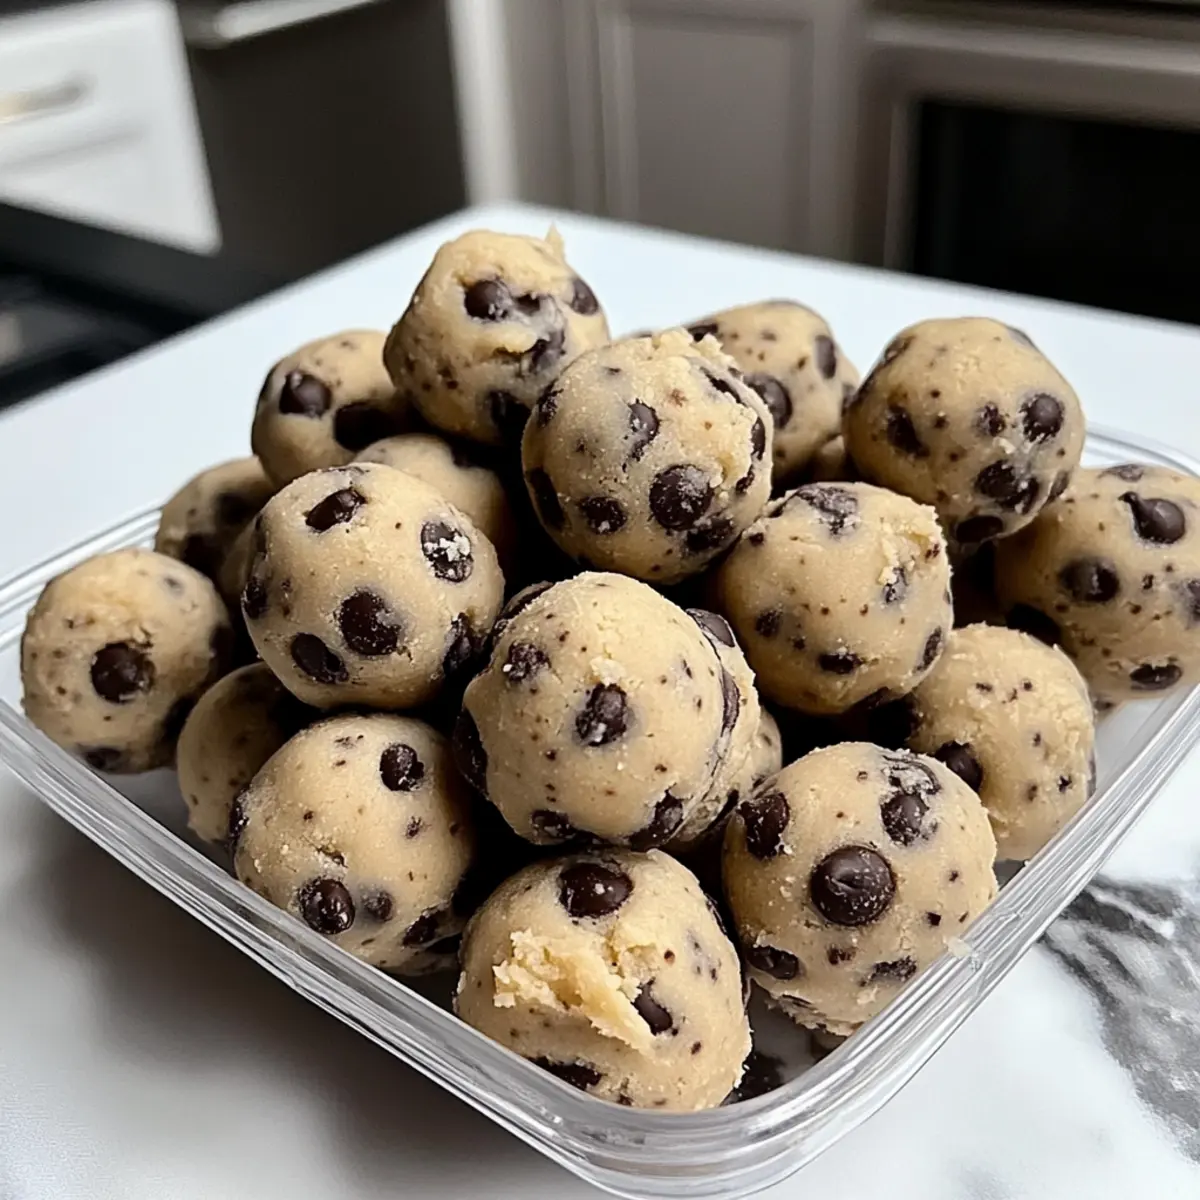
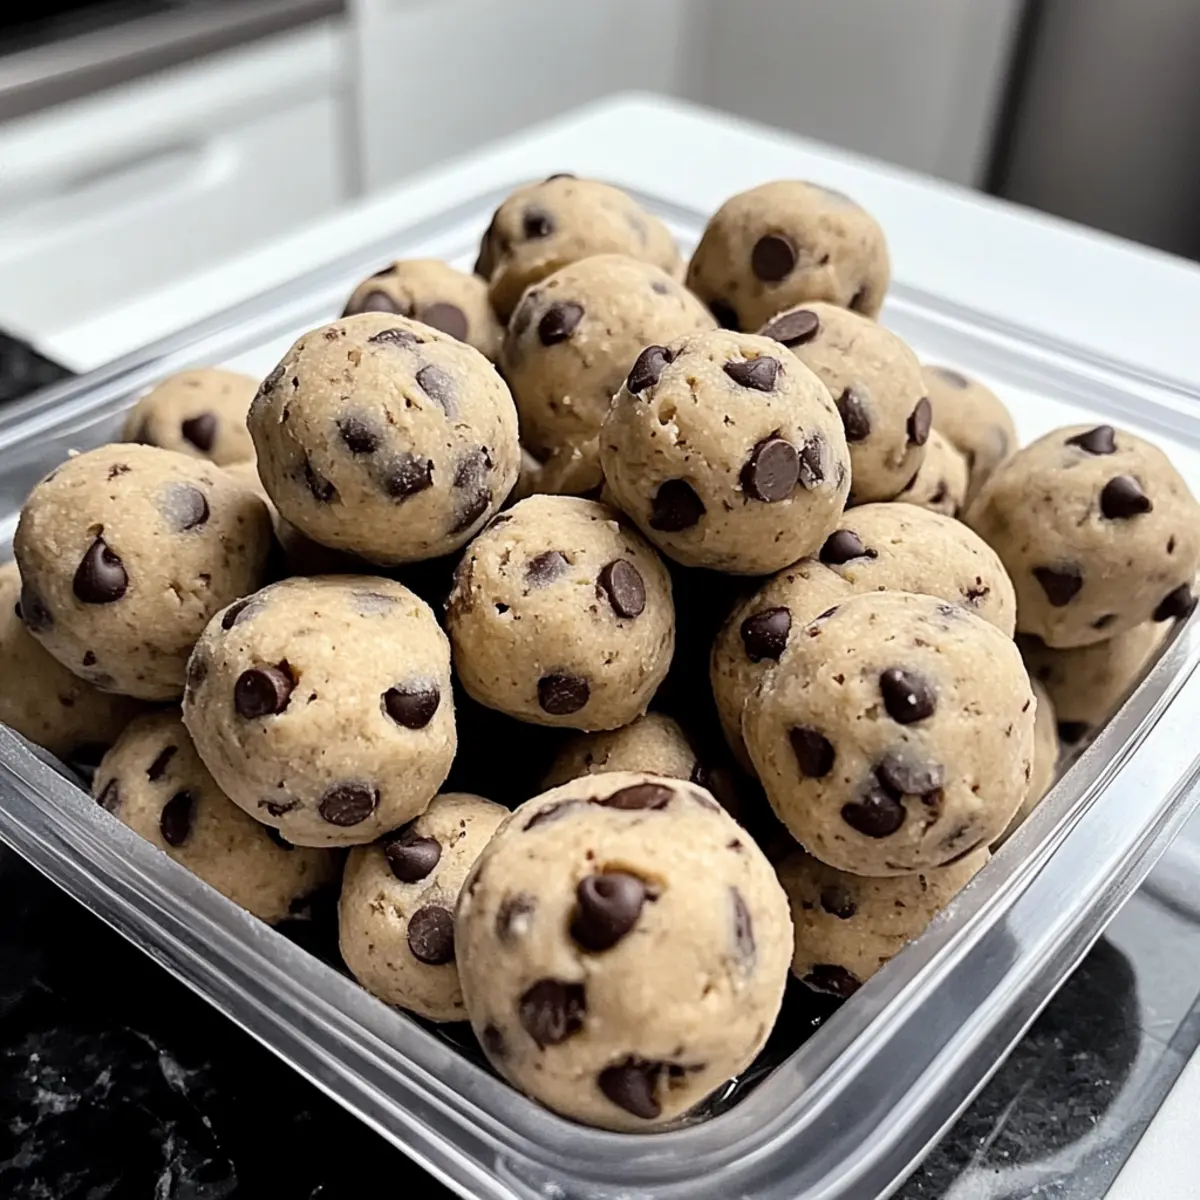
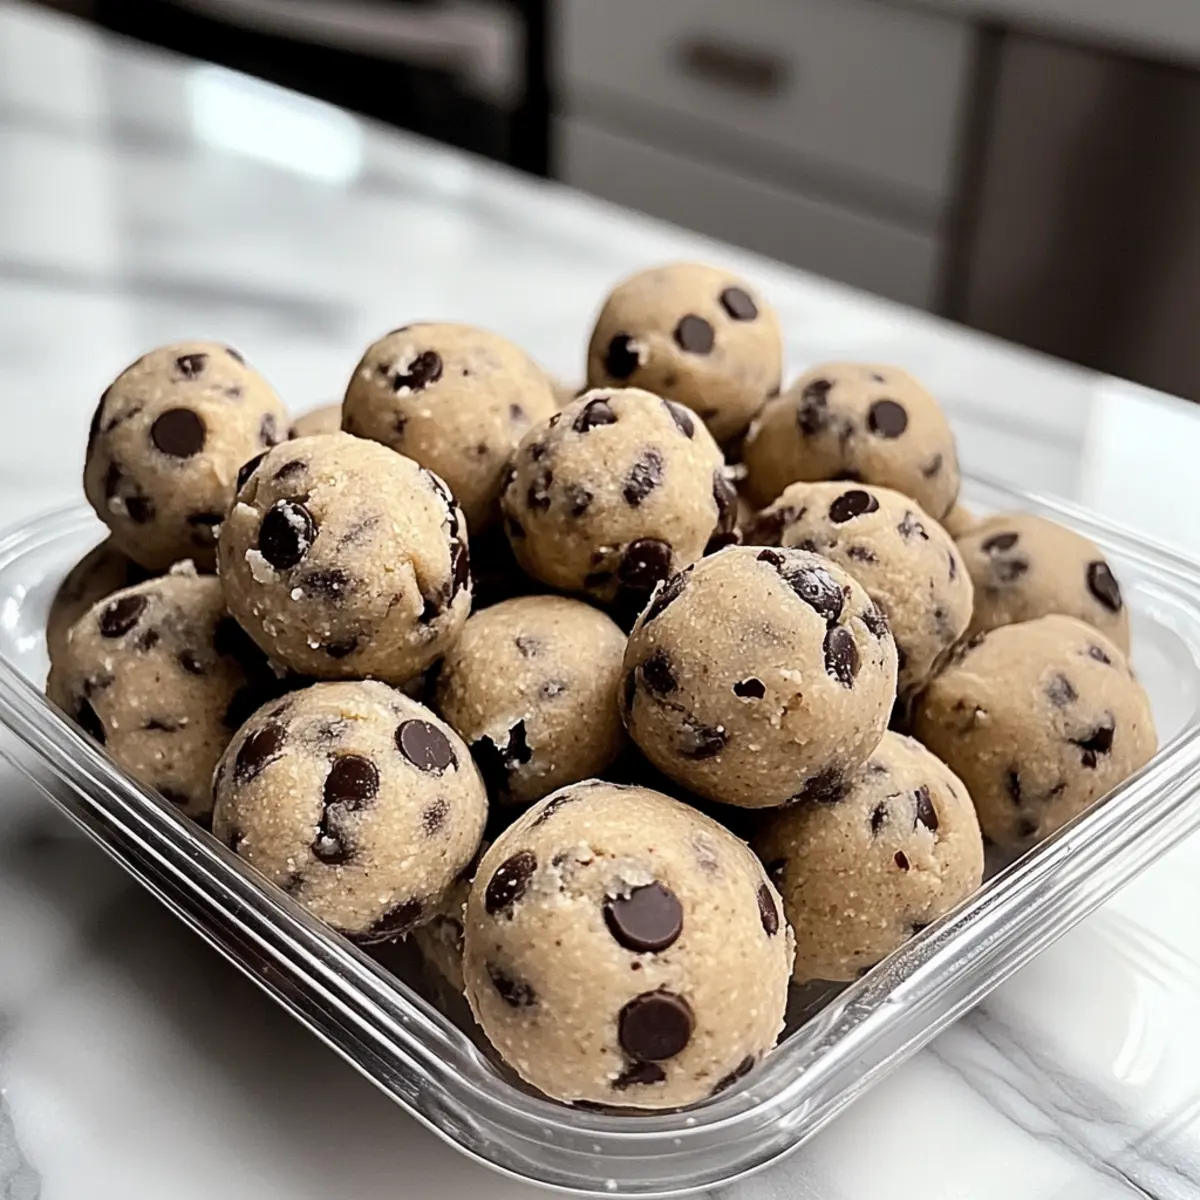
In a spacious mixing bowl, start by adding 1 cup of vanilla protein powder, ½ cup of chocolate chips, ½ cup of maple syrup, and ½ cup of peanut butter. Use a sturdy spatula or a wooden spoon to mix everything together until a cohesive dough forms, taking about 2-3 minutes. The mixture should be sticky and well-combined, reminiscent of traditional cookie dough.
Step 2: Shape the Dough
With your hands lightly dampened to prevent sticking, take small portions of the dough and roll them into 1-inch balls. Aim for approximately 12 protein balls total, ensuring they are uniform in size for even serving. If the dough is too sticky, add a bit more protein powder or peanut butter to achieve the desired consistency.
Step 3: Refrigerate
Place the shaped Cookie Dough Protein Balls onto a parchment-lined baking sheet, ensuring they have a little space between each ball. Cover the sheet with plastic wrap or aluminum foil and refrigerate for at least 30 minutes. This chilling time is crucial, as it helps the balls firm up and hold their shape for that perfect chewy bite.
Step 4: Serve & Store
Once chilled, transfer the Cookie Dough Protein Balls to an airtight container for storage. These delightful snacks can be enjoyed immediately, or you can keep them in the refrigerator for up to a week. They also freeze well, so feel free to store them in the freezer for up to 3 months—simply thaw overnight in the fridge before enjoying!
How to Store and Freeze Cookie Dough Protein Balls
Fridge: Store your Cookie Dough Protein Balls in an airtight container for up to 1 week. This keeps them fresh and ready for snacking anytime!
Freezer: For longer storage, freeze the protein balls in a single layer then transfer to a freezer-safe bag or container for up to 3 months.
Thawing: When you’re ready to enjoy a frozen ball, simply thaw it overnight in the refrigerator before serving.
Reheating: There’s no need to reheat these no-bake treats; they’re delicious straight from the fridge or thawed from the freezer!
Expert Tips for Cookie Dough Protein Balls
-
Thorough Mixing: Ensure a well-combined dough to prevent crumbles; add a splash of maple syrup if it’s too dry.
-
Custom Flavoring: Add spices like cinnamon for a warm touch or a scoop of cocoa powder for a chocolatey twist in your Cookie Dough Protein Balls.
-
Ingredient Substitutes: Feel free to swap the nut butter for sun butter for a nut-free version, perfect for allergy-conscious friends.
-
Mix-In Madness: Experiment with mix-ins like dried fruits or seeds to boost flavor and nutrition, making your treats even more delicious.
-
Storage Solutions: Store your protein balls in an airtight container in the fridge for up to a week or freeze for up to 3 months for longer-lasting snacks.
What to Serve with Cookie Dough Protein Balls
Elevate your snacking experience with delightful pairings that complement the sweet and nutty flavors of these protein-packed bites.
- Greek Yogurt: Creamy and tangy, Greek yogurt adds a refreshing contrast, creating a balanced snack that satisfies your cravings.
- Sliced Fresh Fruit: Light and juicy fruits, like apples or bananas, provide a fresh burst of flavor that pairs beautifully with the richness of the balls.
- Smoothies: A berry or green smoothie can enhance your snack time by adding an extra layer of nutrients and a delightful creamy texture.
For a crunchy element, consider some granola for a fun mix of textures. The chewiness of the protein balls alongside the crispy bites create a satisfying crunch in every mouthful.
-
Dark Chocolate Squares: Indulge your sweet tooth with a few squares of dark chocolate that wonderfully complements the flavors of the protein balls while adding a touch of decadence.
-
Coconut Chia Pudding: This creamy, tropical blend introduces a flavorful twist and pairs perfectly with the chewy goodness of the protein balls.
-
Herbal Tea: A soothing cup of herbal tea can harmonize with the sweet notes, offering a calming dining experience while you snack away.
Make Ahead Options
These Cookie Dough Protein Balls are a fantastic choice for meal prep enthusiasts! You can prepare the mixture up to 24 hours in advance by combining all the ingredients and refrigerating it covered in an airtight container. Just remember to keep the dough moist to maintain its texture. When you’re ready to enjoy, simply roll the dough into balls and refrigerate for an additional 30 minutes to firm up. Alternatively, you can shape the balls and store them in the refrigerator for up to 1 week or freeze them for up to 3 months. Just thaw overnight in the fridge before serving for the same incredible taste!
Cookie Dough Protein Balls Variations
Feel free to tweak these Cookie Dough Protein Balls to create your perfect snack experience!
-
Nut-Free: Substitute nut butters with sun butter for a delicious nut-free option that’s just as creamy and satisfying.
-
Chocolate Lovers: Mix in cocoa powder for an extra indulgent chocolate flavor that brings memories of rich desserts to life.
-
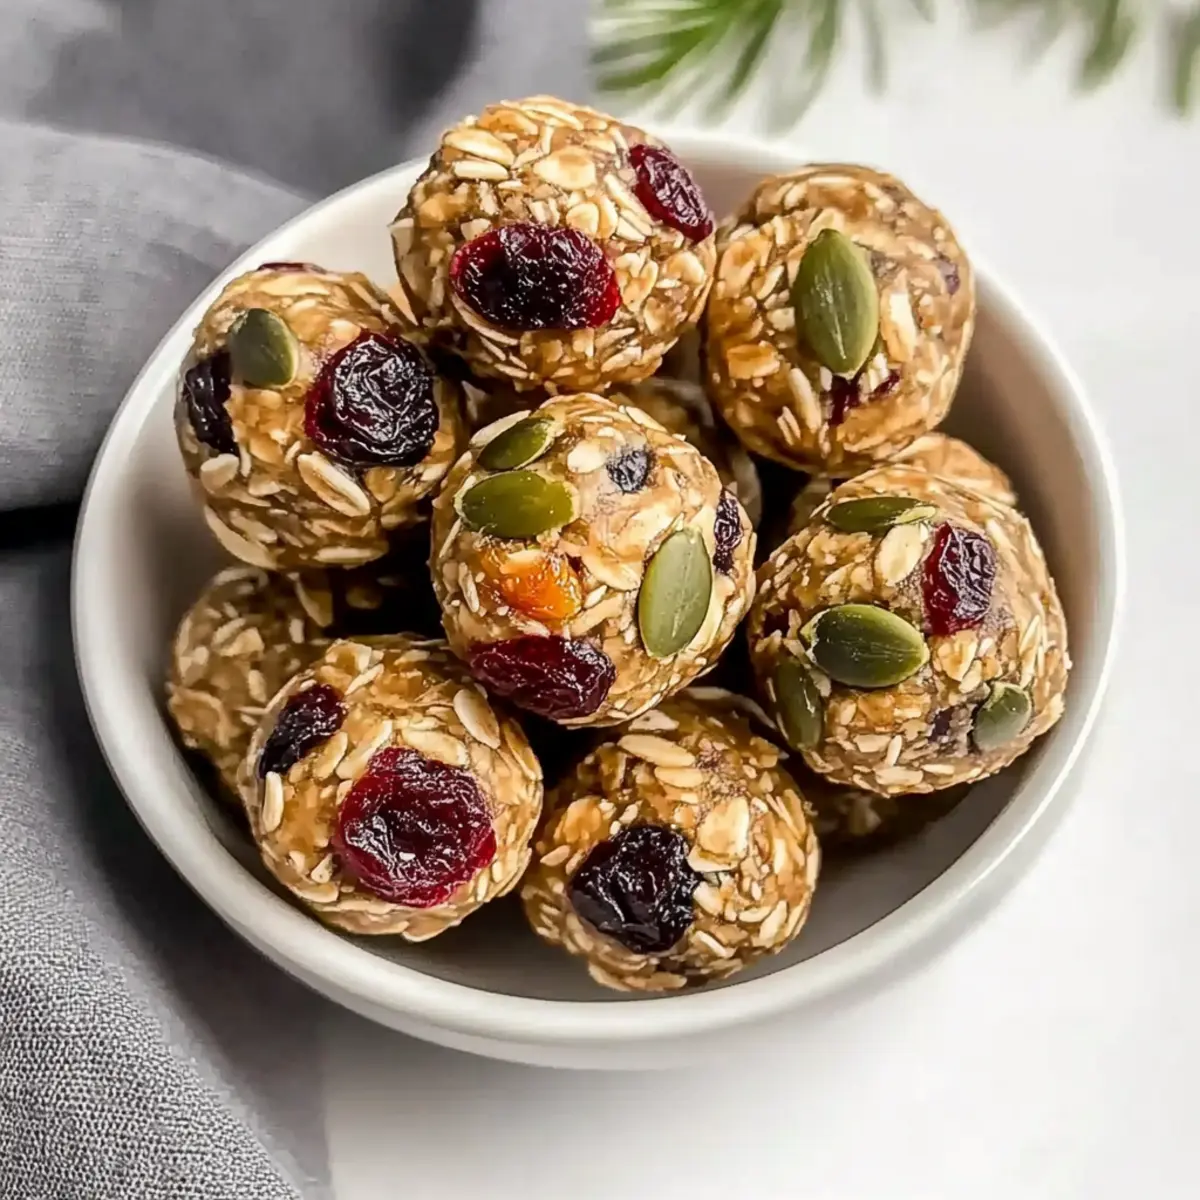
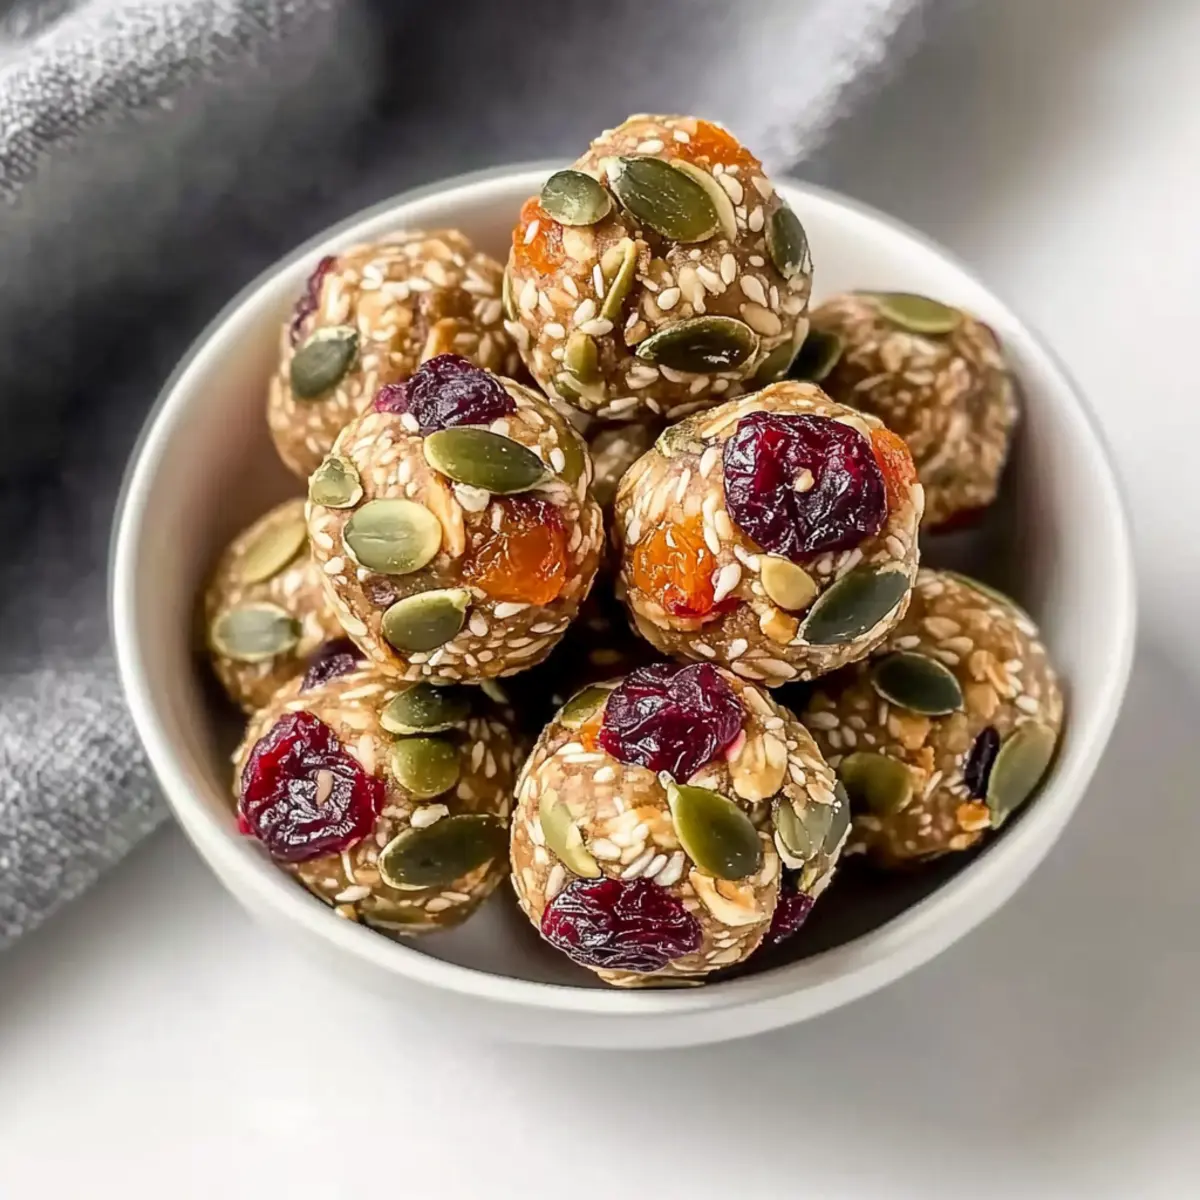
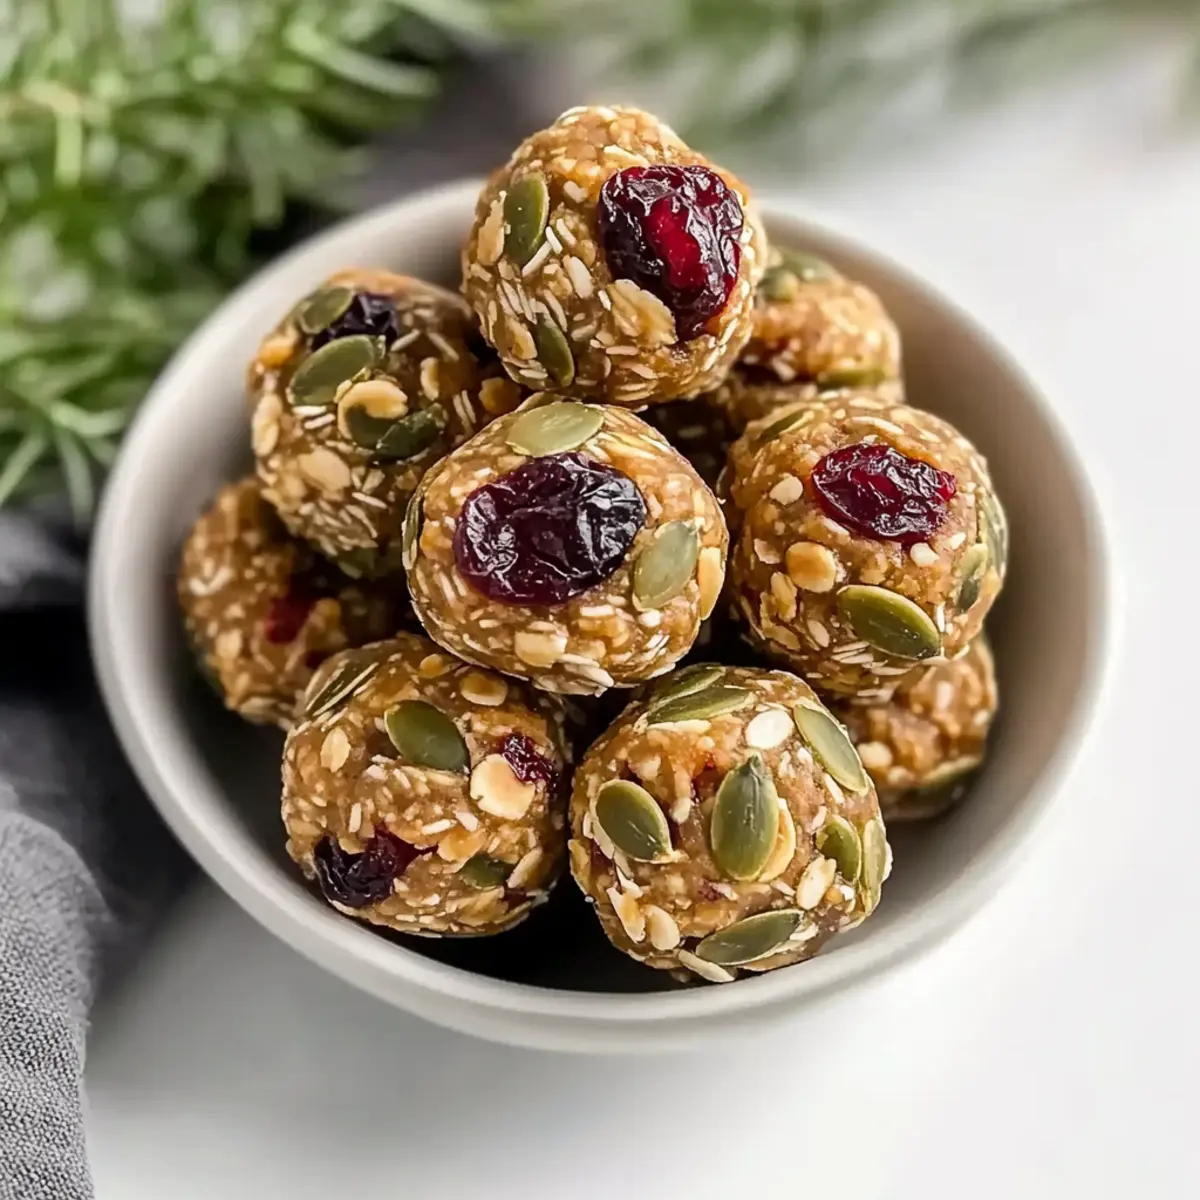
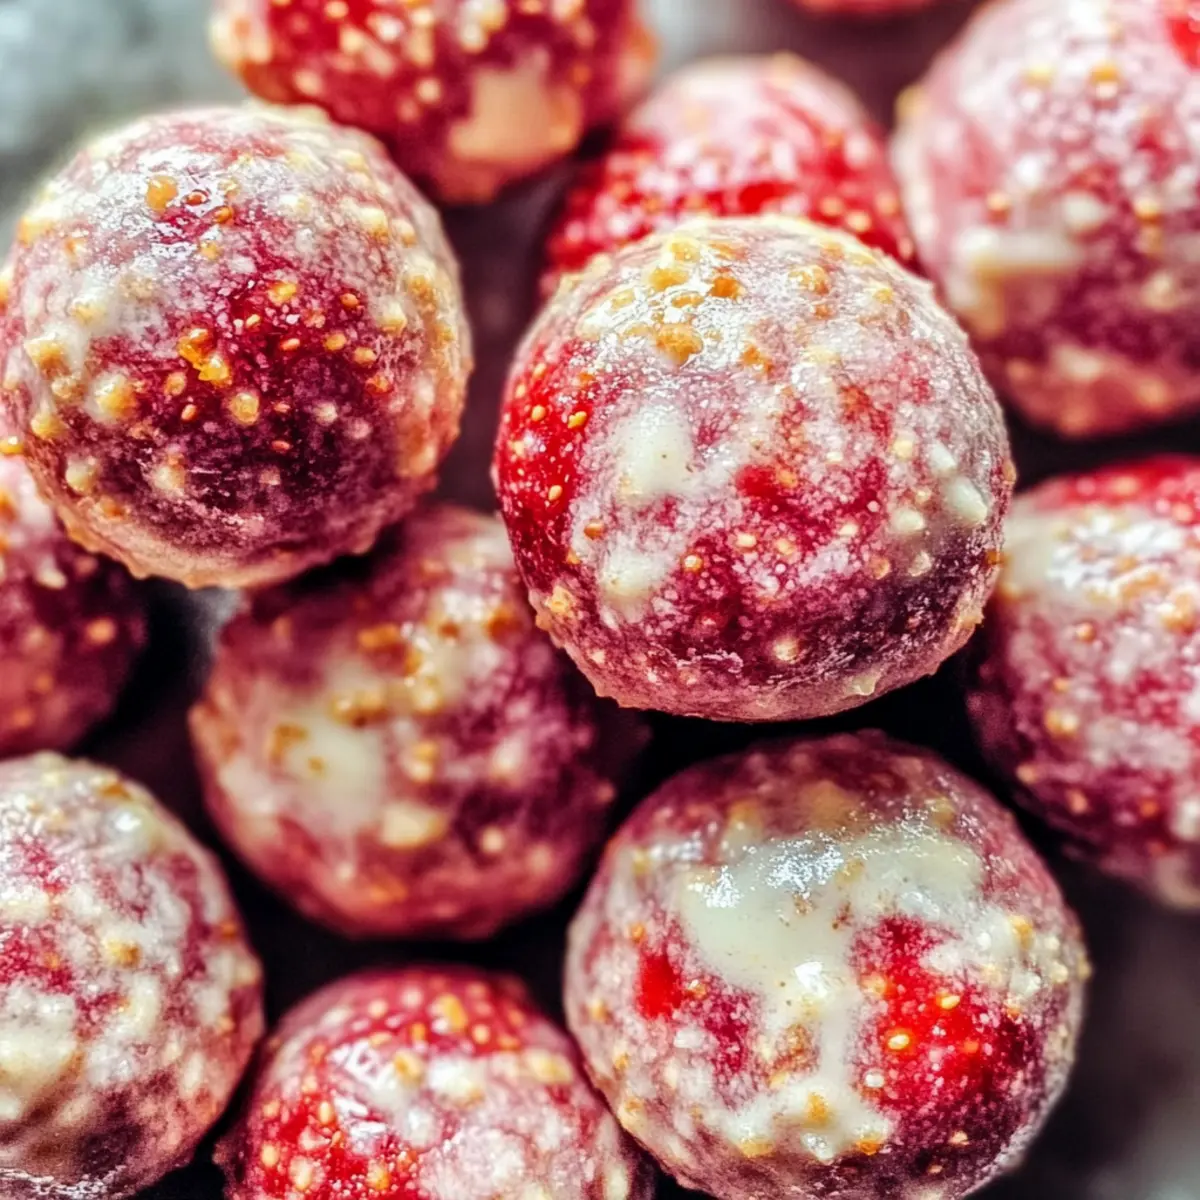
Fruit Infused: Add dried fruits like cranberries or apricots for a burst of sweetness that pairs fantastically with the creamy base.
-
Add Seeds: Incorporate chia seeds or flaxseeds for a delightful crunch and a boost of nutritional benefits, elevating your protein balls.
-
Coconut Bliss: Toss in unsweetened shredded coconut to lend a tropical twist that complements the cookie dough flavor beautifully.
-
Spicy Kick: Sprinkle in a dash of cinnamon or nutmeg for a warm, homemade touch that adds depth and comfort to every bite.
-
Protein Boost: Swap half the protein powder with a plant-based version to cater to different dietary needs, while still enjoying all the flavors.
When you’re in the mood for more delicious treats, why not try these Oreo Cheesecake Cookie cups or indulge in some sweet White Chocolate Balls? Each of these recipes proves just how easy and satisfying it is to create snacks that your whole family will love!
Cookie Dough Protein Balls Recipe FAQs
What type of protein powder should I use for Cookie Dough Protein Balls?
I recommend using a high-quality vanilla protein powder, as it provides essential nutrients for muscle recovery. You can also play around with flavored protein powders if you’re feeling adventurous—just make sure it suits your taste!
How do I know if my ingredients are fresh enough for this recipe?
When choosing ingredients, look for your protein powder to be free of clumps and the chocolate chips to be shiny and without any surface blemishes. Maple syrup should be pourable without any crystallization, while nut butters should be smooth. If your nut butter has dark spots or an odd smell, it may be spoiled.
How should I store Cookie Dough Protein Balls, and how long do they last?
Store your Cookie Dough Protein Balls in an airtight container in the refrigerator for up to 1 week, making them a convenient snack option. If you want to keep them longer, freeze them for up to 3 months. Just remember to let them thaw overnight in the fridge before enjoying!
Can I freeze Cookie Dough Protein Balls? How do I do it?
Absolutely! To freeze your Cookie Dough Protein Balls, start by placing them in a single layer on a parchment-lined baking sheet. Freeze them for about 1-2 hours until firm. After that, you can transfer them to a freezer-safe bag or container, where they can be stored for up to 3 months.
What if the dough is too crumbly when I mix it?
Very! This is a common issue, but it’s easy to fix. If your dough feels crumbly, simply add more peanut butter or a touch of maple syrup—just a tablespoon at a time—until you achieve a sticky and cohesive consistency.
Are Cookie Dough Protein Balls suitable for people with nut allergies?
Yes! To keep these protein balls nut-free, simply substitute the peanut butter or almond butter with sun butter. This option still provides the creaminess and healthy fats without any nut allergens, making it safe and delicious for everyone.
Delicious Cookie Dough Protein Balls for Guilt-Free Snacking
Ingredients
Equipment
Method
- In a spacious mixing bowl, combine vanilla protein powder, chocolate chips, maple syrup, and peanut butter. Mix until a cohesive dough forms.
- Damp your hands and roll the dough into 1-inch balls, aiming for about 12 protein balls total.
- Place the balls on a parchment-lined baking sheet and refrigerate for at least 30 minutes.
- Transfer to an airtight container for storage; enjoy immediately or keep in the fridge for up to a week.