With a quick toss of ingredients and a few moments on the grill, my kitchen transforms into a vibrant marketplace of flavors reminiscent of the Middle East. This Easy Shish Tawook recipe showcases succulent chicken marinated in a tangy yogurt blend that balances savory spices and zesty lemon notes. Not only is it a gluten-free option that fits neatly into a low-carb lifestyle, but it also promises to deliver a delicious homemade meal in just 20 minutes! Whether served as a dazzling centerpiece for a dinner party or tucked into wraps for an easy lunch, these skewers are guaranteed to impress. Ready to take your taste buds on an adventure? Let’s dive into making these mouthwatering gems!

What makes Shish Tawook irresistible?
Deliciously Marinated: Each piece of chicken is infused with a rich, tangy marinade that ensures every bite is packed with flavor.
Quick to Prepare: With just 20 minutes from start to finish, this recipe is perfect for busy weeknights.
Gluten-Free Goodness: Enjoy a satisfying meal without the gluten, making it ideal for everyone at the table.
Versatile Options: Serve it alone, in wraps, or alongside fresh salads; it adapts beautifully to any dining occasion.
Crowd-Pleaser: Impress family and guests alike with these beautiful, flavorful skewers that resonate with the allure of Middle Eastern cuisine.
Whether you’re looking for a simple meal or something a bit more special, these Shish Tawook skewers are sure to steal the show!
Shish Tawook Ingredients
For the Marinade
• Plain Yogurt – Adds creaminess and tenderizes the chicken. Substitution: Use dairy-free yogurt for a vegan option.
• Olive Oil – Provides moisture and richness. Substitution: Can use any neutral oil like vegetable oil.
• Lemon Juice – Offers acidity and brightness to the marinade. Preparation: Freshly squeezed is best for taste.
• Tomato Paste – Enhances flavor with a slight sweetness. Note: Can swap with pureed tomatoes if needed.
• Garlic – Infuses the marinade with robust flavor. Preparation: Use fresh garlic for maximum potency.
• Paprika – Adds warmth and subtle sweetness. Substitution: Smoked paprika for a different flavor profile.
• Ground Cumin – Offers an earthy and aromatic quality.
• Dried Oregano – Contributes a herbal note to the marinade.
• Salt – Enhances all the flavors. Note: Adjust to taste based on dietary needs.
• Ground Black Pepper – Adds a hint of heat.
For the Chicken Skewers
• Boneless Skinless Chicken Breasts/Thighs – Main protein providing tenderness and flavor. Preparation: Cut into bite-sized pieces for even cooking.
Step‑by‑Step Instructions for Shish Tawook
Step 1: Prepare the Marinade
In a mixing bowl, combine plain yogurt, olive oil, freshly squeezed lemon juice, tomato paste, minced garlic, paprika, ground cumin, dried oregano, salt, and ground black pepper. Whisk the mixture until smooth and well-blended, ensuring vibrant colors and aromas emerge. This flavorful marinade will tenderize and infuse the chicken pieces with Middle Eastern charm while you prepare to marinate.
Step 2: Marinate the Chicken
Cut boneless, skinless chicken breasts or thighs into bite-sized pieces for even cooking. Add them into the marinade, ensuring each piece is generously coated with the mixture. Cover the bowl with plastic wrap or a lid, and refrigerate for at least 20 minutes, allowing the chicken to absorb the flavors. For a more intense taste, marinate for several hours or overnight if time permits.
Step 3: Skewer the Chicken
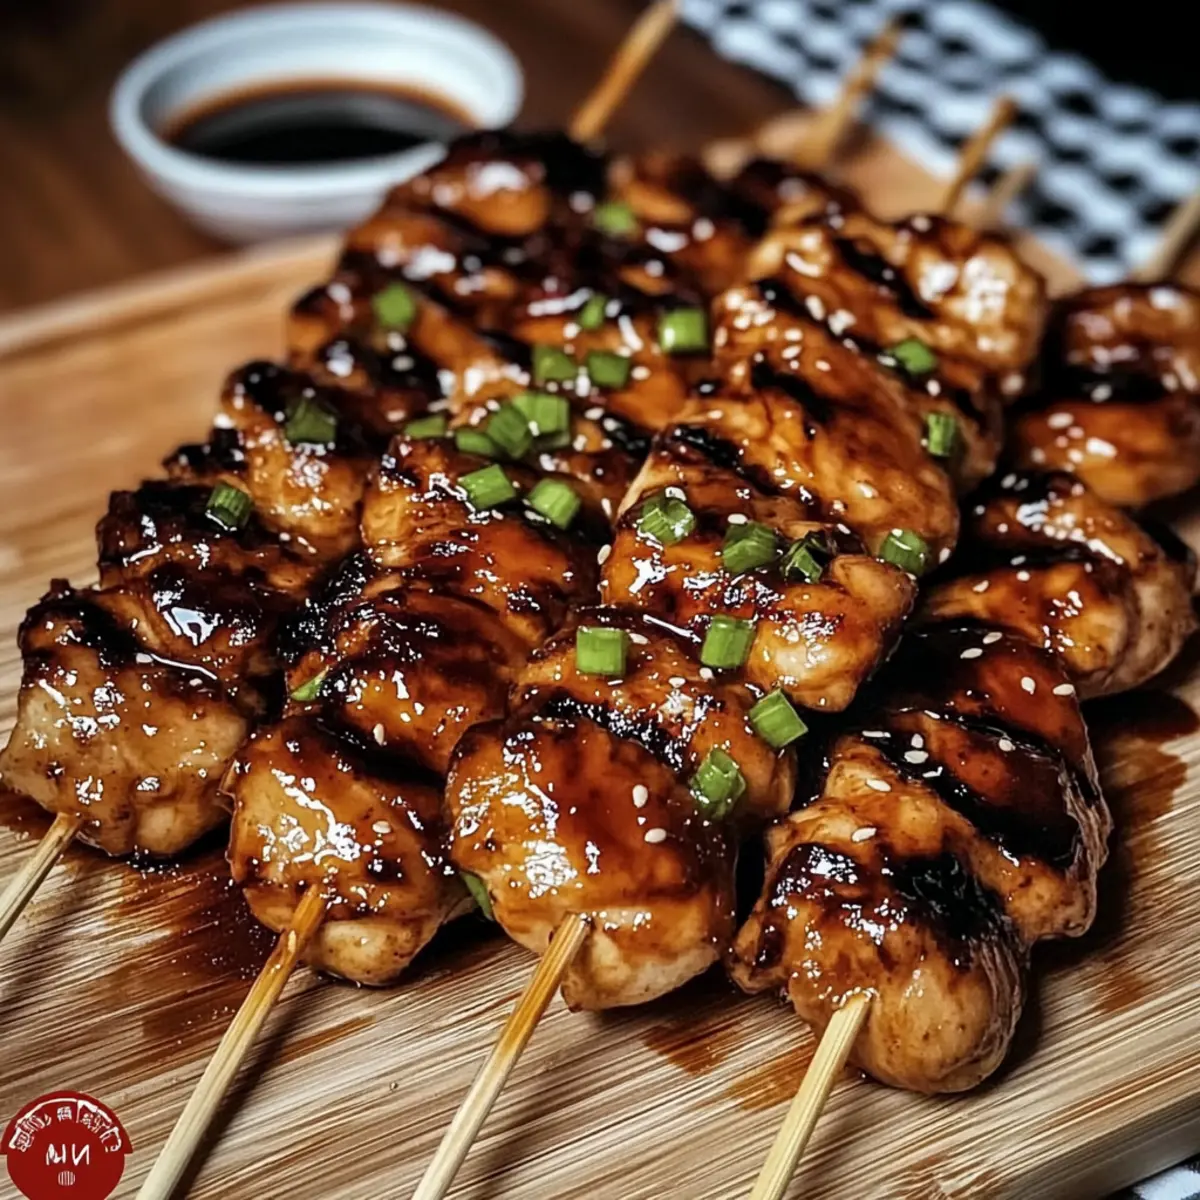
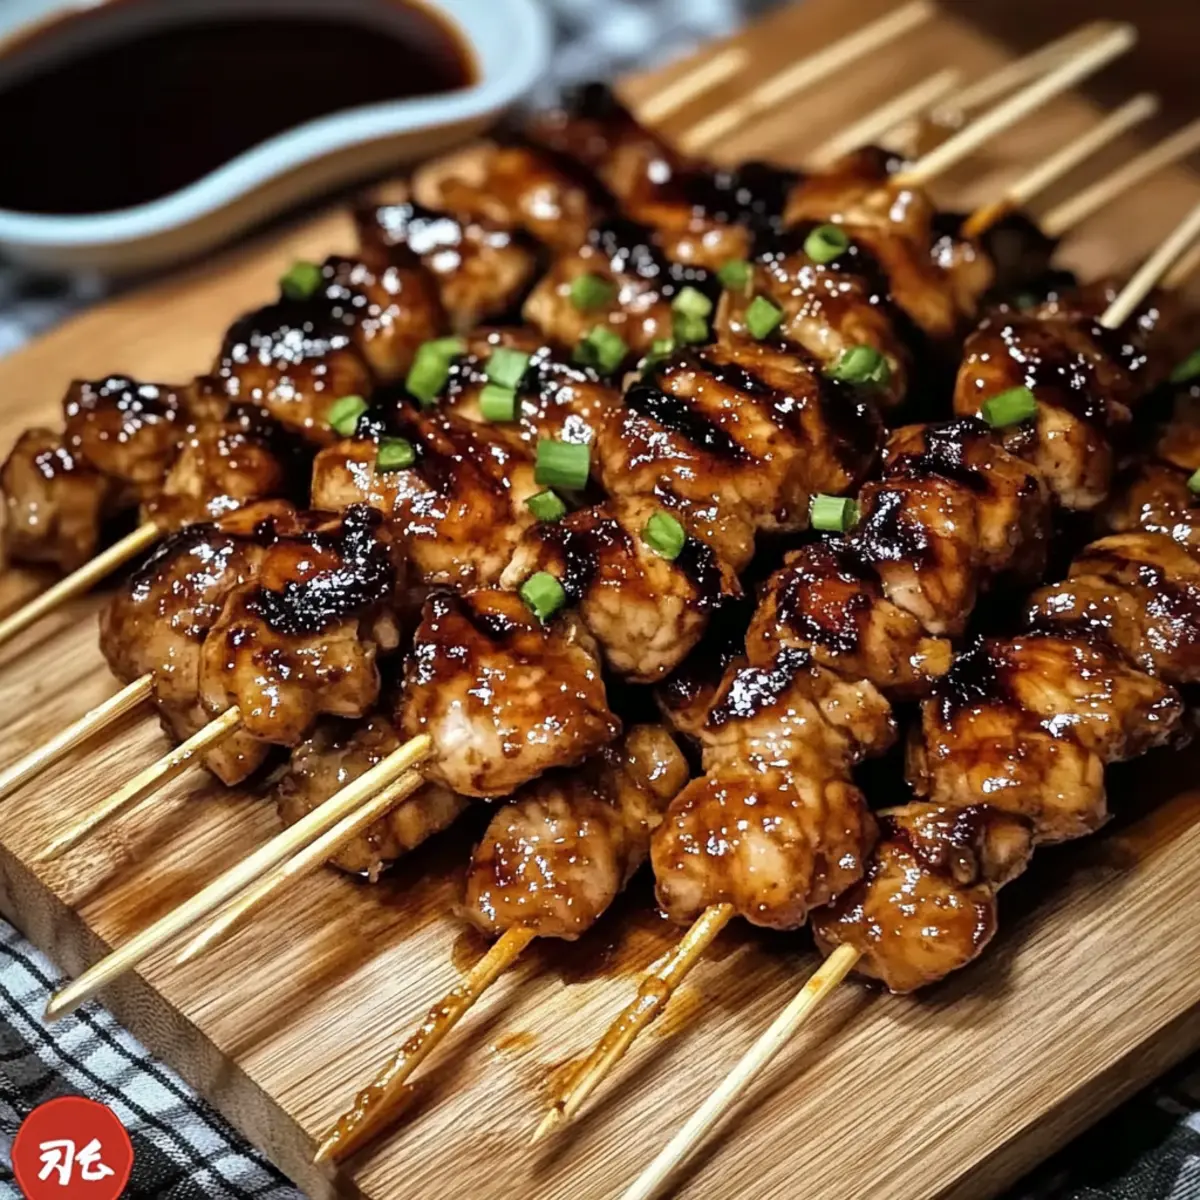
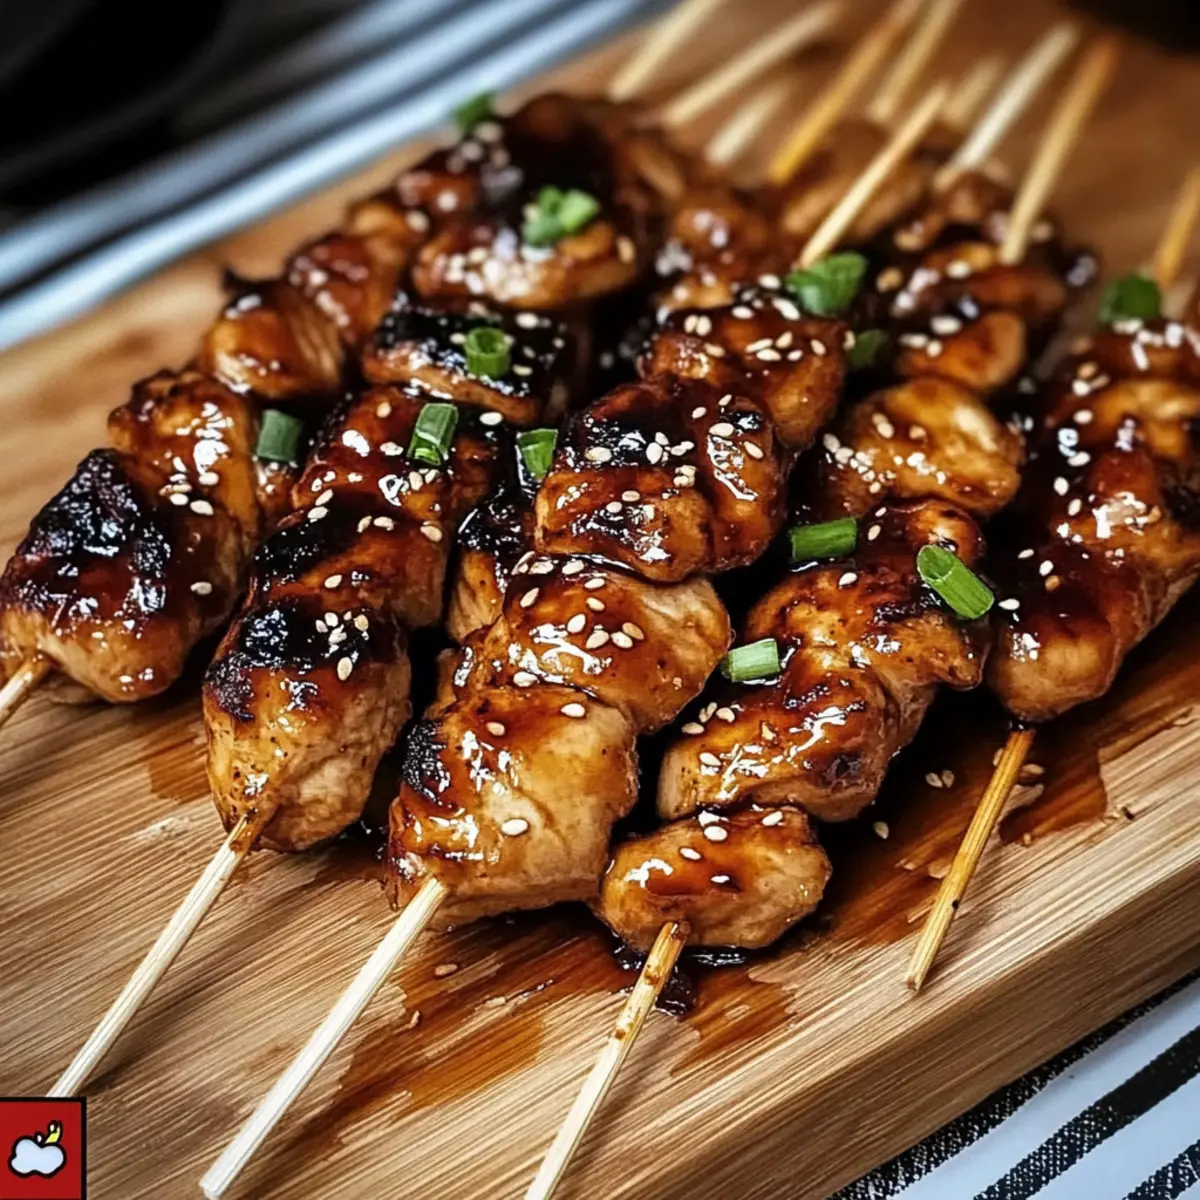
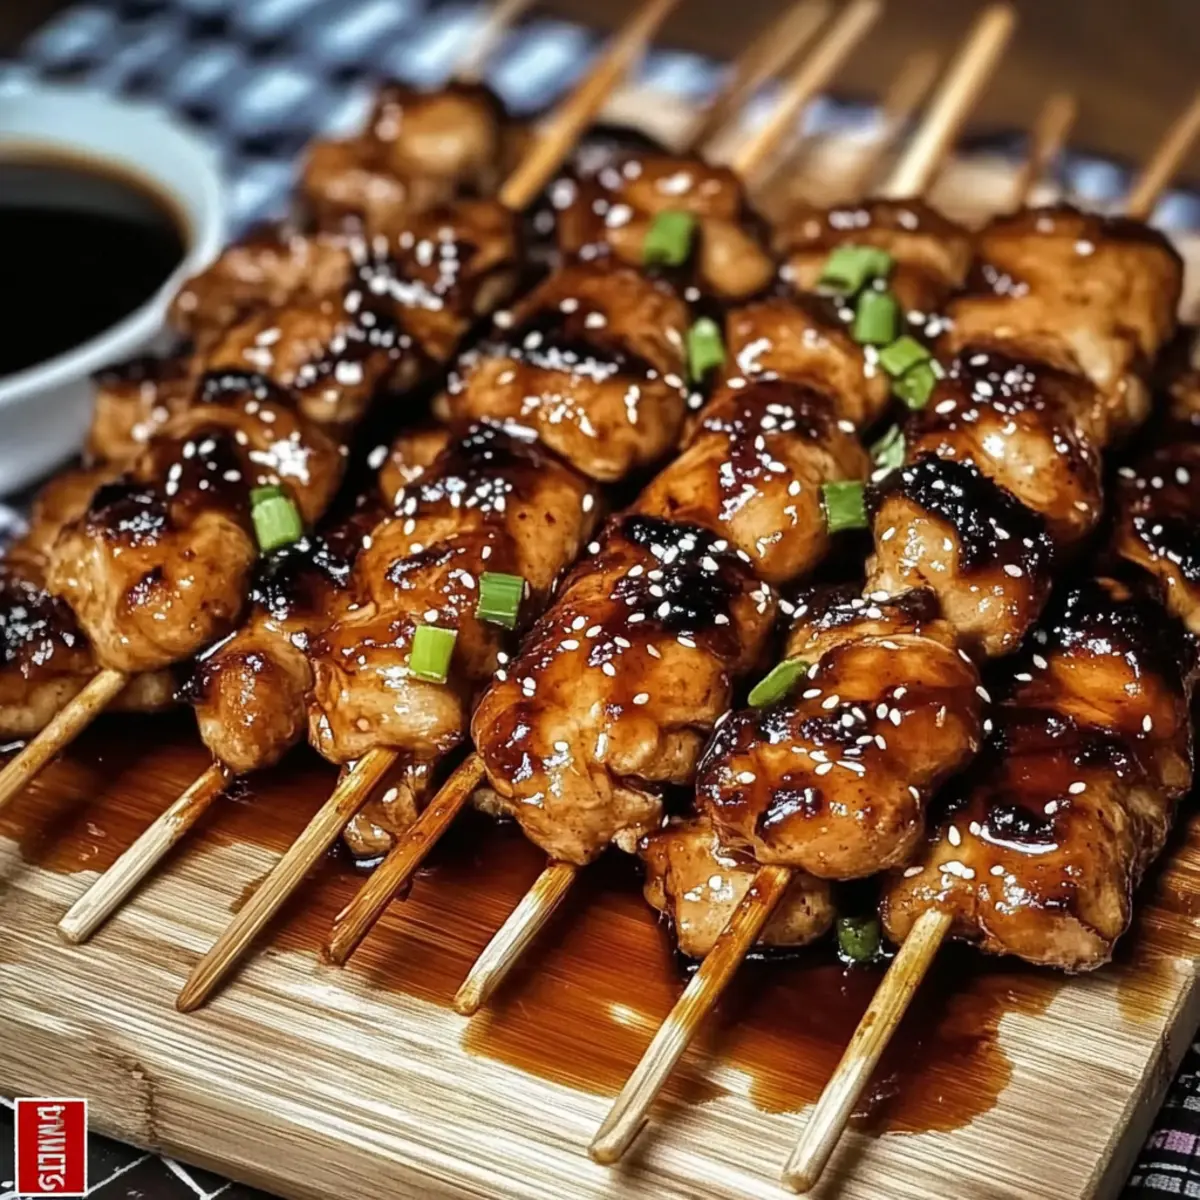
After marinating, take the chicken out of the refrigerator. Pre-soak wooden skewers in water for at least 30 minutes to prevent burning on the grill. Thread the marinated chicken pieces onto the soaked skewers, leaving a little space between each piece to ensure even cooking. Aim for a full, colorful presentation while assembling your Shish Tawook.
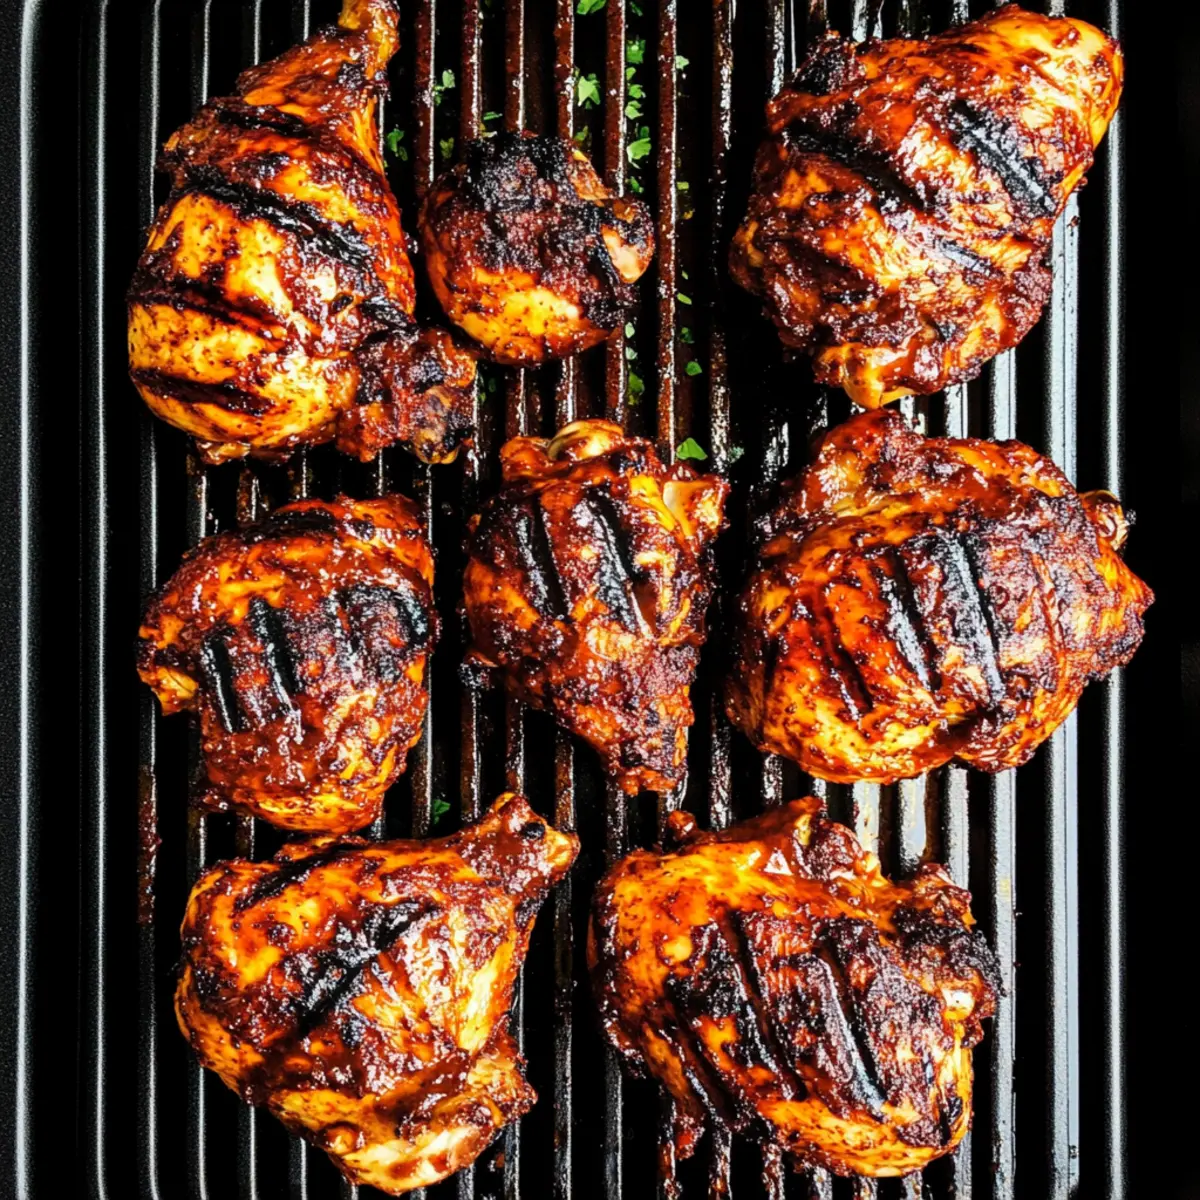
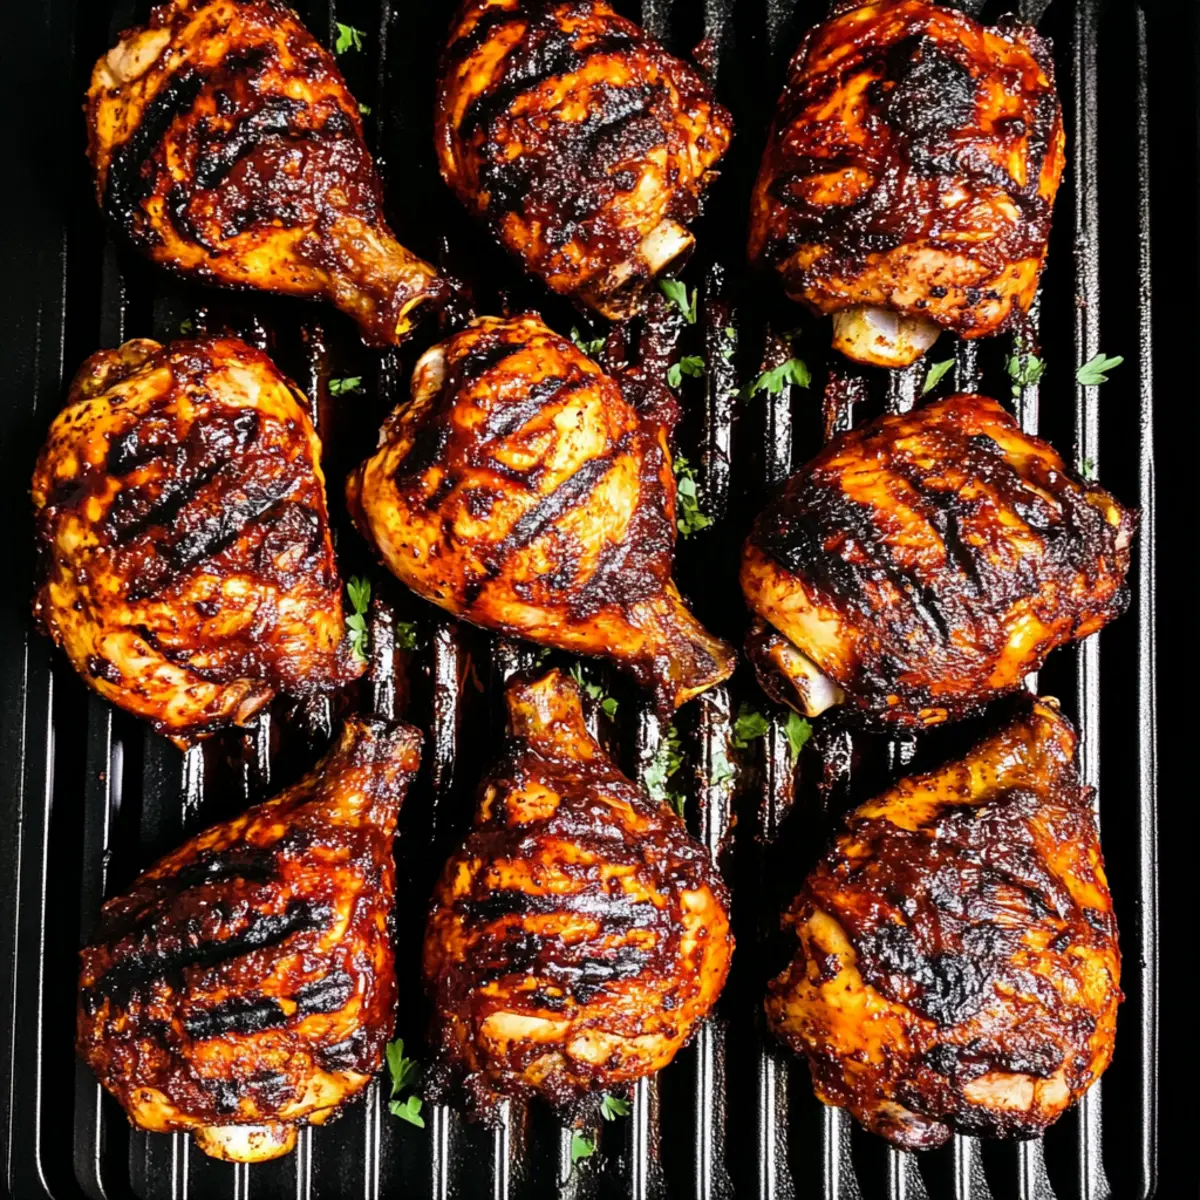
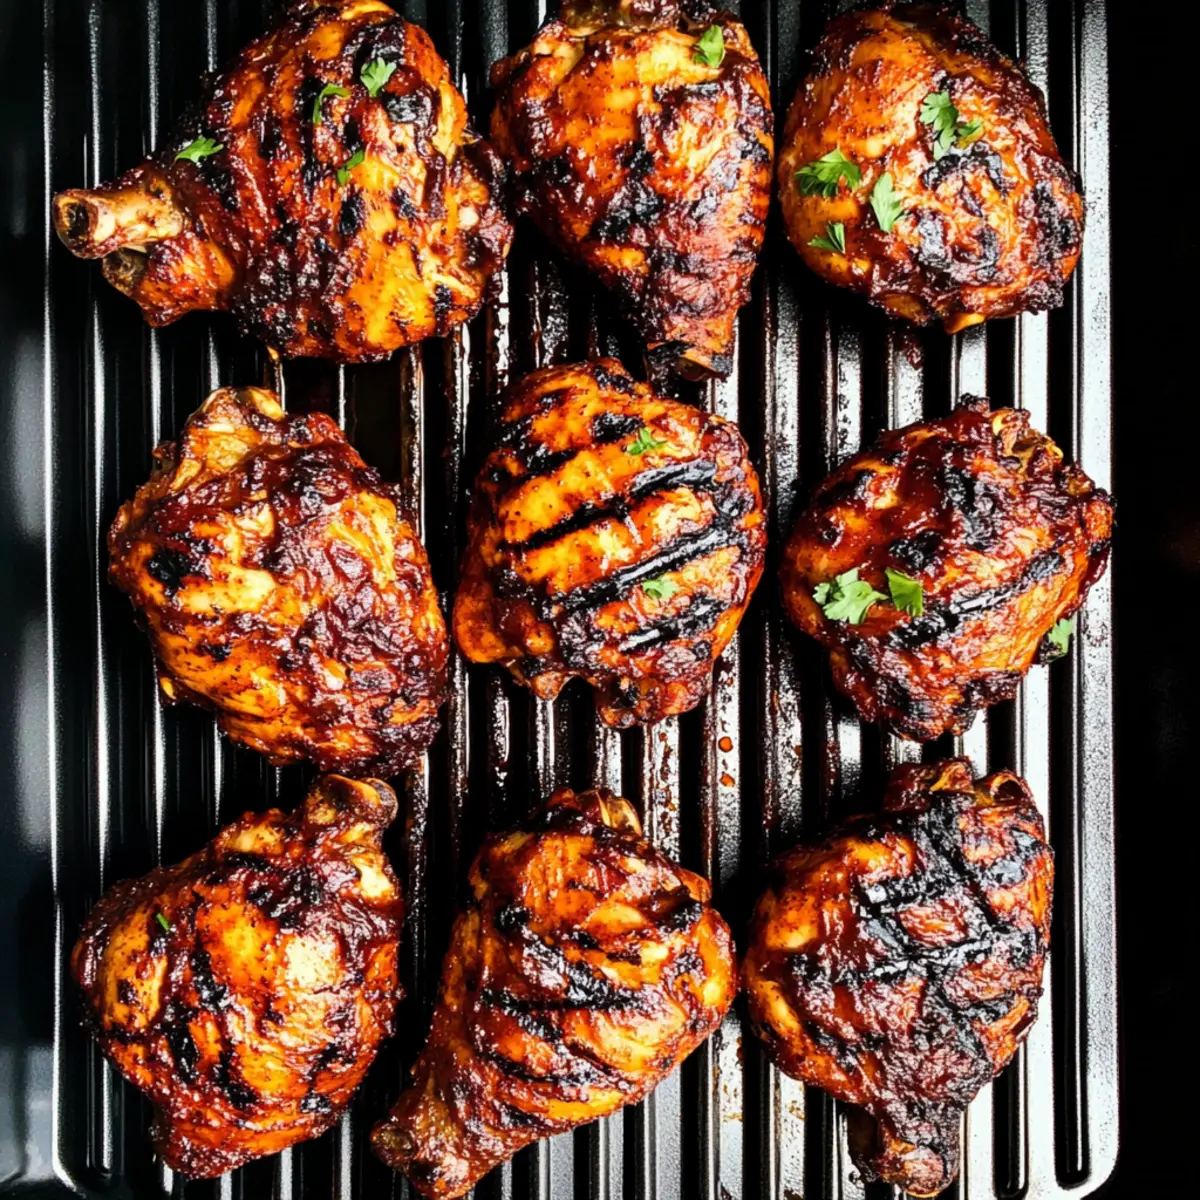
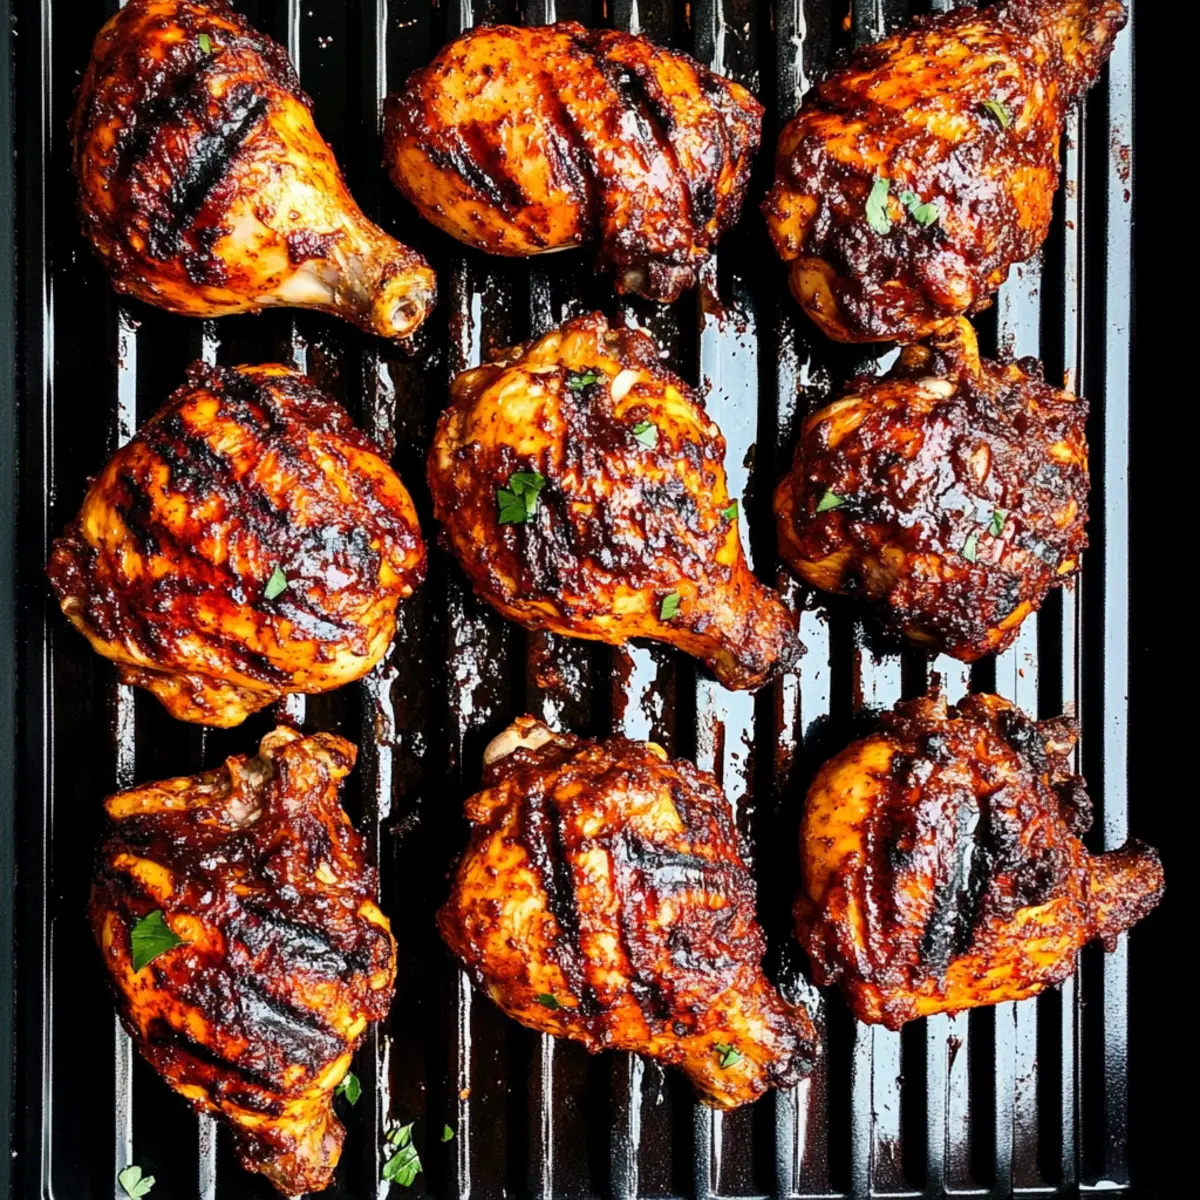
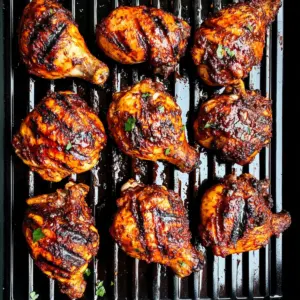
Step 4: Grill the Chicken
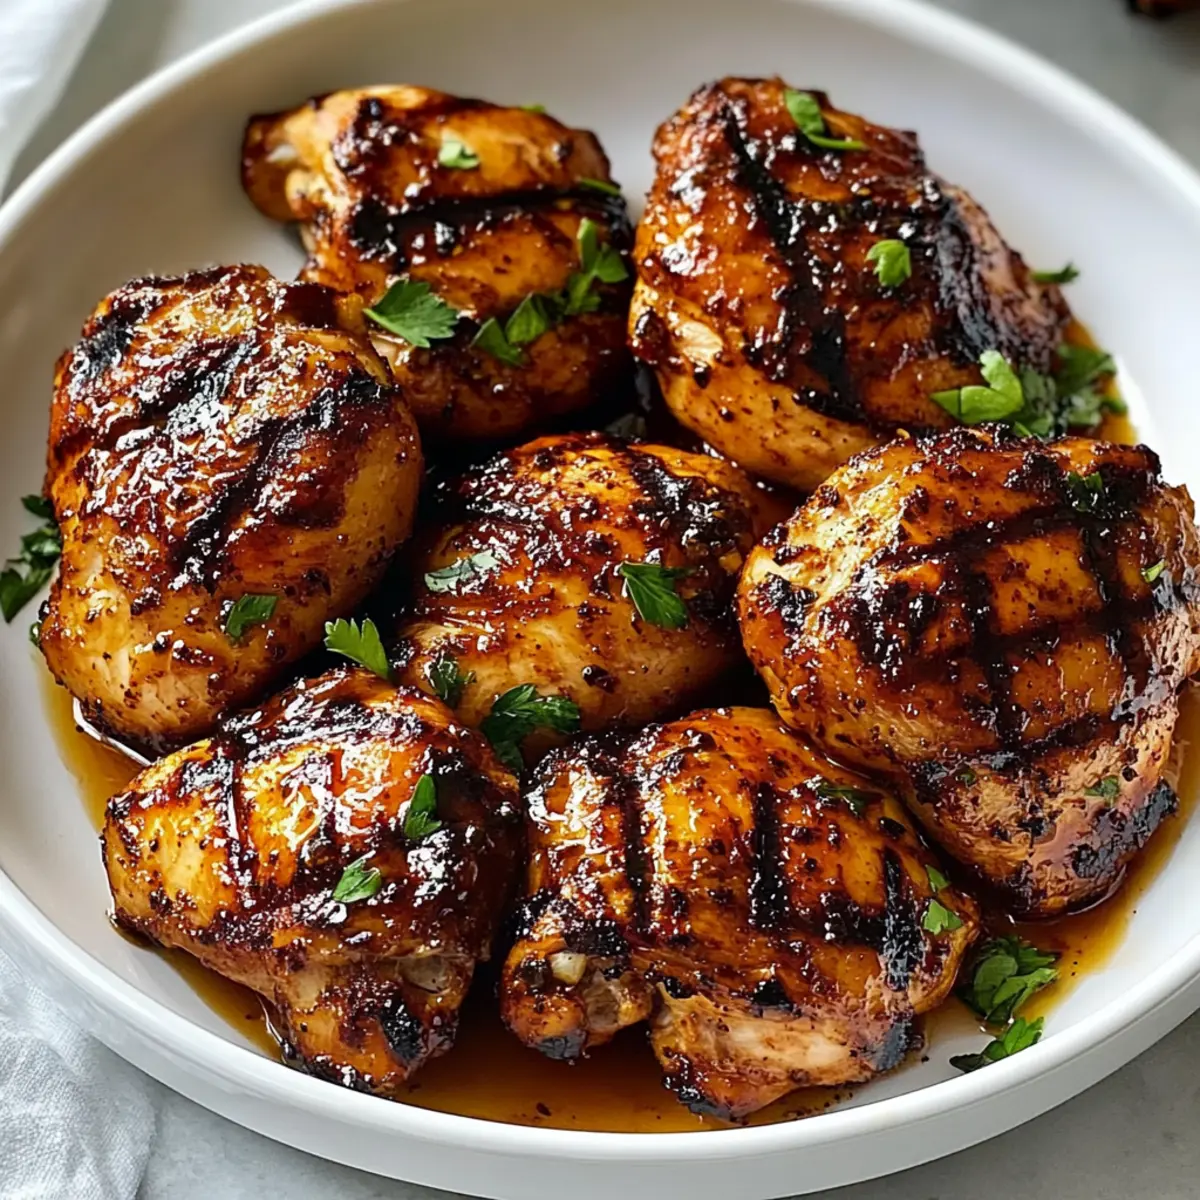
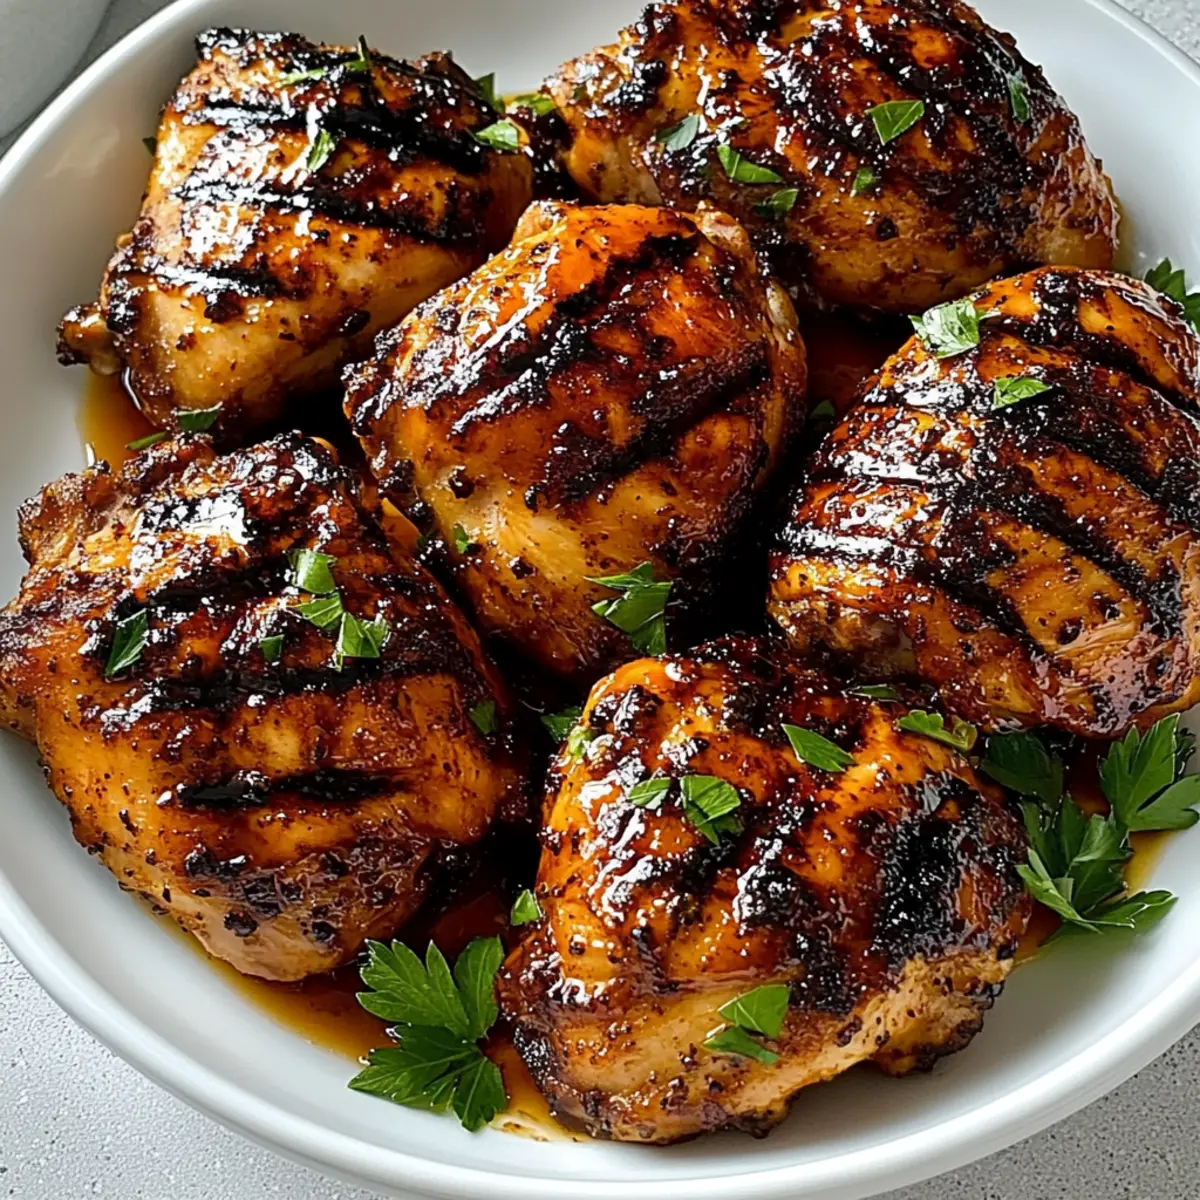
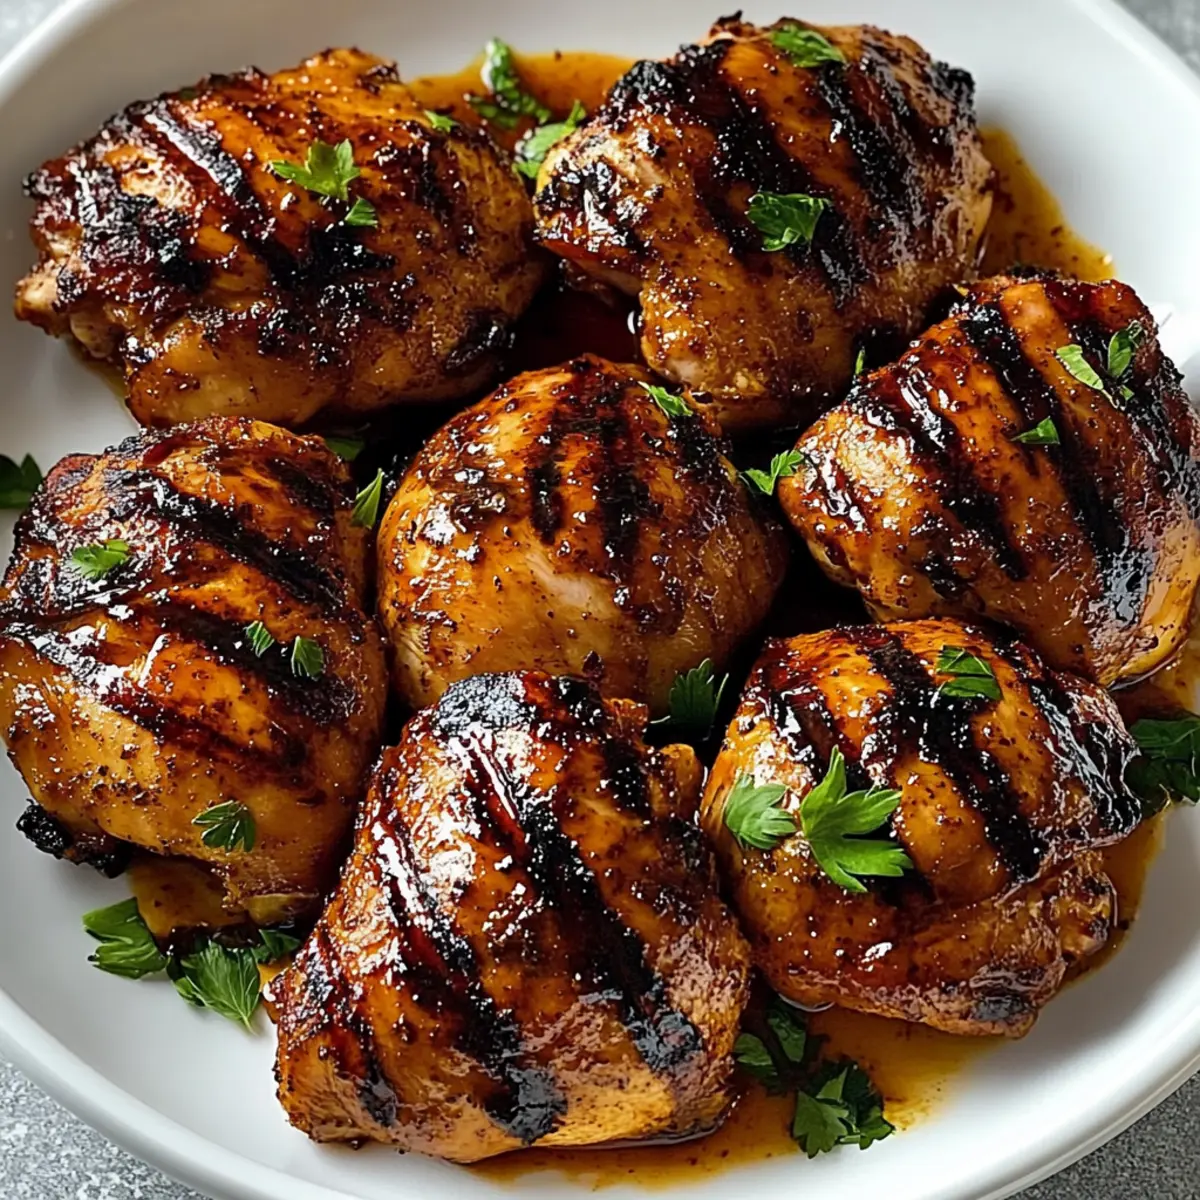
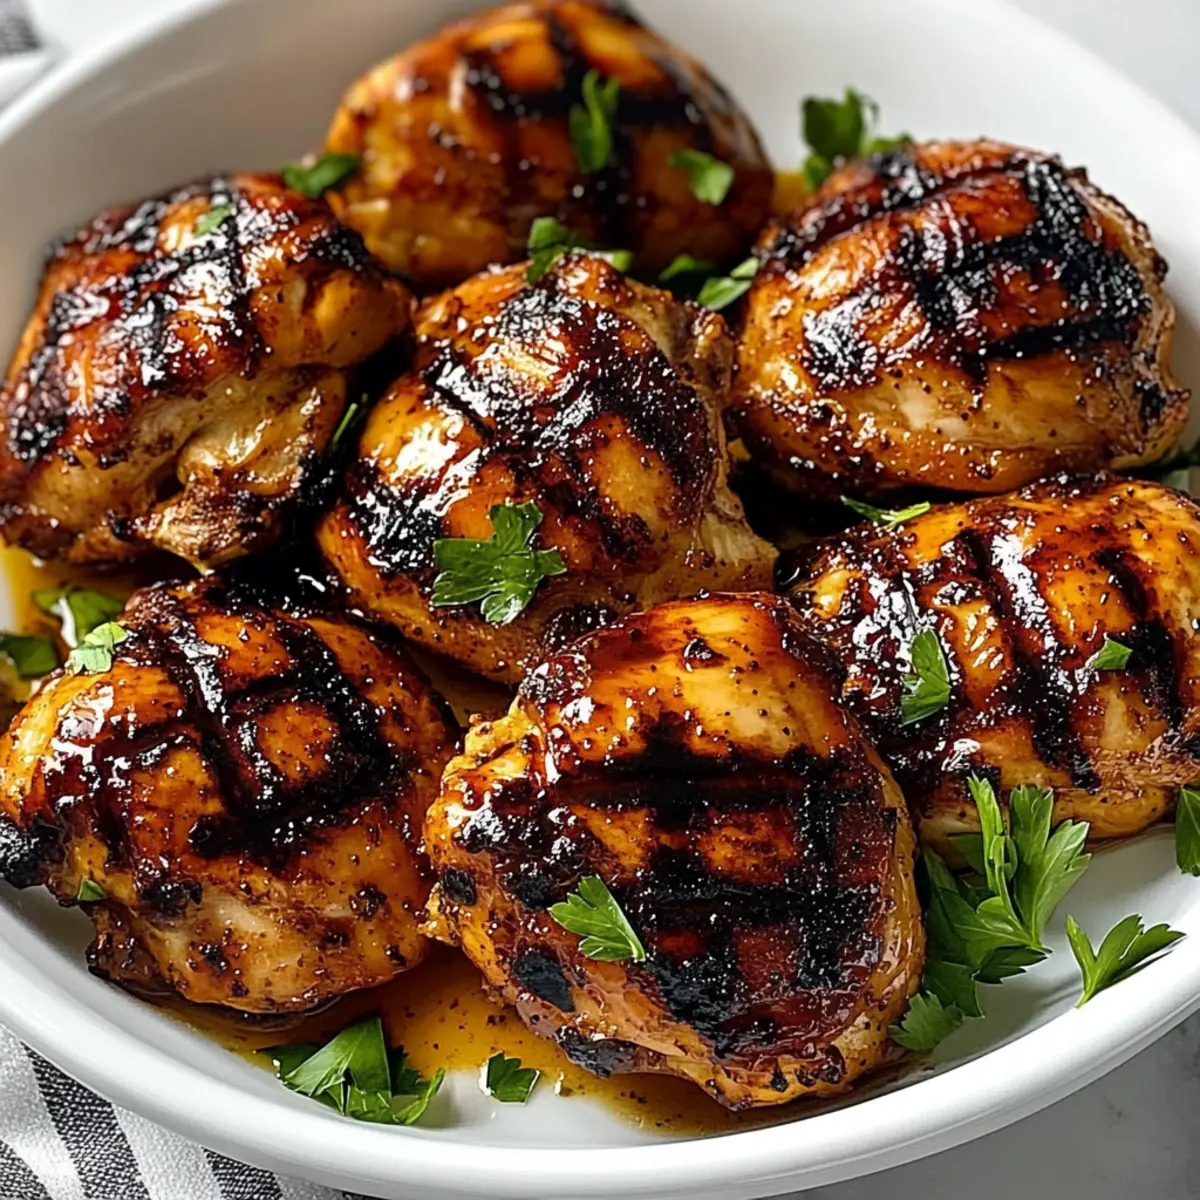
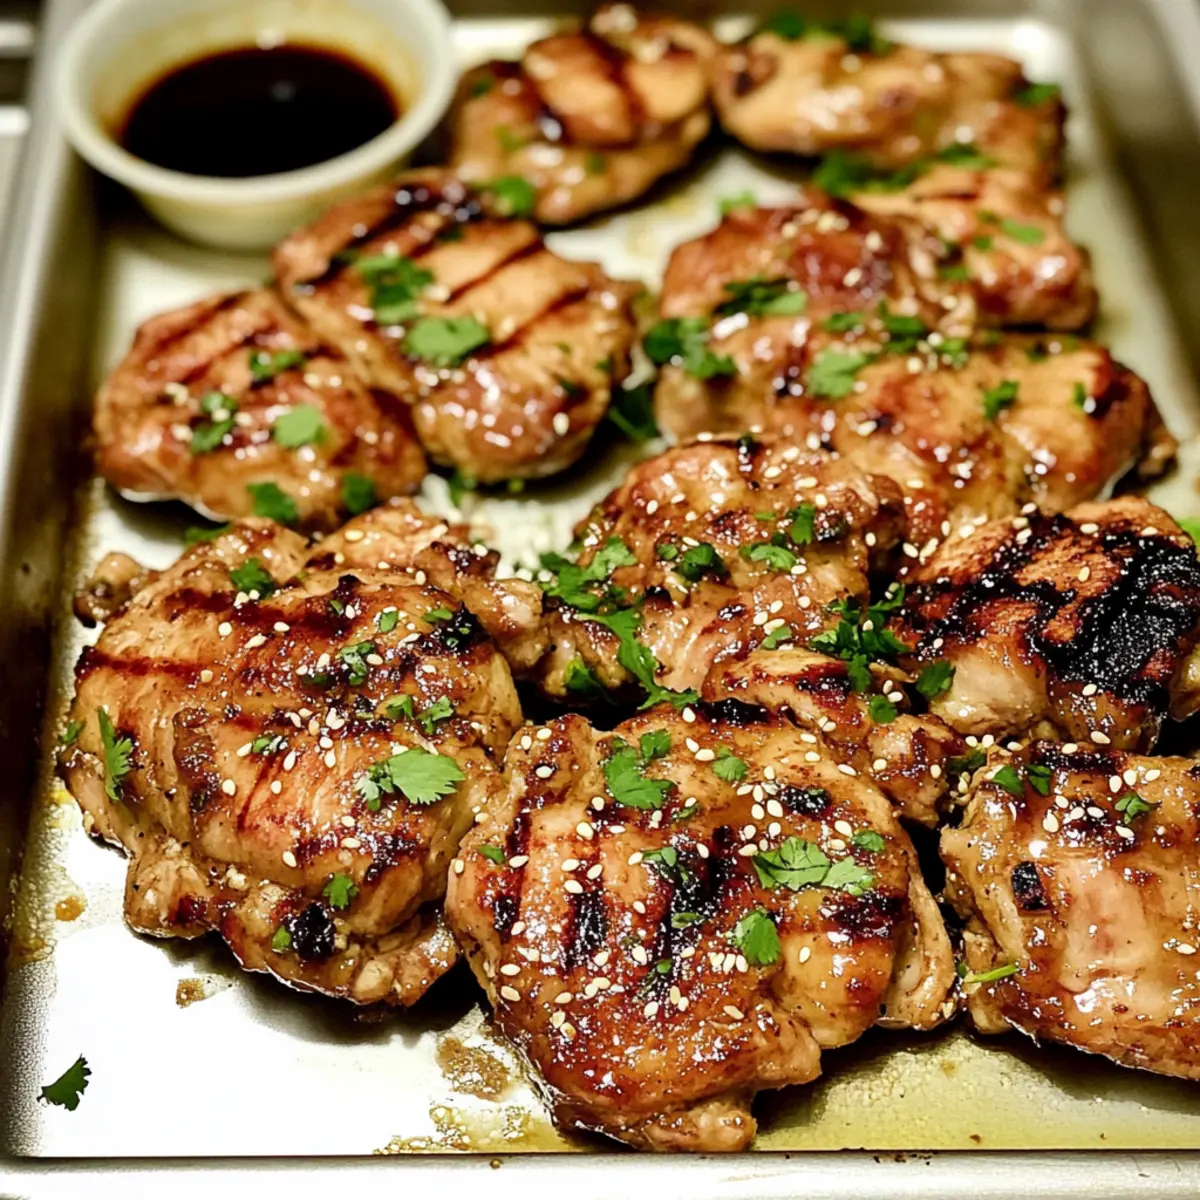
Preheat your grill to medium-high heat, roughly 400°F (200°C). Once hot, place the skewered chicken directly onto the grill grates. Grill the chicken skewers for 2–5 minutes per side, turning occasionally until the chicken is cooked through and has a beautiful char, reaching an internal temperature of 165°F (75°C). Watch for clear juices running from the chicken as a signal of doneness.
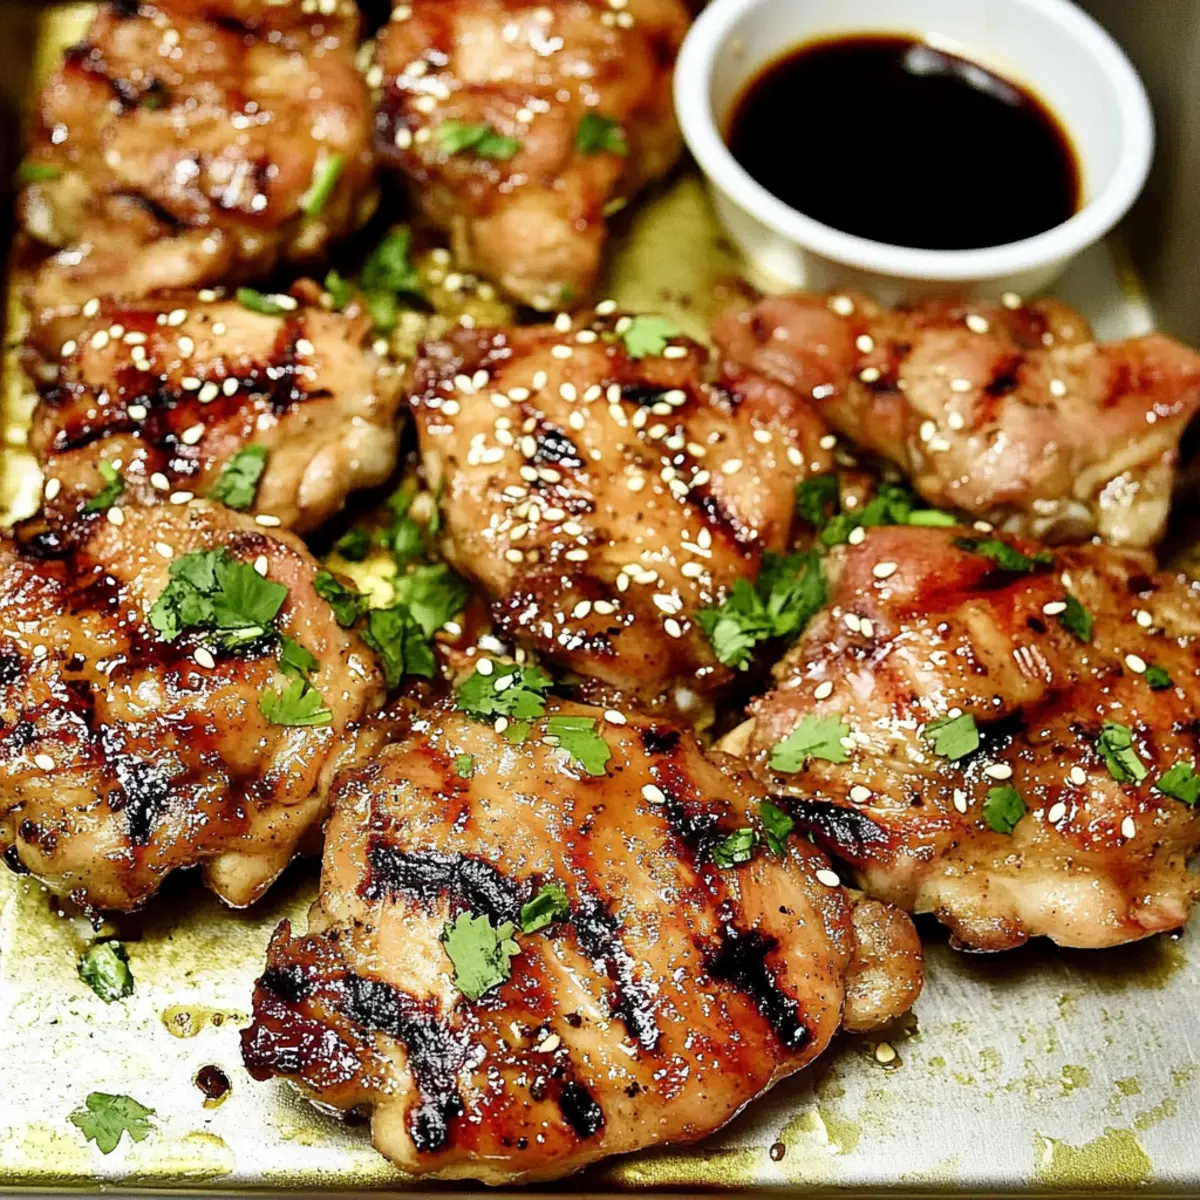
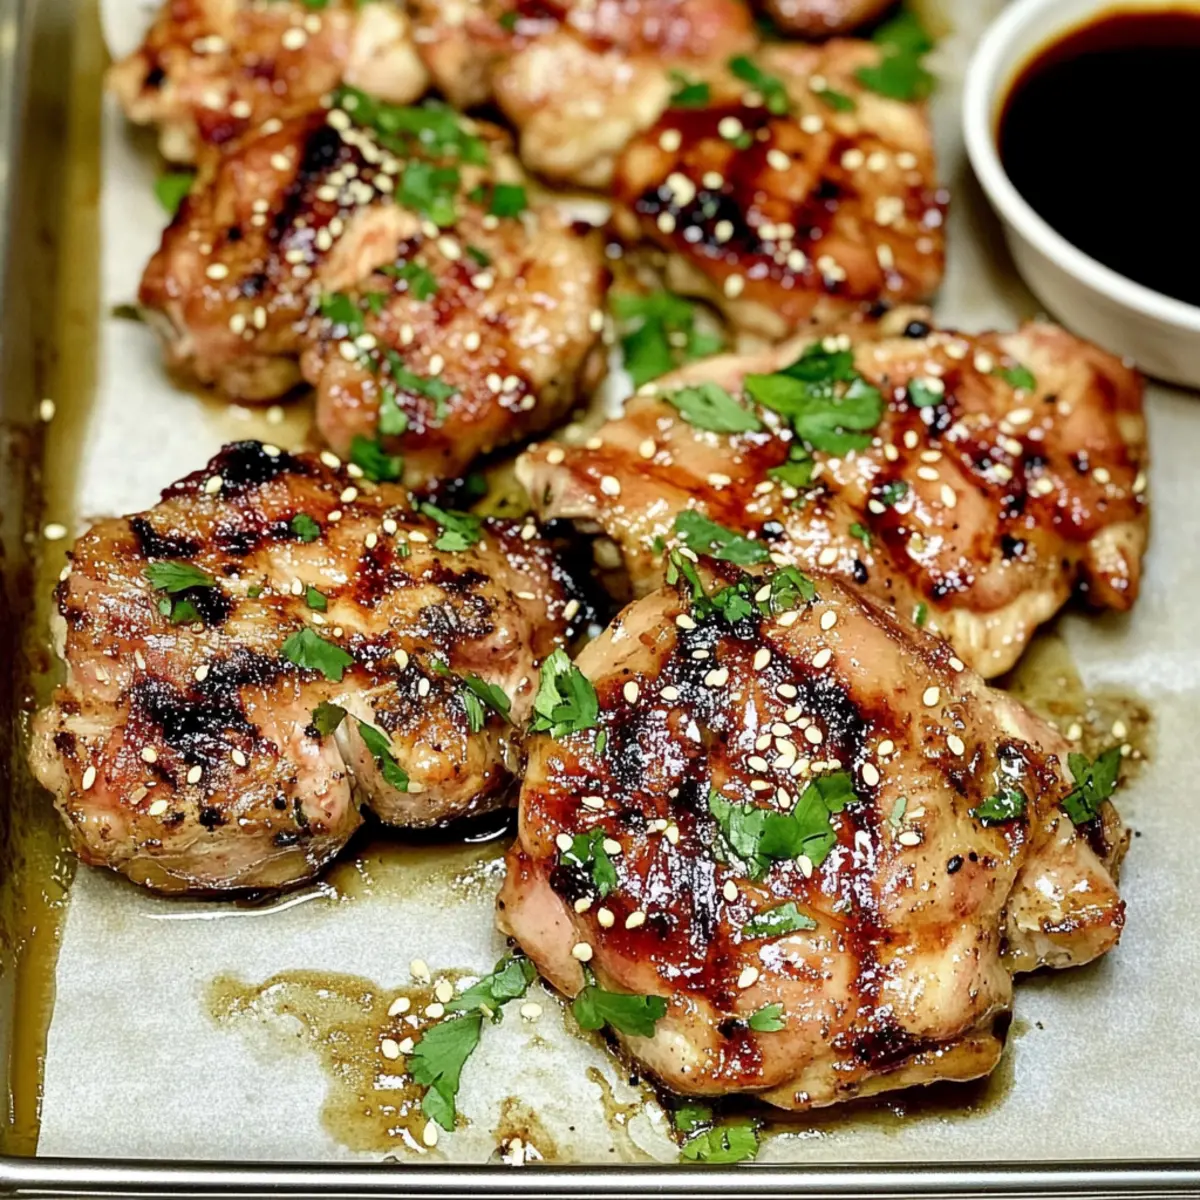
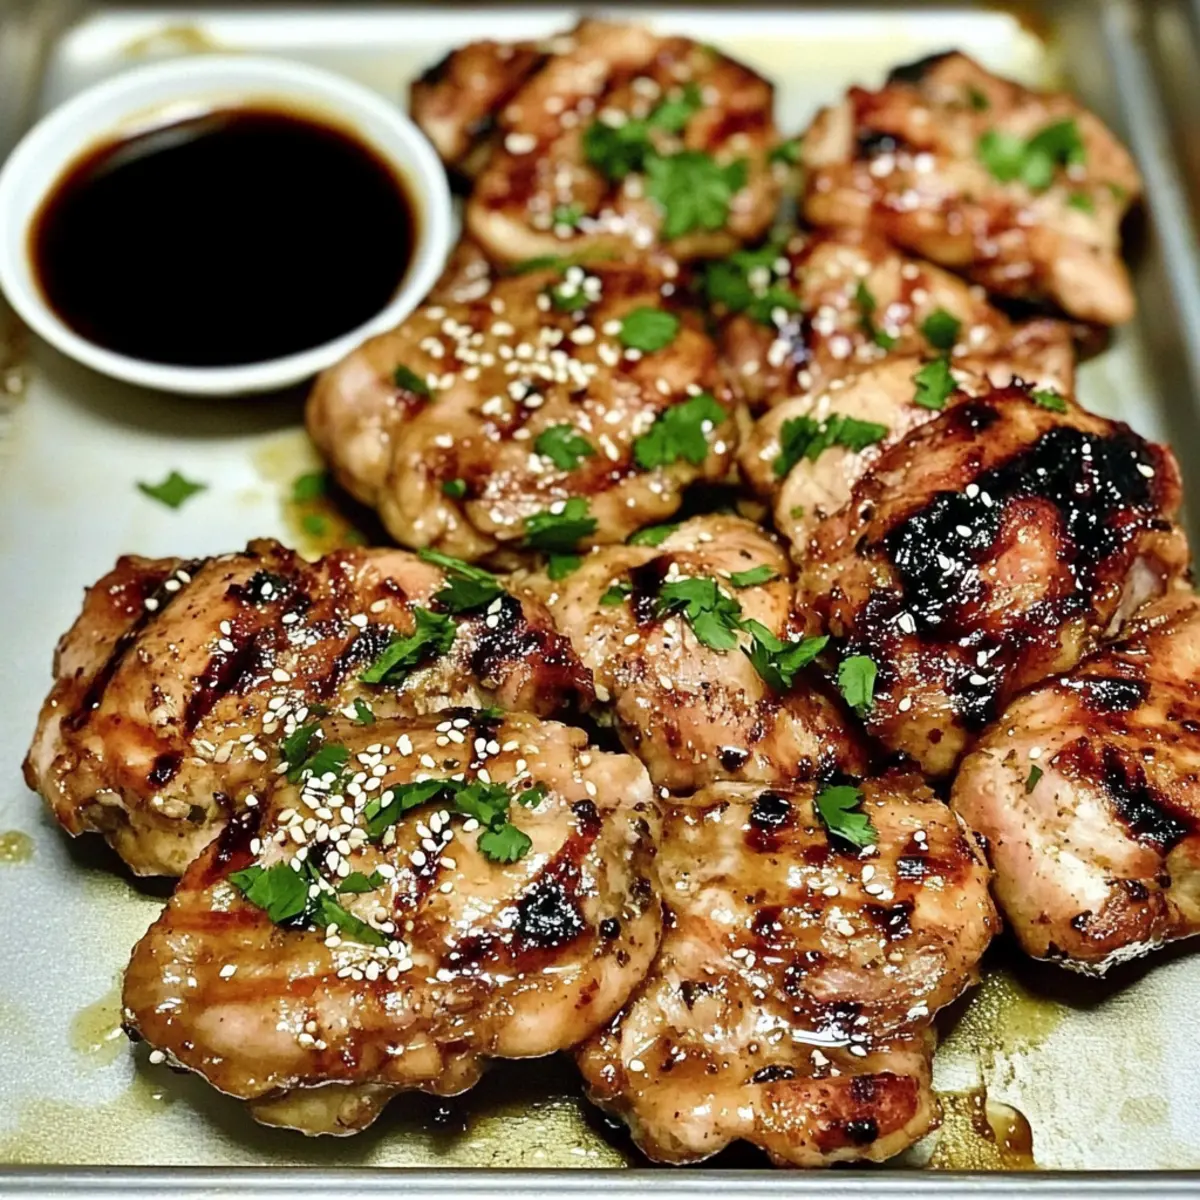
Step 5: Serve and Enjoy
Once cooked, remove the Shish Tawook skewers from the grill and let them rest for a few minutes. This resting time allows the juices to redistribute, keeping the chicken tender and juicy. Serve your flavorful skewers alongside fresh salads, warm pita, or your favorite dips, and delight in the home-cooked taste of Middle Eastern cuisine that everyone will love.

What to Serve with Easy Shish Tawook
A beautifully grilled dish deserves the perfect companions to create a delightful feast that excites the senses.
-
Creamy Tabbouleh: This refreshing salad combines vibrant herbs, tomatoes, and a sprinkle of bulgur, complementing the bold flavors of Shish Tawook beautifully.
-
Garlic Toum: This zesty garlic sauce adds a rich, creamy layer to your meal, enhancing the savory notes of the marinated chicken skewers.
-
Grilled Pita Bread: Warm, fluffy pita acts as a delightful vessel for the Shish Tawook, perfect for wrapping and enjoying every last bite.
-
Roasted Vegetables: A medley of colorful veggies, drizzled with olive oil and roasted until caramelized, provides a fragrant and crunchy side that balances the tender chicken.
-
Fattoush Salad: Crisp lettuce, crunchy radishes, and toasted pita chips come alive with a tangy dressing, adding a delightful freshness to your meal.
-
Zesty Pickled Onions: Their bright vinegar tang cuts through the richness of the chicken, providing that extra zing that transports your meal to new flavor heights.
-
Mint Tea: A soothing cup of mint tea is a perfect drink pairing, refreshing the palate and rounding off the vibrant meal with a hint of sweetness.
Expert Tips for Shish Tawook
-
Uniform Cuts: Ensure the chicken is cut into equal-sized pieces, promoting even cooking; this prevents dryness and ensures tenderness in every bite.
-
Marination Time: Aim for at least 20 minutes to soak in flavors, but marinating overnight yields an even richer, more delectable Shish Tawook.
-
Proper Skewering: Pre-soak wooden skewers for 30 minutes to avoid burning. Leave space between chicken pieces for optimal heat circulation during grilling.
-
Grill Temperature: Preheat your grill to medium-high (about 400°F or 200°C) for perfectly cooked chicken skewers with that delightful char.
-
Check for Doneness: Use a meat thermometer to ensure chicken reaches an internal temperature of 165°F (75°C) for ideal juiciness and safety.
-
Serve Fresh: For the best taste, serve Shish Tawook immediately after grilling, allowing everyone to enjoy its juicy, flavorful goodness straight from the grill.
Shish Tawook Variations & Substitutions
Feel free to mix and match ingredients to create your perfect Shish Tawook masterpiece that tantalizes your taste buds!
-
Lamb Swap: Try using cubed lamb instead of chicken for a richer and more distinct flavor profile.
-
Veggie Skewers: Add bell peppers, zucchini, or cherry tomatoes to your skewers for a colorful and nutritious twist. The veggies will add an extra burst of freshness!
-
Spicy Kick: Incorporate a pinch of cayenne pepper or chili powder into the marinade for a delightful kick of heat. Don’t be afraid to adjust the level of spice according to your taste!
-
Herb Variations: Fresh herbs like cilantro or parsley enhance the marinade beautifully. Simply chop up some fresh herbs and mix them in for a vibrant herby flavor.
-
Coconut Yogurt: For a dairy-free alternative, opt for coconut yogurt. It will give your marinade a subtle sweetness and tropical flair.
-
Pineapple Marinade: Add crushed pineapple to the yogurt mixture to introduce a unique sweetness and tenderize the chicken even further.
-
Smoky Flavor: Swap regular paprika for smoked paprika to impart a wonderful depth of flavor that resonates with summer grilling.
Feel free to explore these variations to craft a memorable Shish Tawook dish that suits your mood and dietary needs! And if you want even more flavor possibilities, check out how to make delicious vegetable skewers. Enjoy!
Make Ahead Options
These Shish Tawook skewers are perfect for busy home cooks wanting to save time during the week! You can marinate the chicken pieces up to 24 hours in advance, allowing the flavors to deepen while ensuring tender, juicy results. Simply combine all the marinade ingredients and coat the chicken, then cover and refrigerate. Additionally, you can pre-skewer the chicken up to 3 hours before grilling. Just keep the assembled skewers covered in the refrigerator until you’re ready to cook. When it’s time to grill, simply heat up your grill and cook the skewers for 2-5 minutes per side, achieving delicious results with minimal effort!
How to Store and Freeze Shish Tawook
Fridge: Store leftover Shish Tawook in an airtight container in the refrigerator for up to 3 days. This keeps the flavors intact while ensuring safety.
Freezer: For longer storage, freeze the marinated chicken prior to grilling in a freezer bag for up to 3 months. Defrost in the fridge overnight before grilling.
Reheating: Reheat cooked Shish Tawook in a skillet over medium heat until warmed through, about 5-7 minutes, to maintain juiciness.
Marinating Tip: If you have extra marinade, it can be used to flavor vegetables or added to cooked dishes for an extra burst of flavor!

Shish Tawook Recipe FAQs
How do I select the best chicken for Shish Tawook?
Absolutely! For Shish Tawook, I recommend using boneless, skinless chicken breasts or thighs. Look for chicken that is firm, pink in color, and has no dark spots, as this indicates freshness. If you prefer a bit more richness, thighs are great as they remain juicier when grilled.
What is the best way to store leftover Shish Tawook?
To keep your delicious Shish Tawook fresh, store any leftovers in an airtight container in the refrigerator for up to 3 days. Make sure to let it cool down to room temperature before sealing it to avoid condensation that could make the chicken soggy.
Can I freeze uncooked Shish Tawook? How?
Of course! Freezing is a fantastic option. After marinating, place the chicken skewers in a single layer inside a freezer bag. Remove as much air as possible, seal it, and label with the date. The chicken can be stored like this for up to 3 months. When you’re ready to cook, simply thaw overnight in the refrigerator before grilling.
What should I do if my chicken is dry after grilling?
Very! If your Shish Tawook turns out dry, it could be due to overcooking. Always aim for that critical internal temperature of 165°F (75°C). If you’re worried about dryness, you can marinate the chicken longer or brine it beforehand to enhance moisture retention. Great tips can make a world of difference!
Is Shish Tawook suitable for people with dietary restrictions?
Absolutely! Shish Tawook is a gluten-free dish thanks to the marinade ingredients. However, if you’re making it for someone with a dairy allergy, you can substitute the plain yogurt with dairy-free yogurt, like almond or coconut yogurt, for a safe and equally delicious meal.

Savory Shish Tawook: Tender Grilled Chicken Skewers Delight
Ingredients
Equipment
Method
- Prepare the Marinade: In a mixing bowl, combine plain yogurt, olive oil, freshly squeezed lemon juice, tomato paste, minced garlic, paprika, ground cumin, dried oregano, salt, and ground black pepper. Whisk the mixture until smooth and well-blended.
- Marinate the Chicken: Cut boneless, skinless chicken breasts or thighs into bite-sized pieces. Add them to the marinade, ensuring each piece is generously coated. Cover and refrigerate for at least 20 minutes.
- Skewer the Chicken: Pre-soak wooden skewers in water for at least 30 minutes. Thread the marinated chicken pieces onto the soaked skewers.
- Grill the Chicken: Preheat your grill to medium-high heat (about 400°F or 200°C). Grill chicken skewers for 2–5 minutes per side, until cooked through and charred.
- Serve and Enjoy: Let the skewers rest for a few minutes before serving. Enjoy with salads, pita, or dips.